May 2020 – C Pillar, Rear Arch and Swing Arm

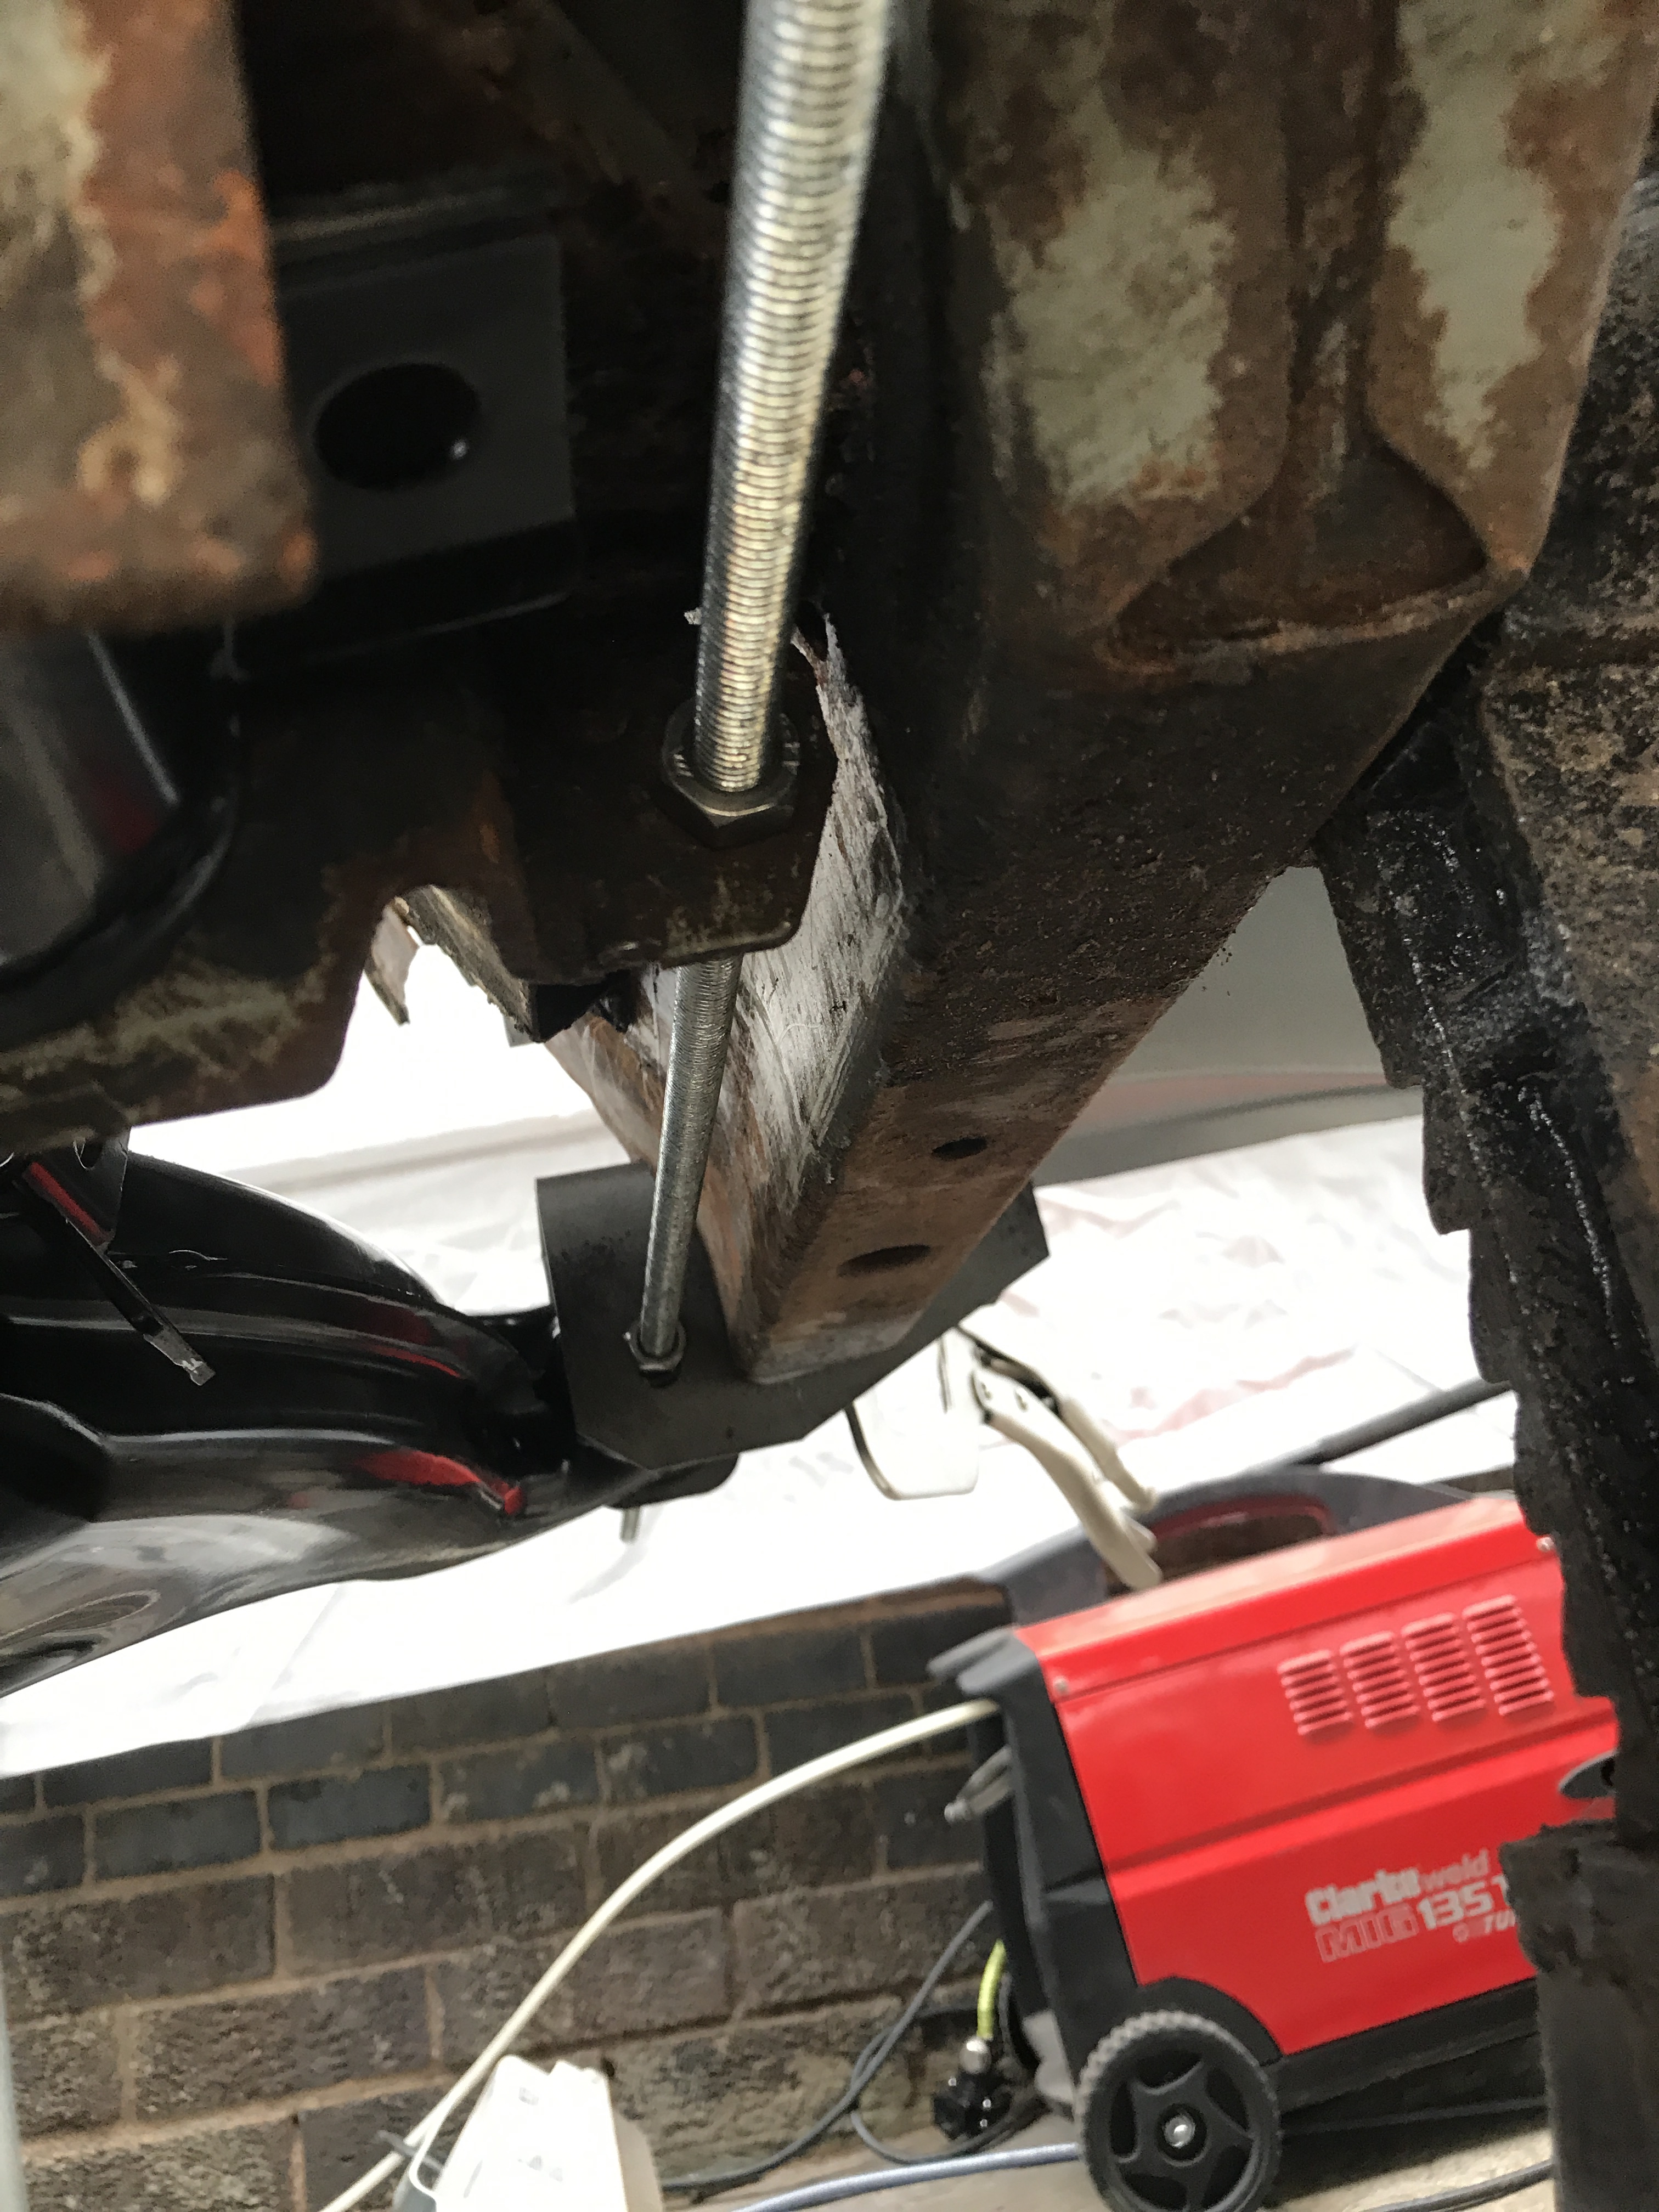
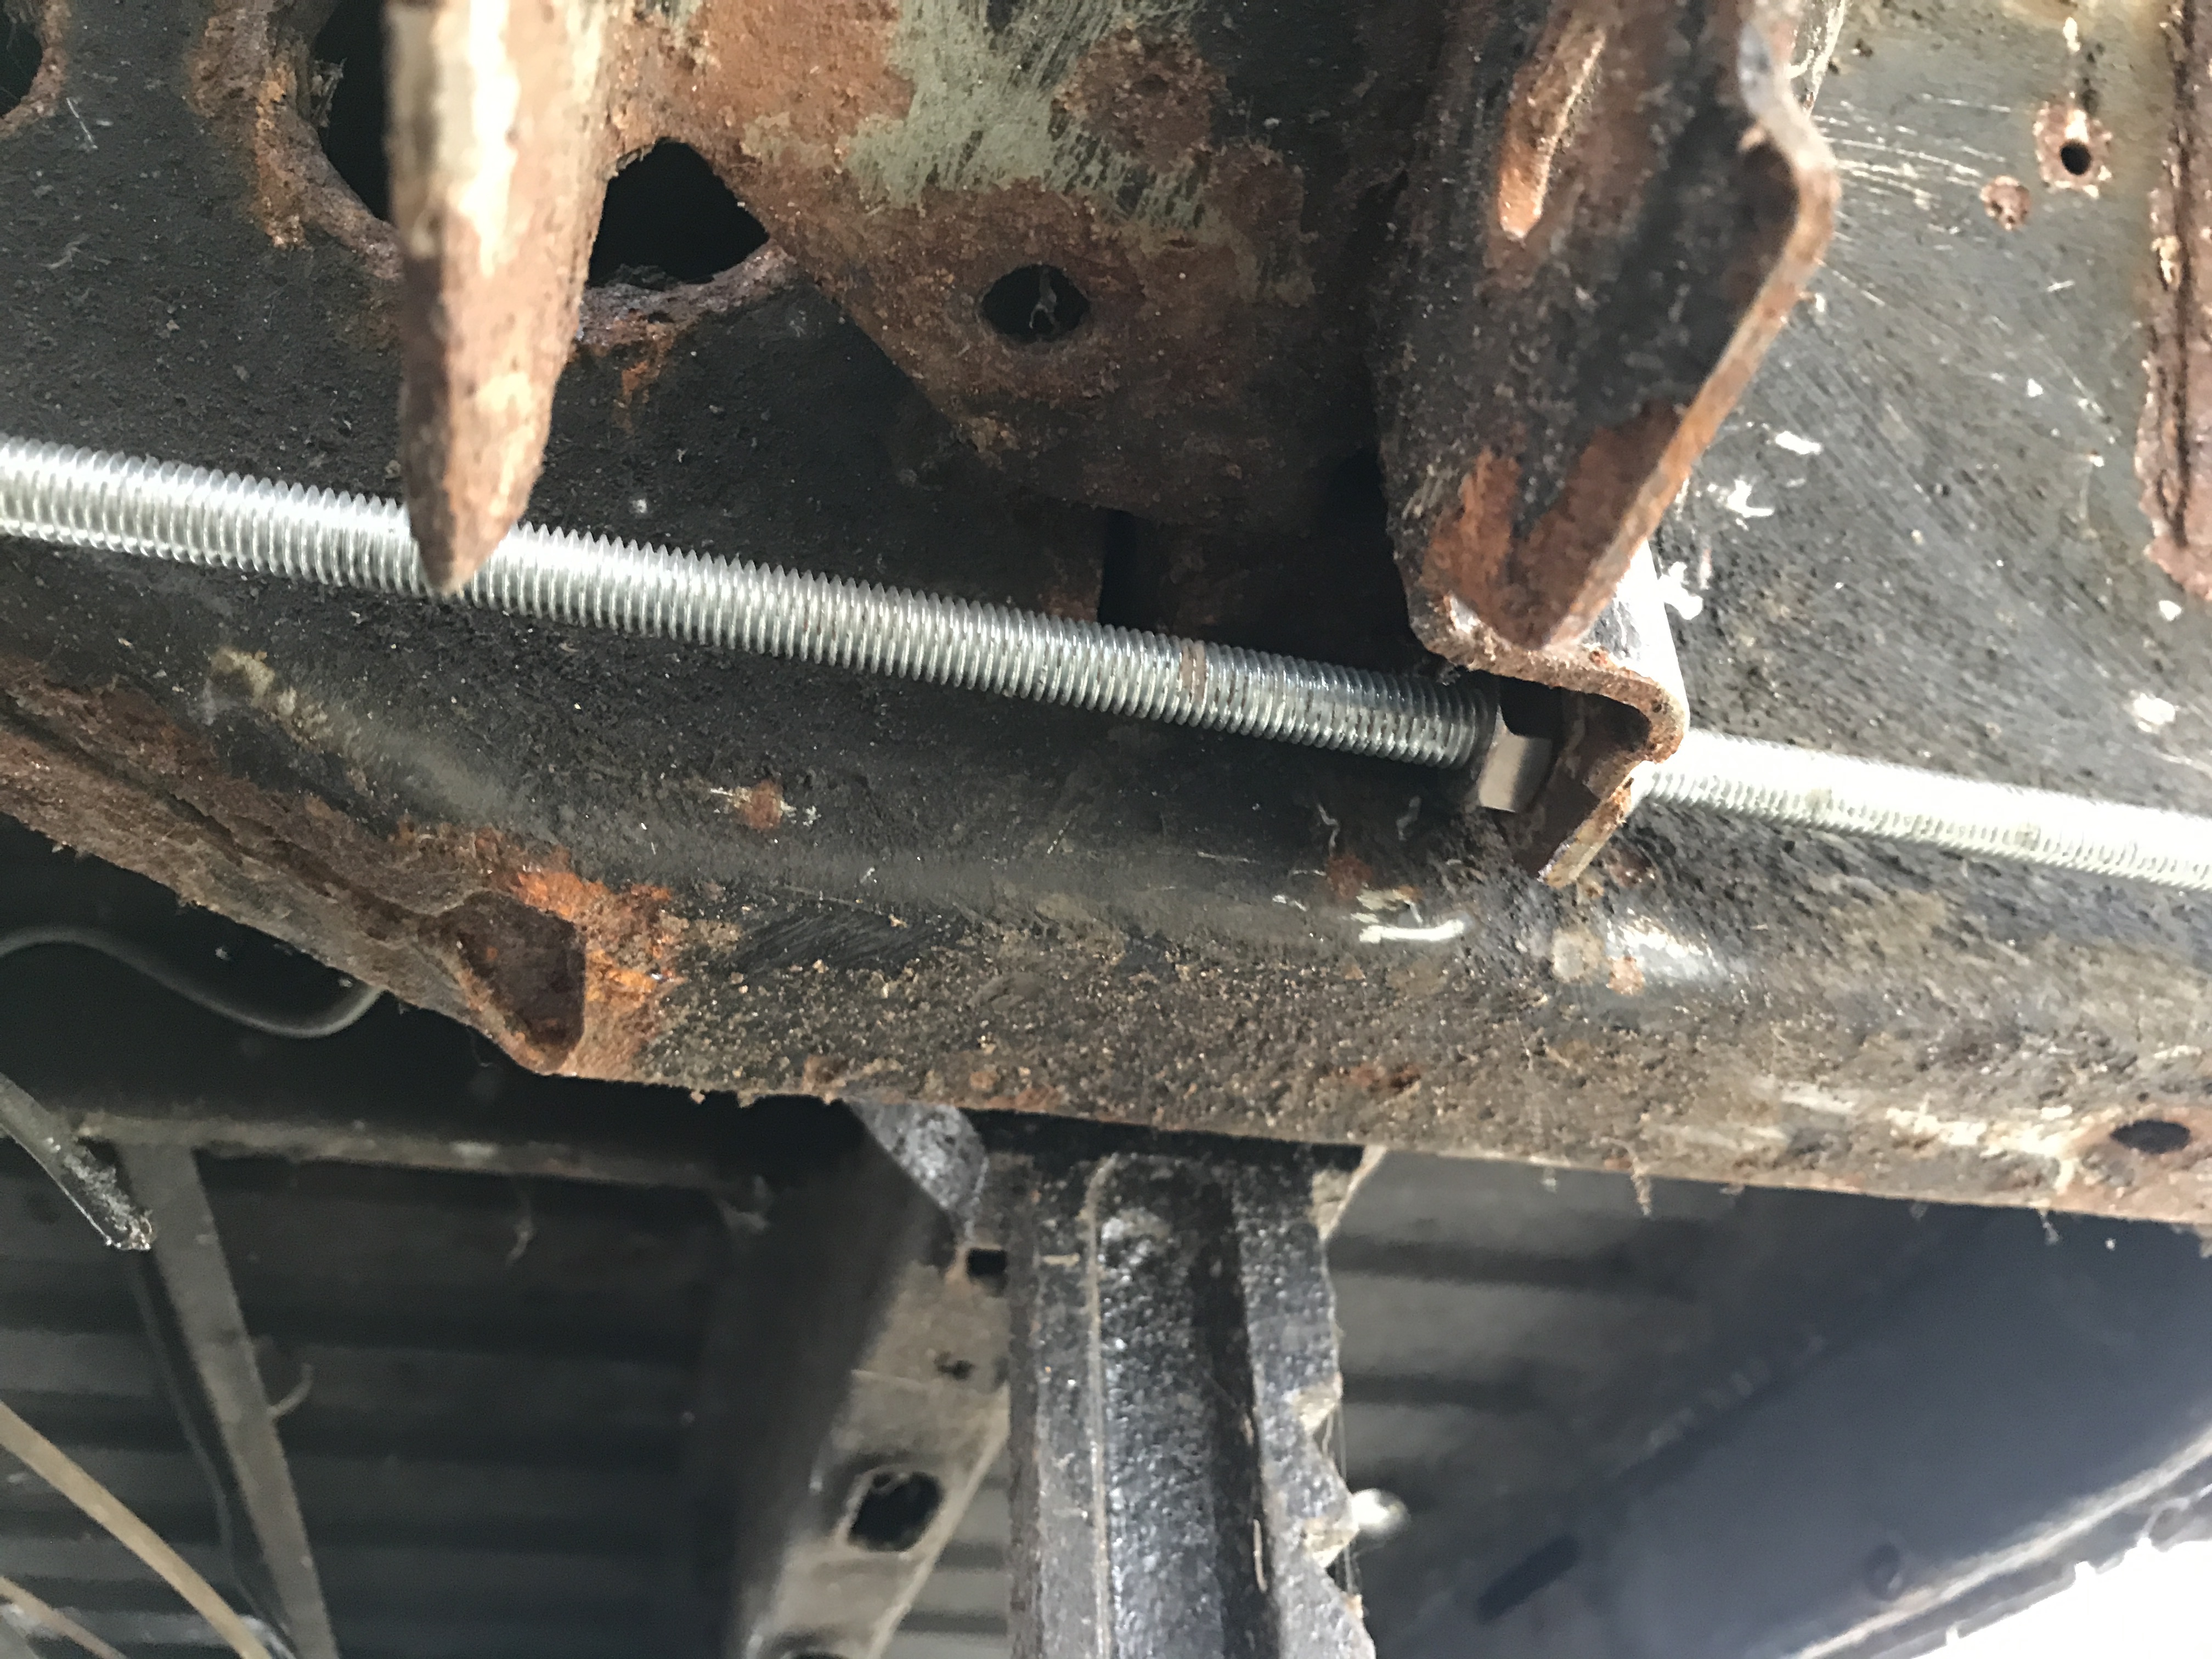
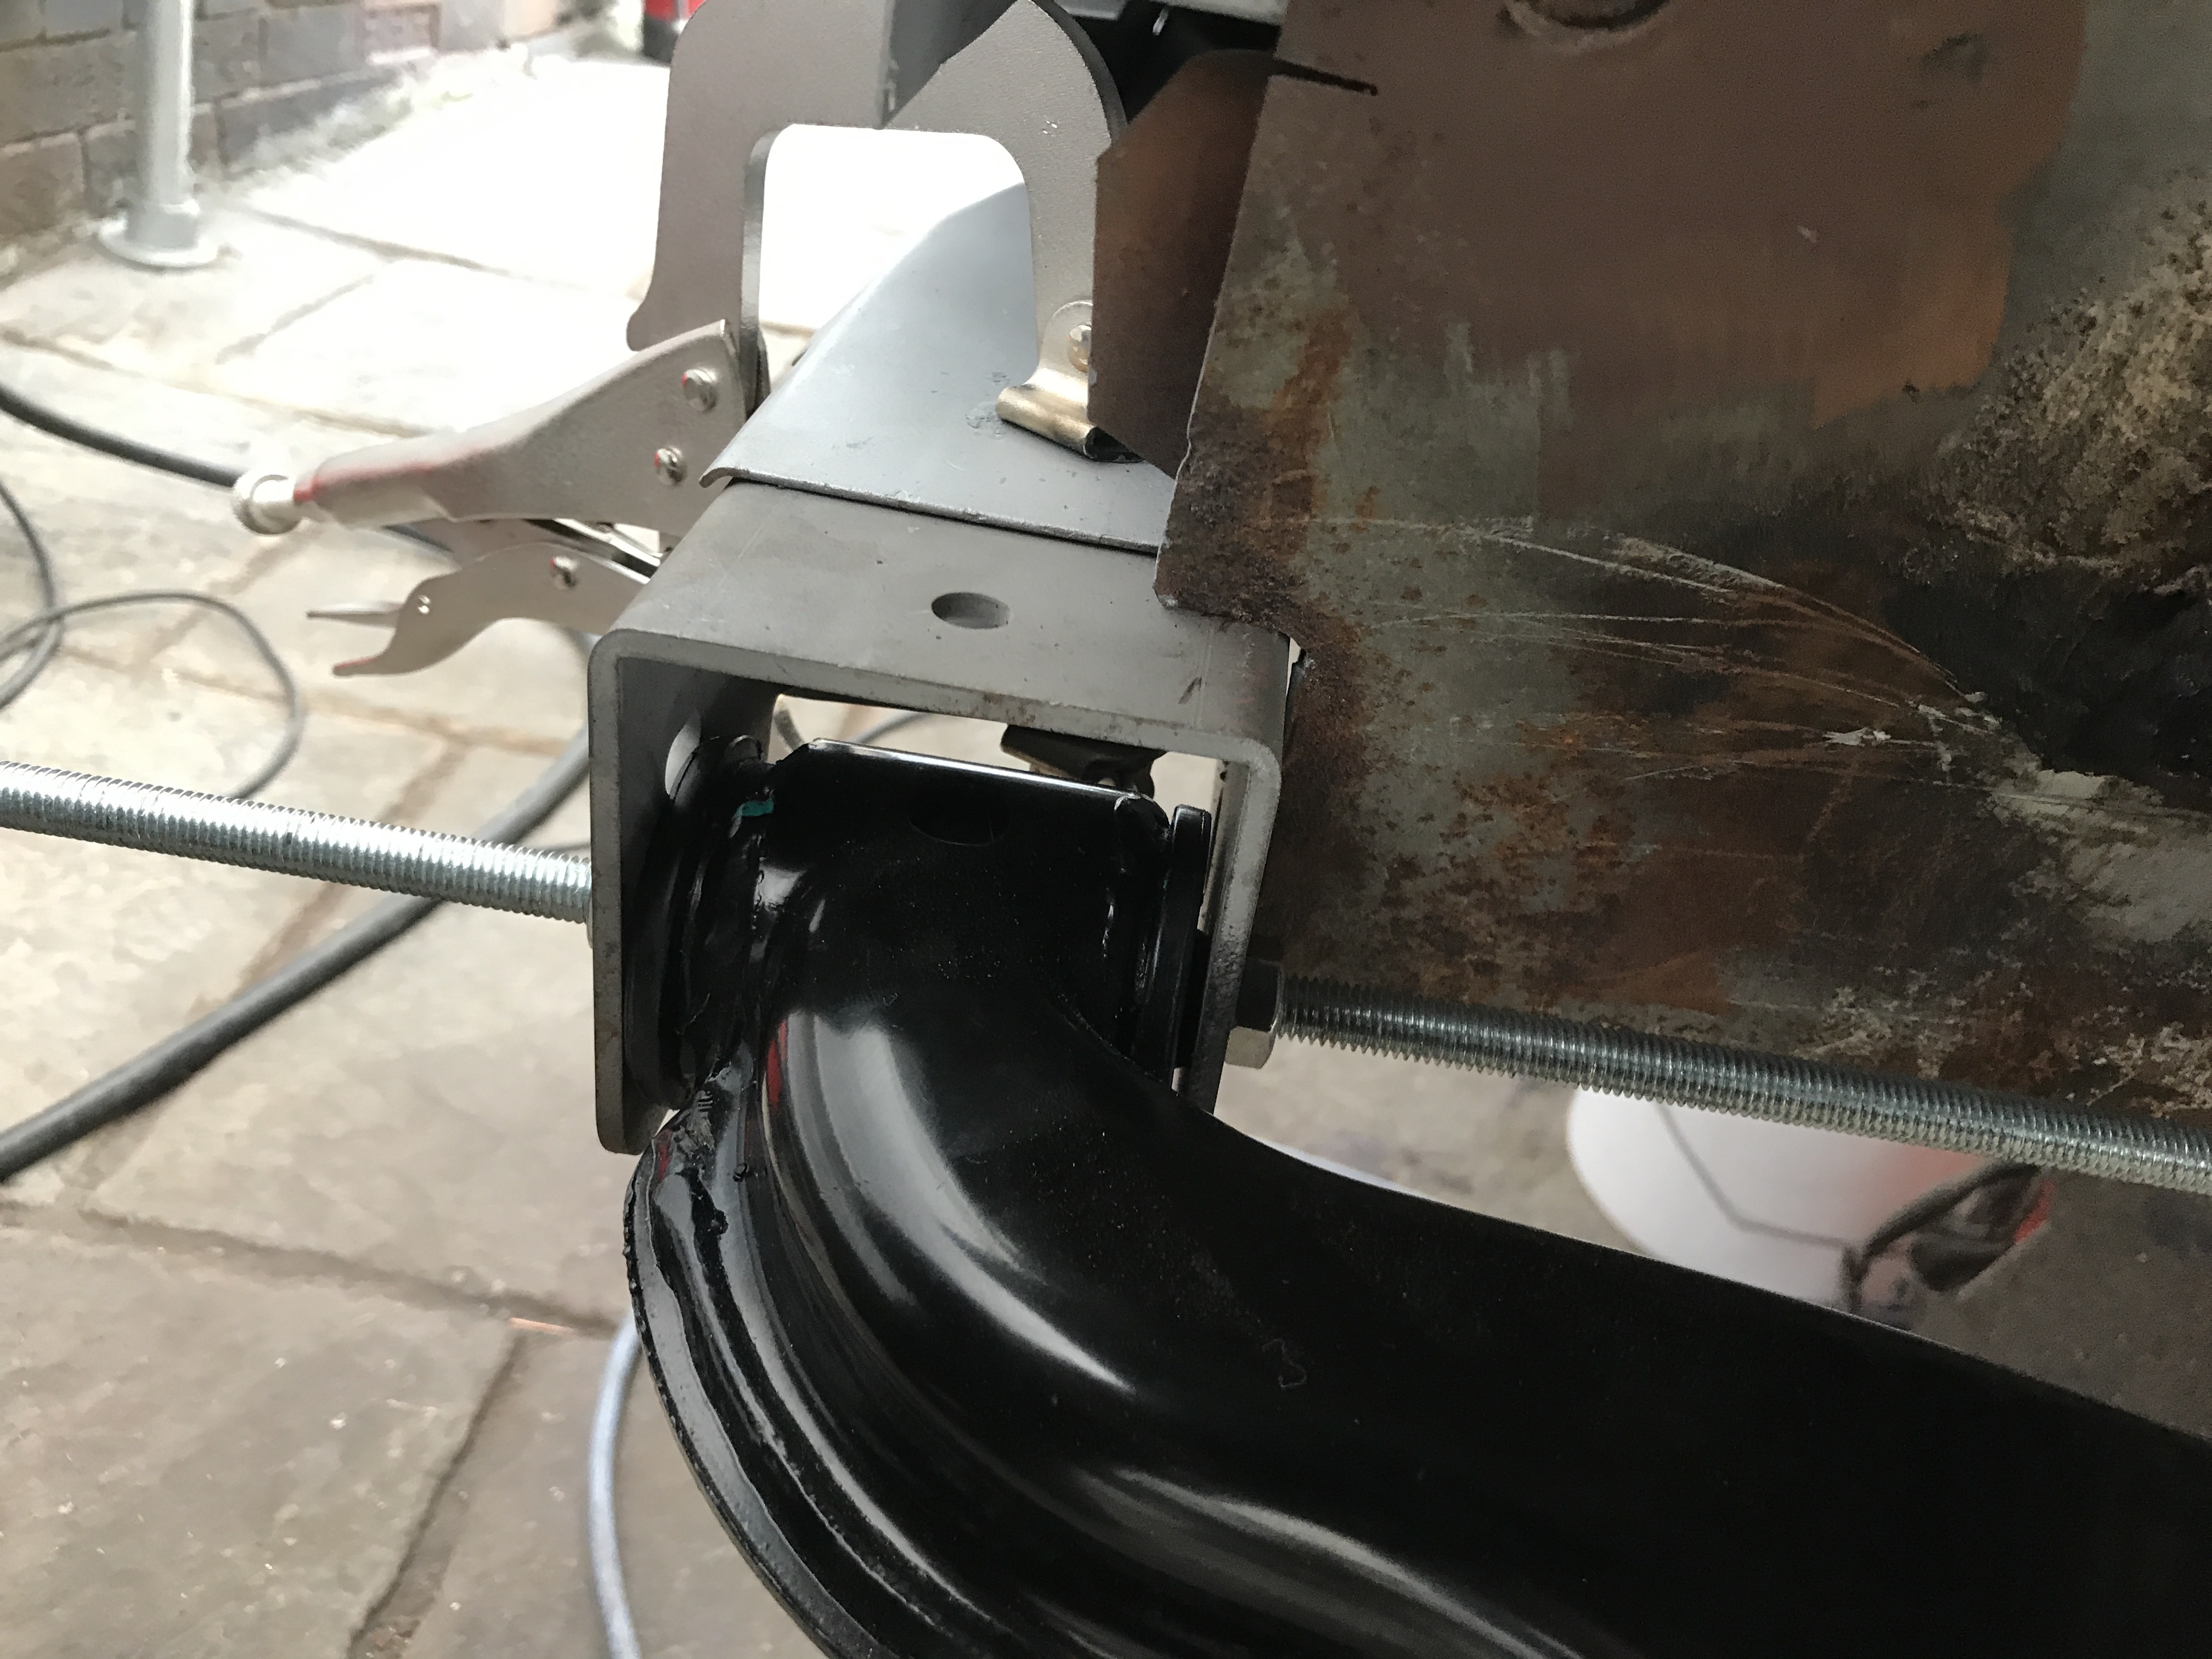
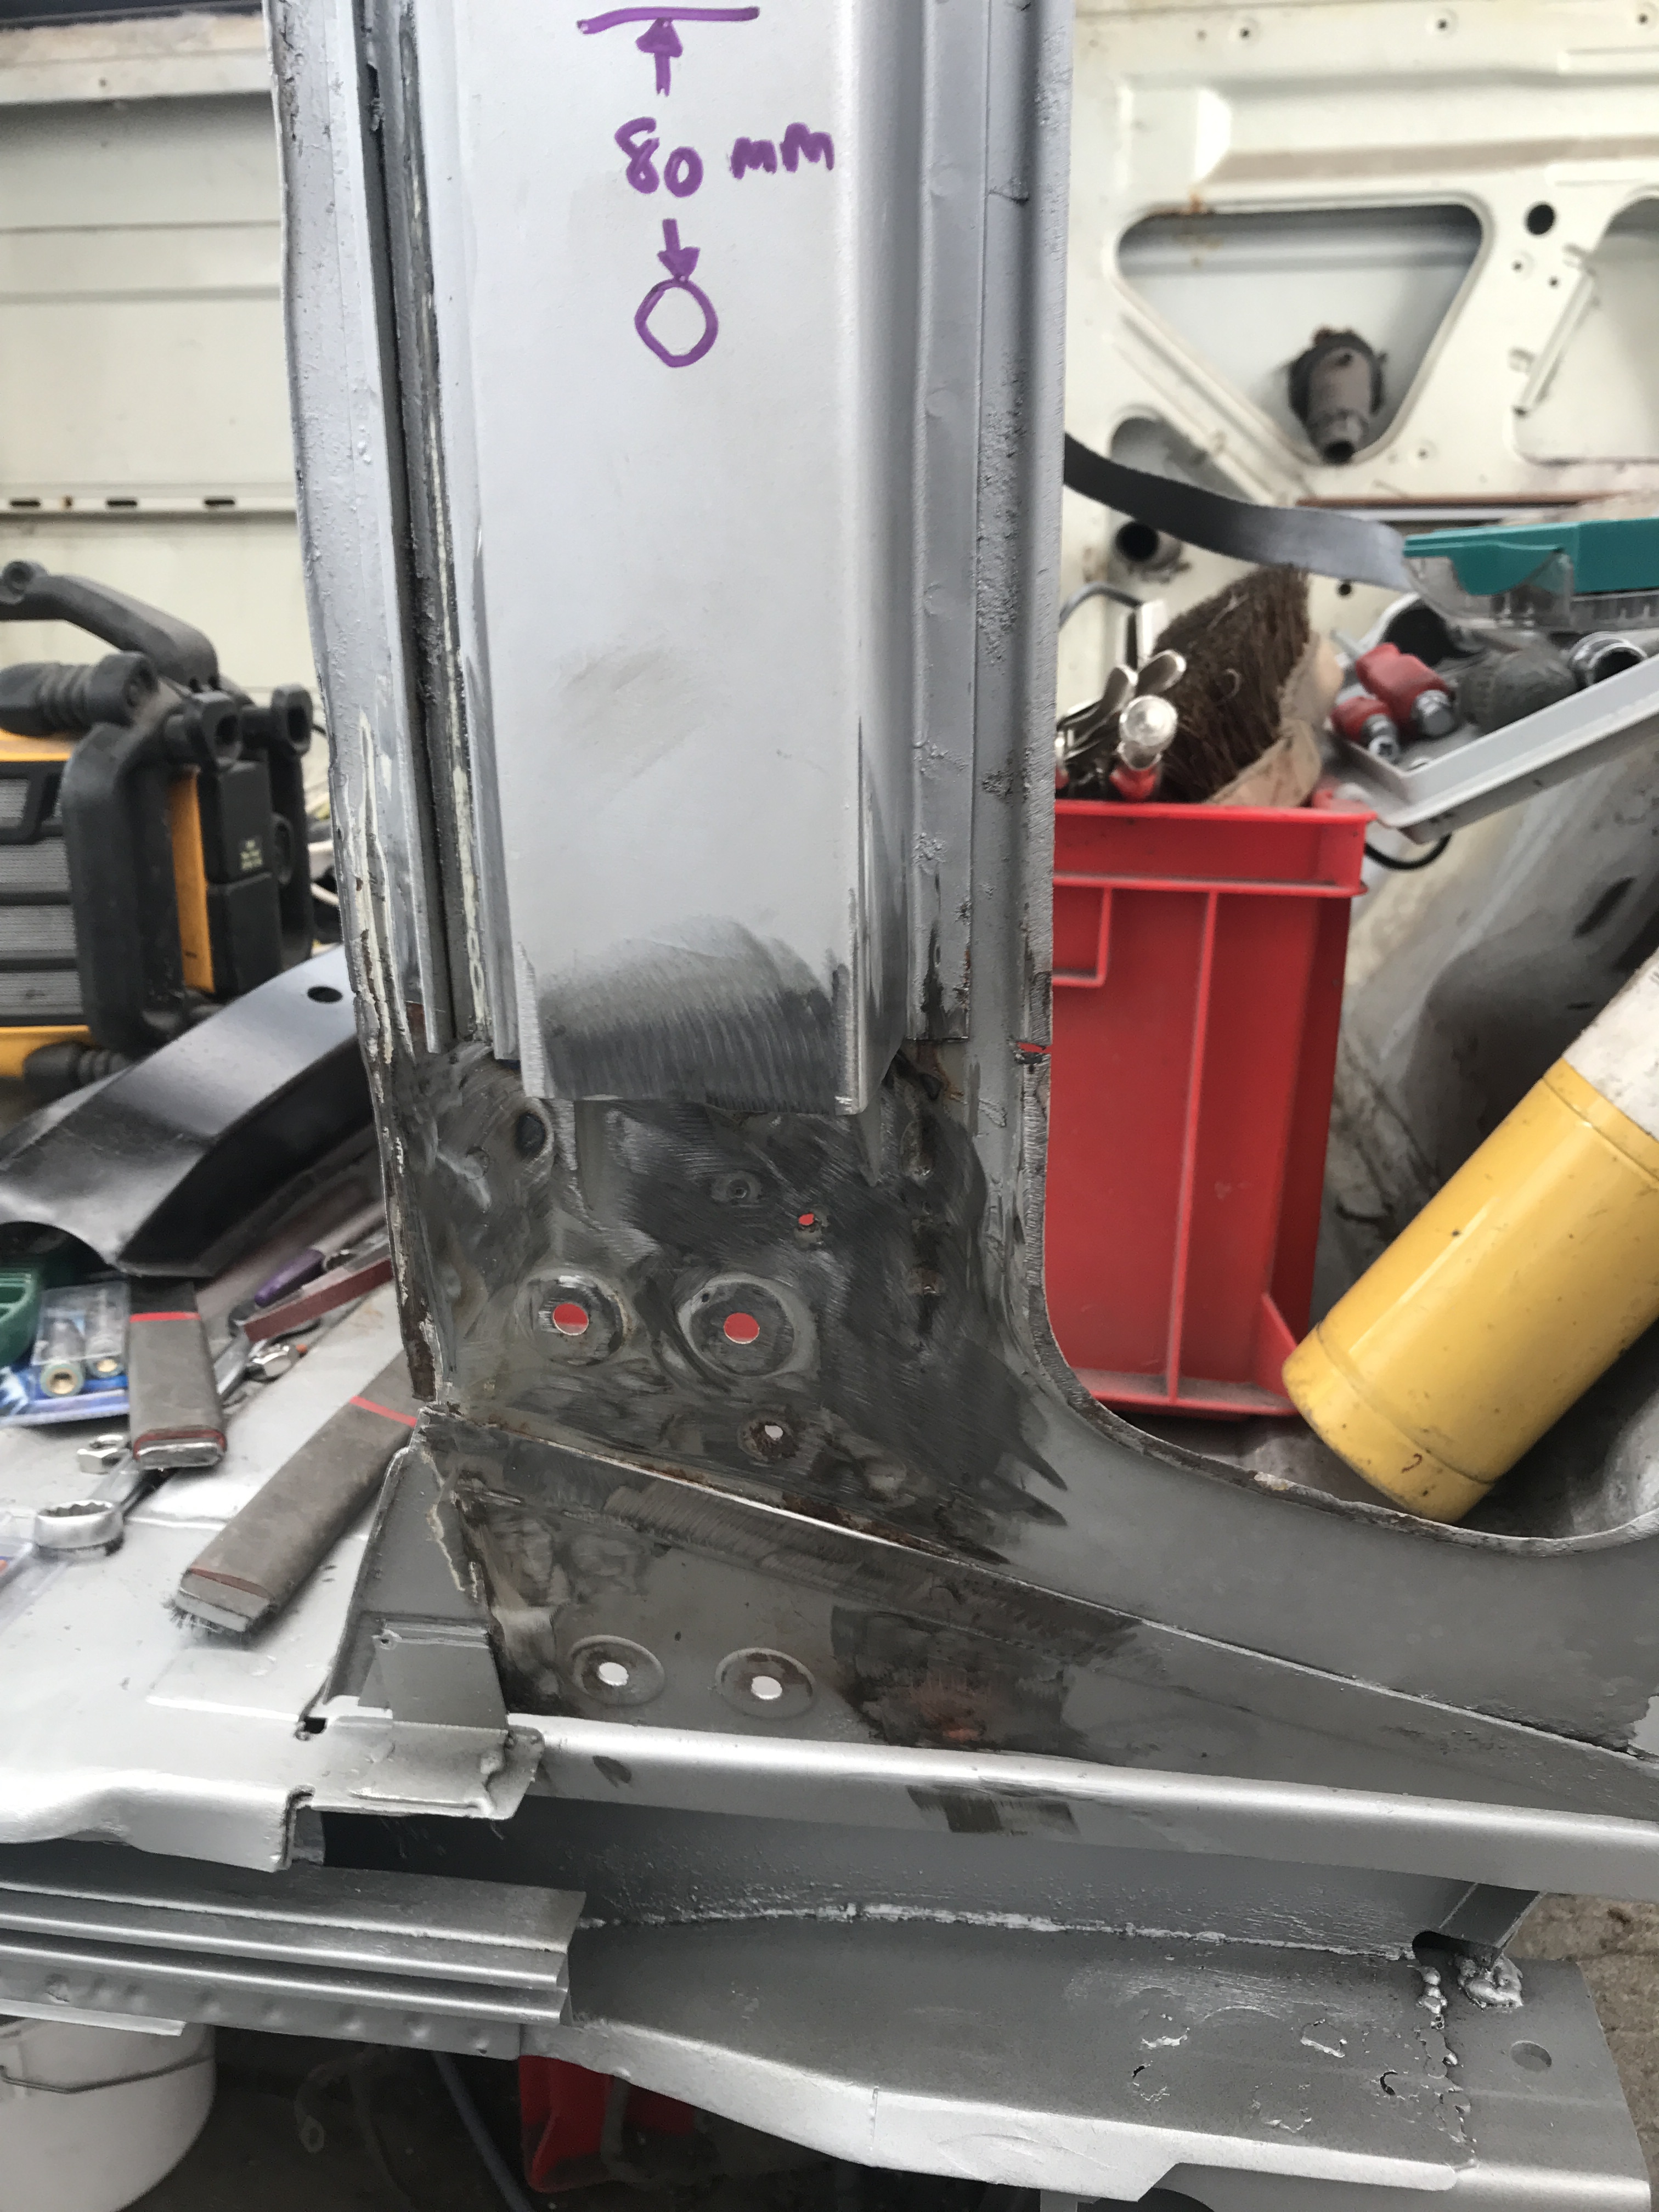
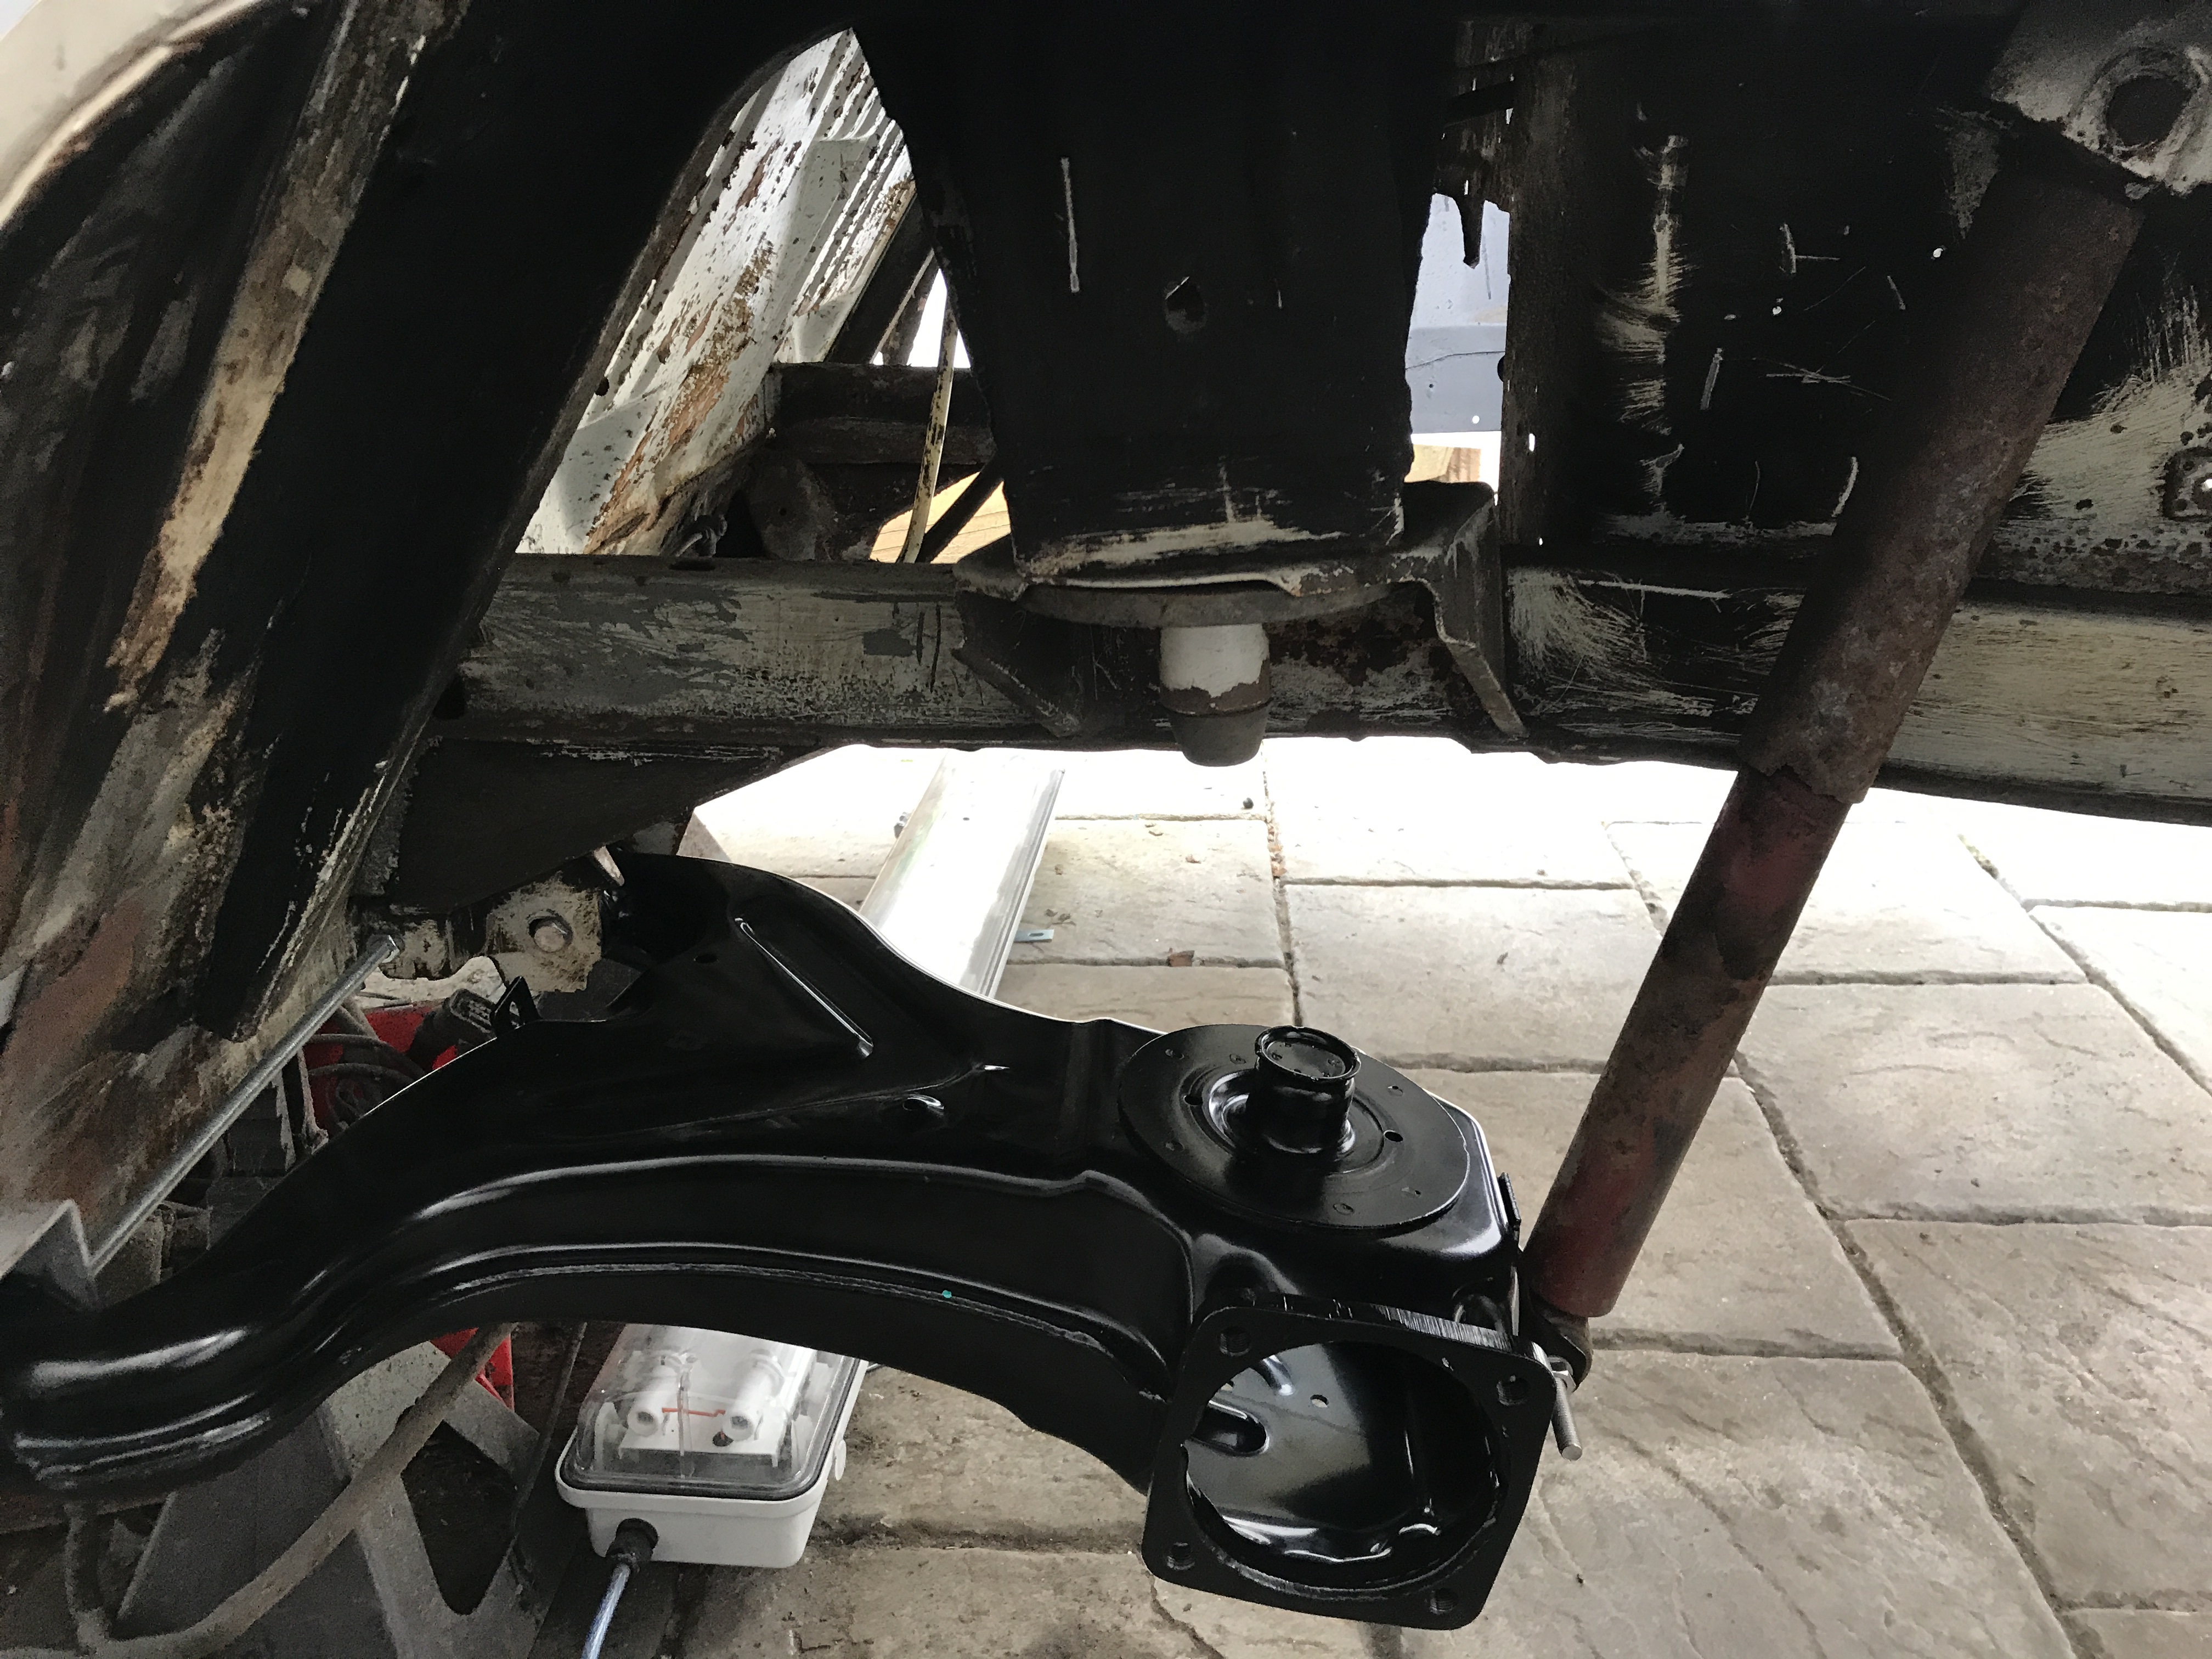
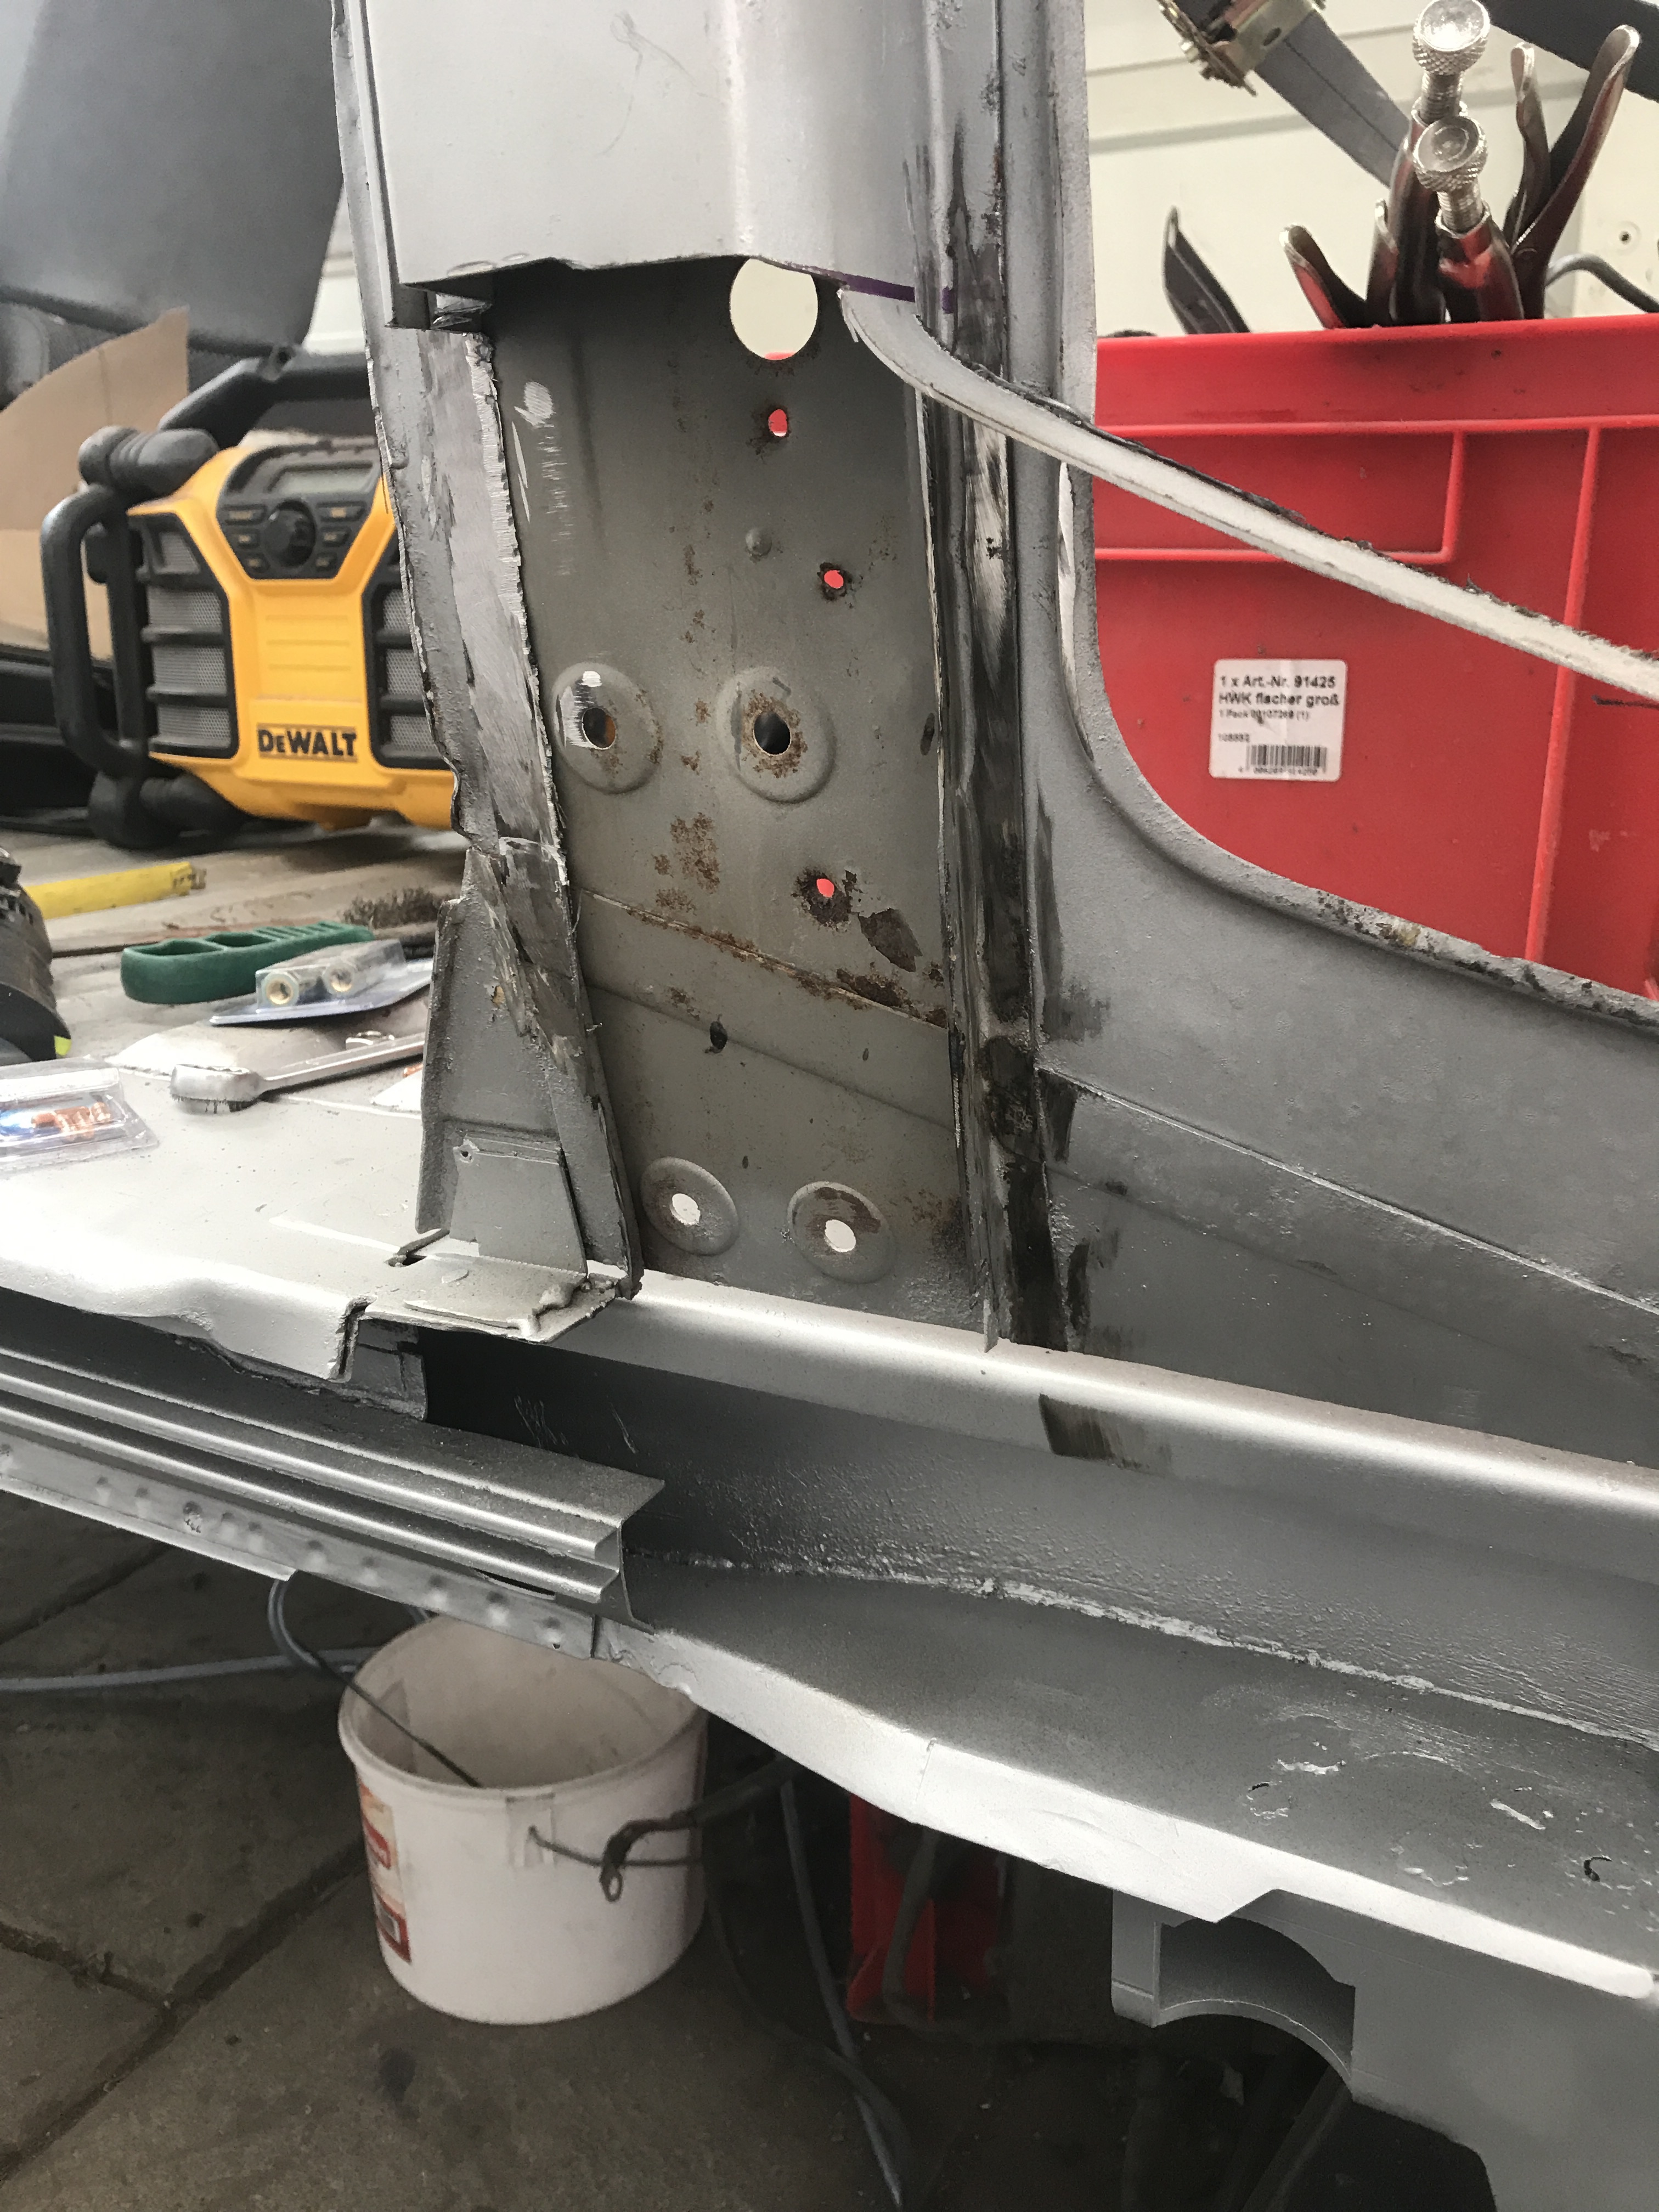
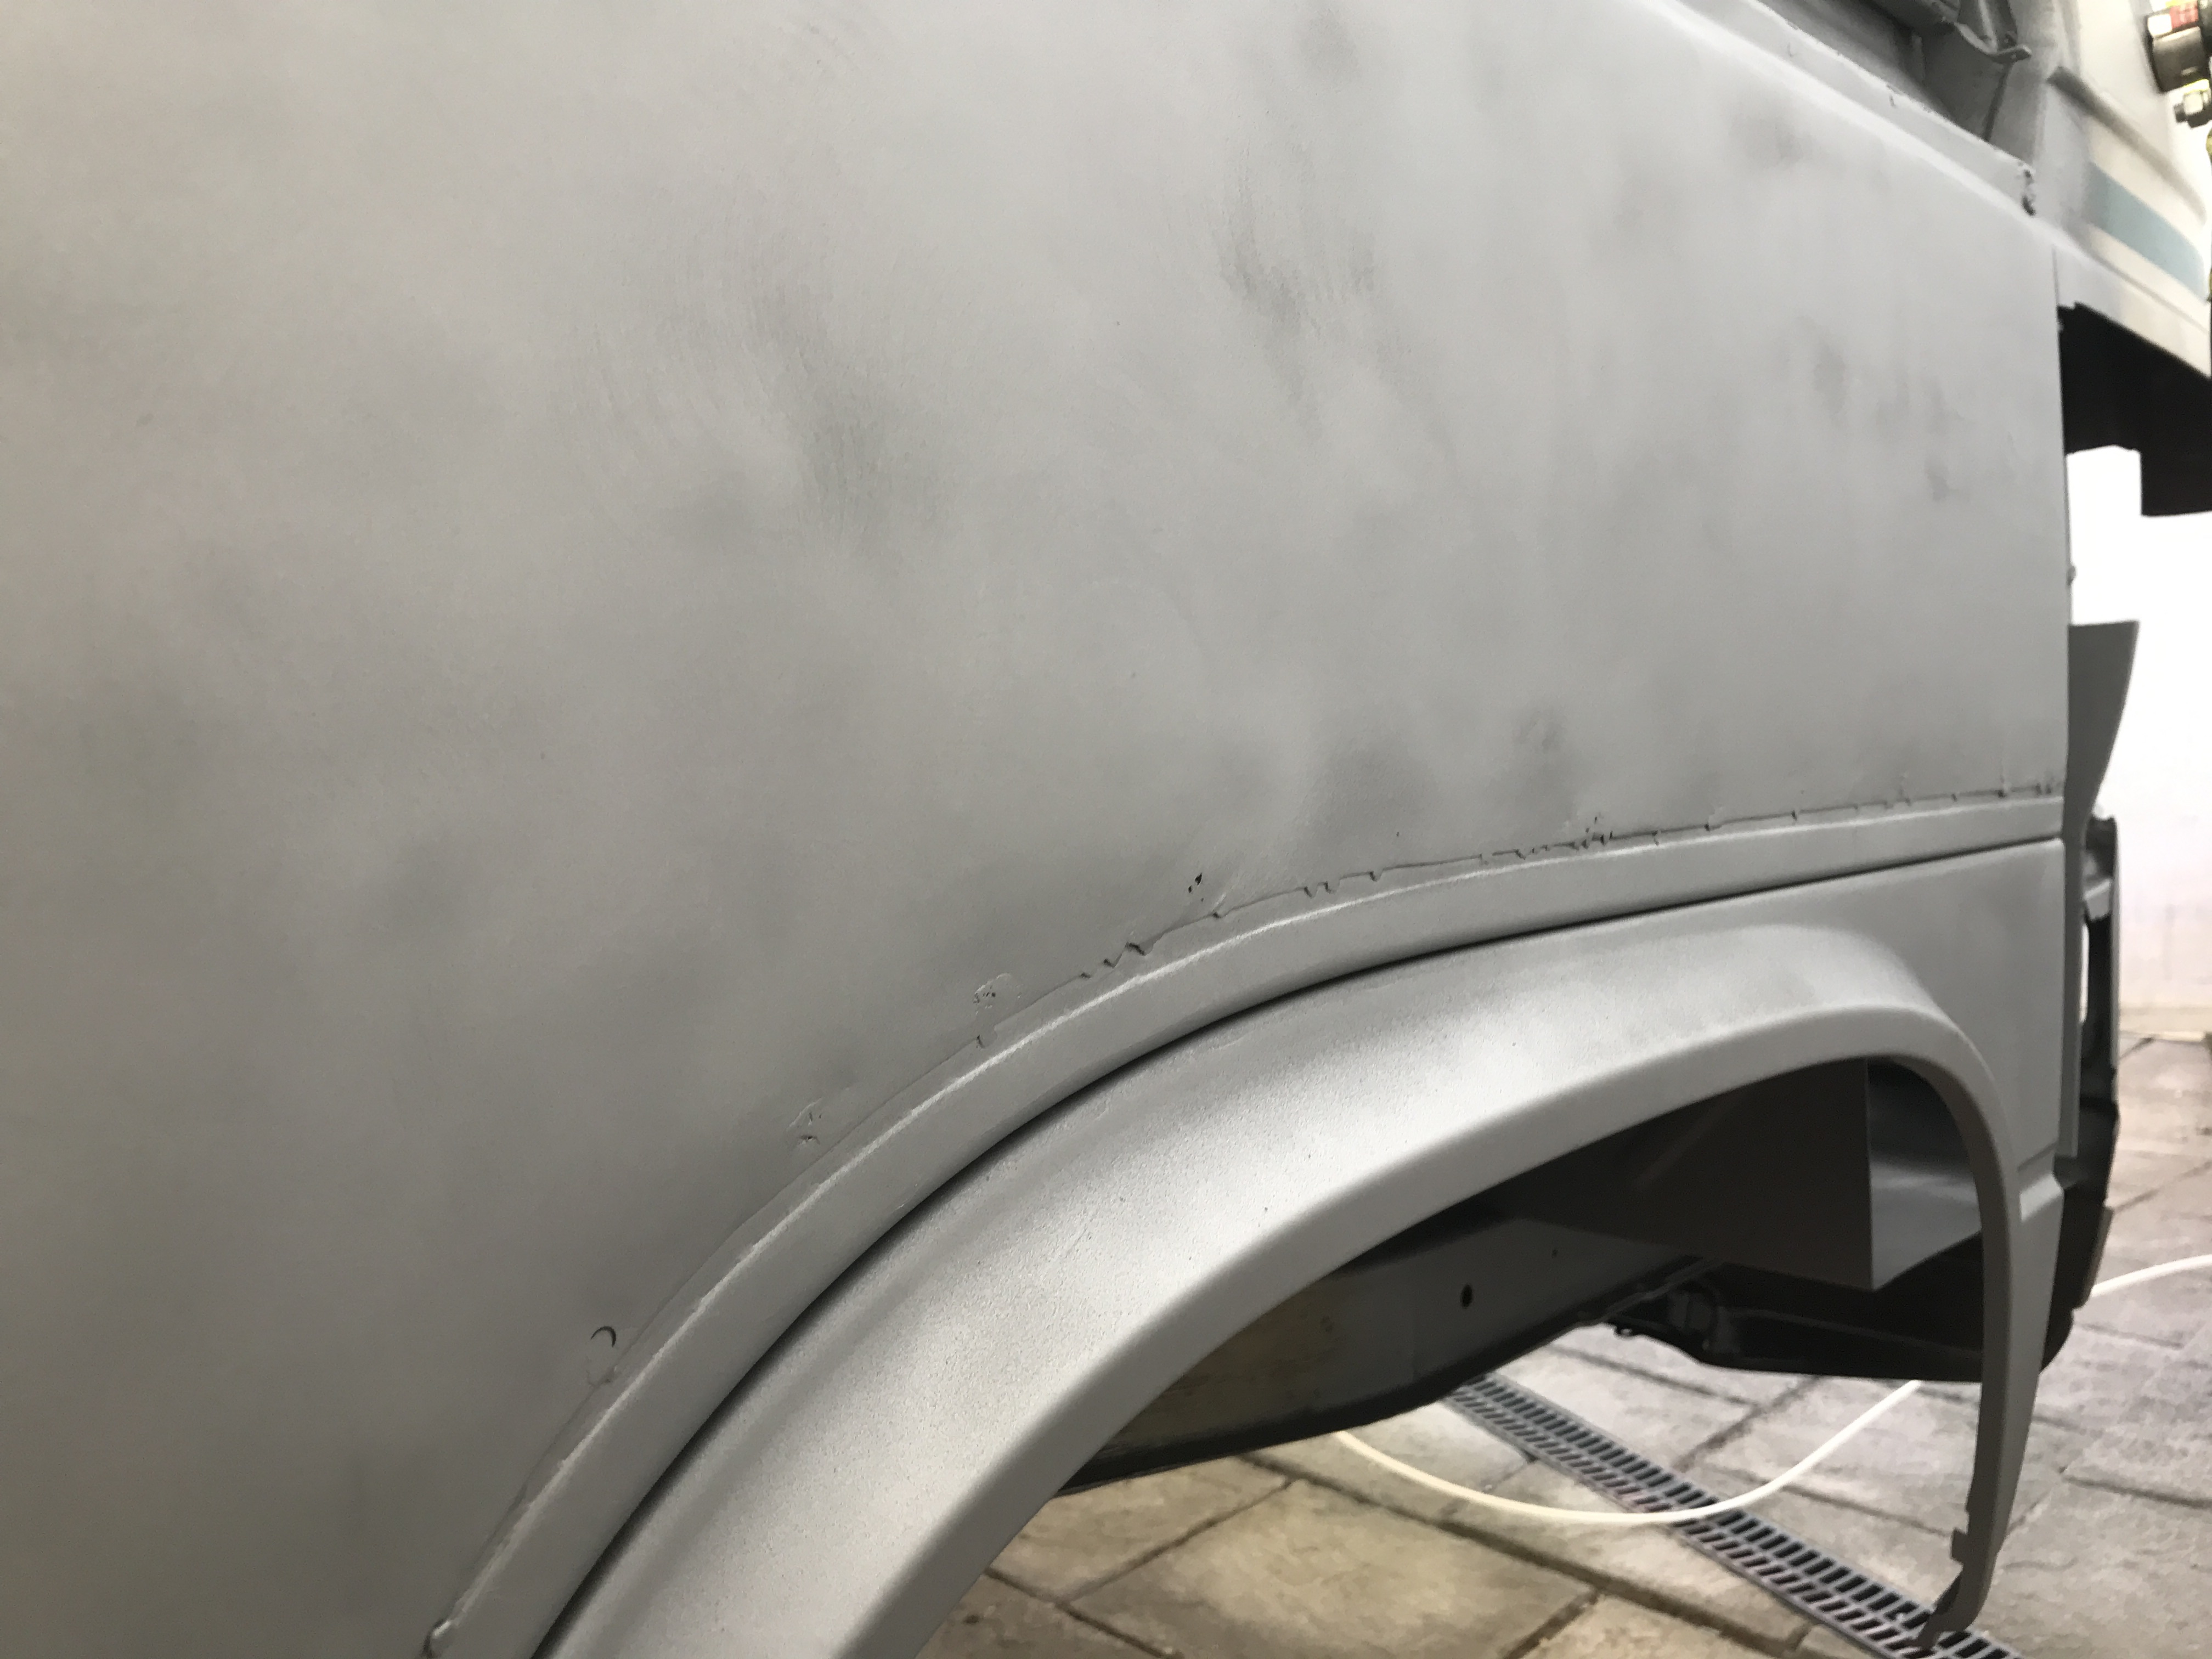
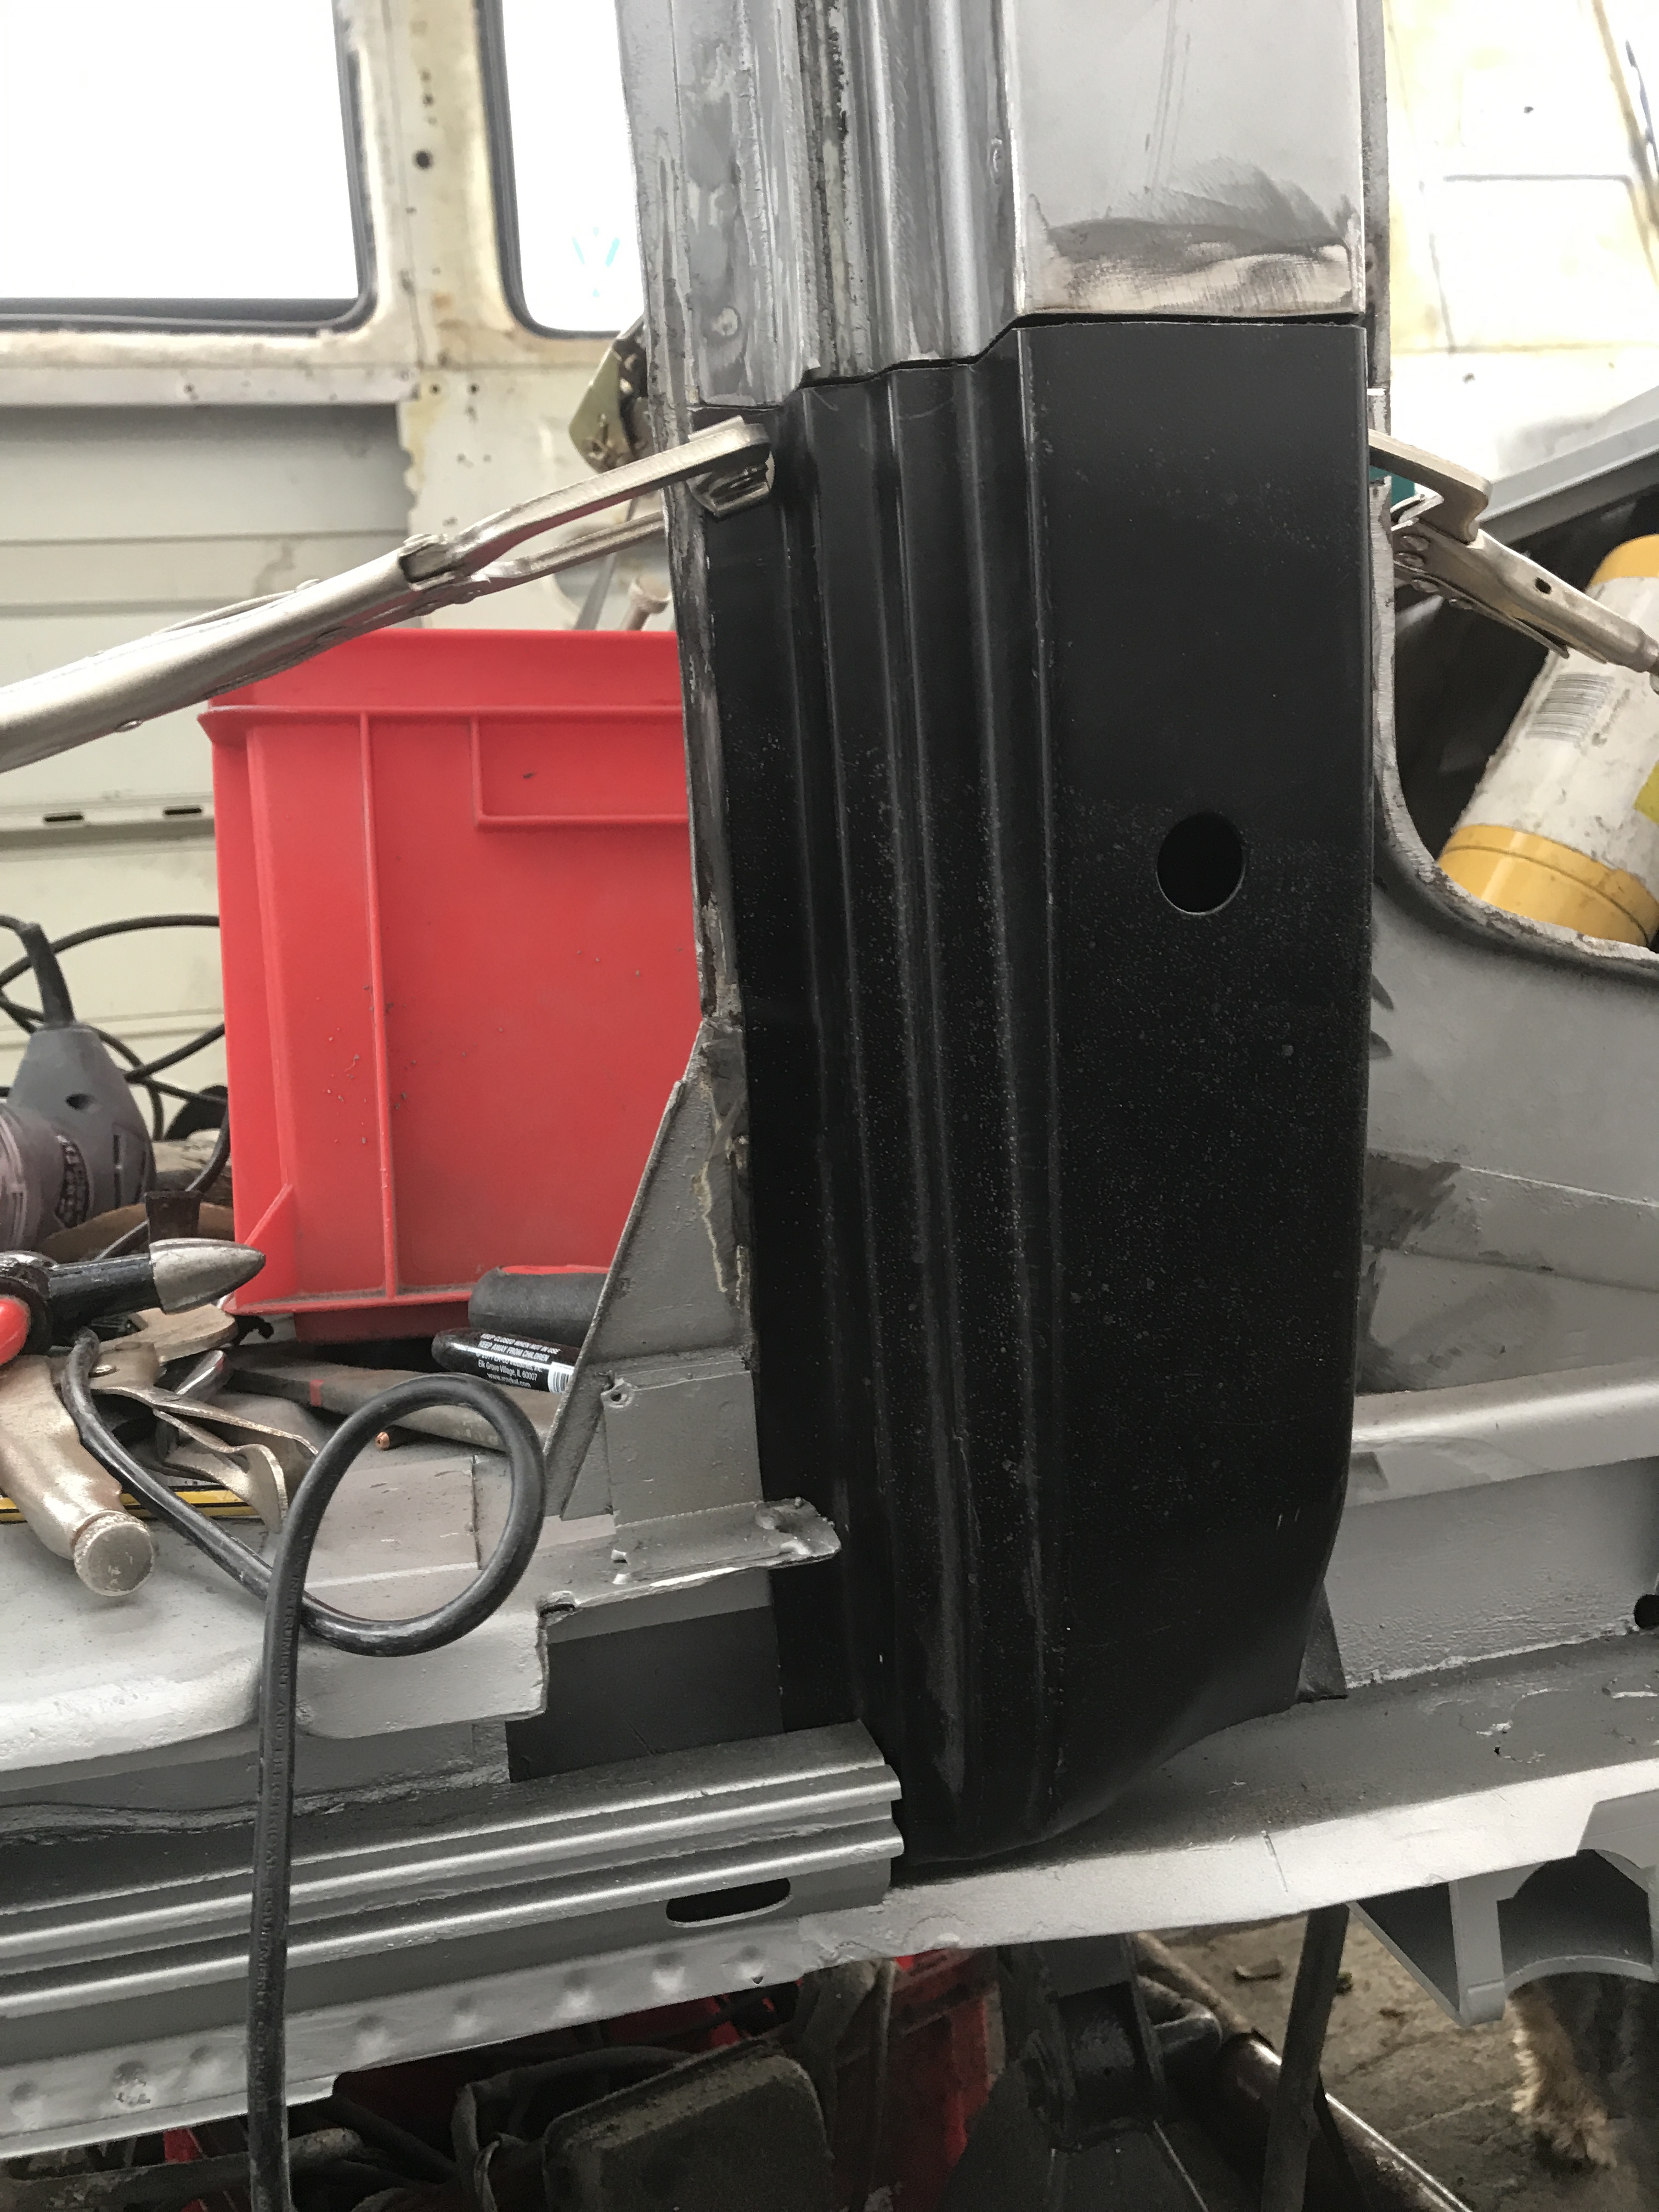
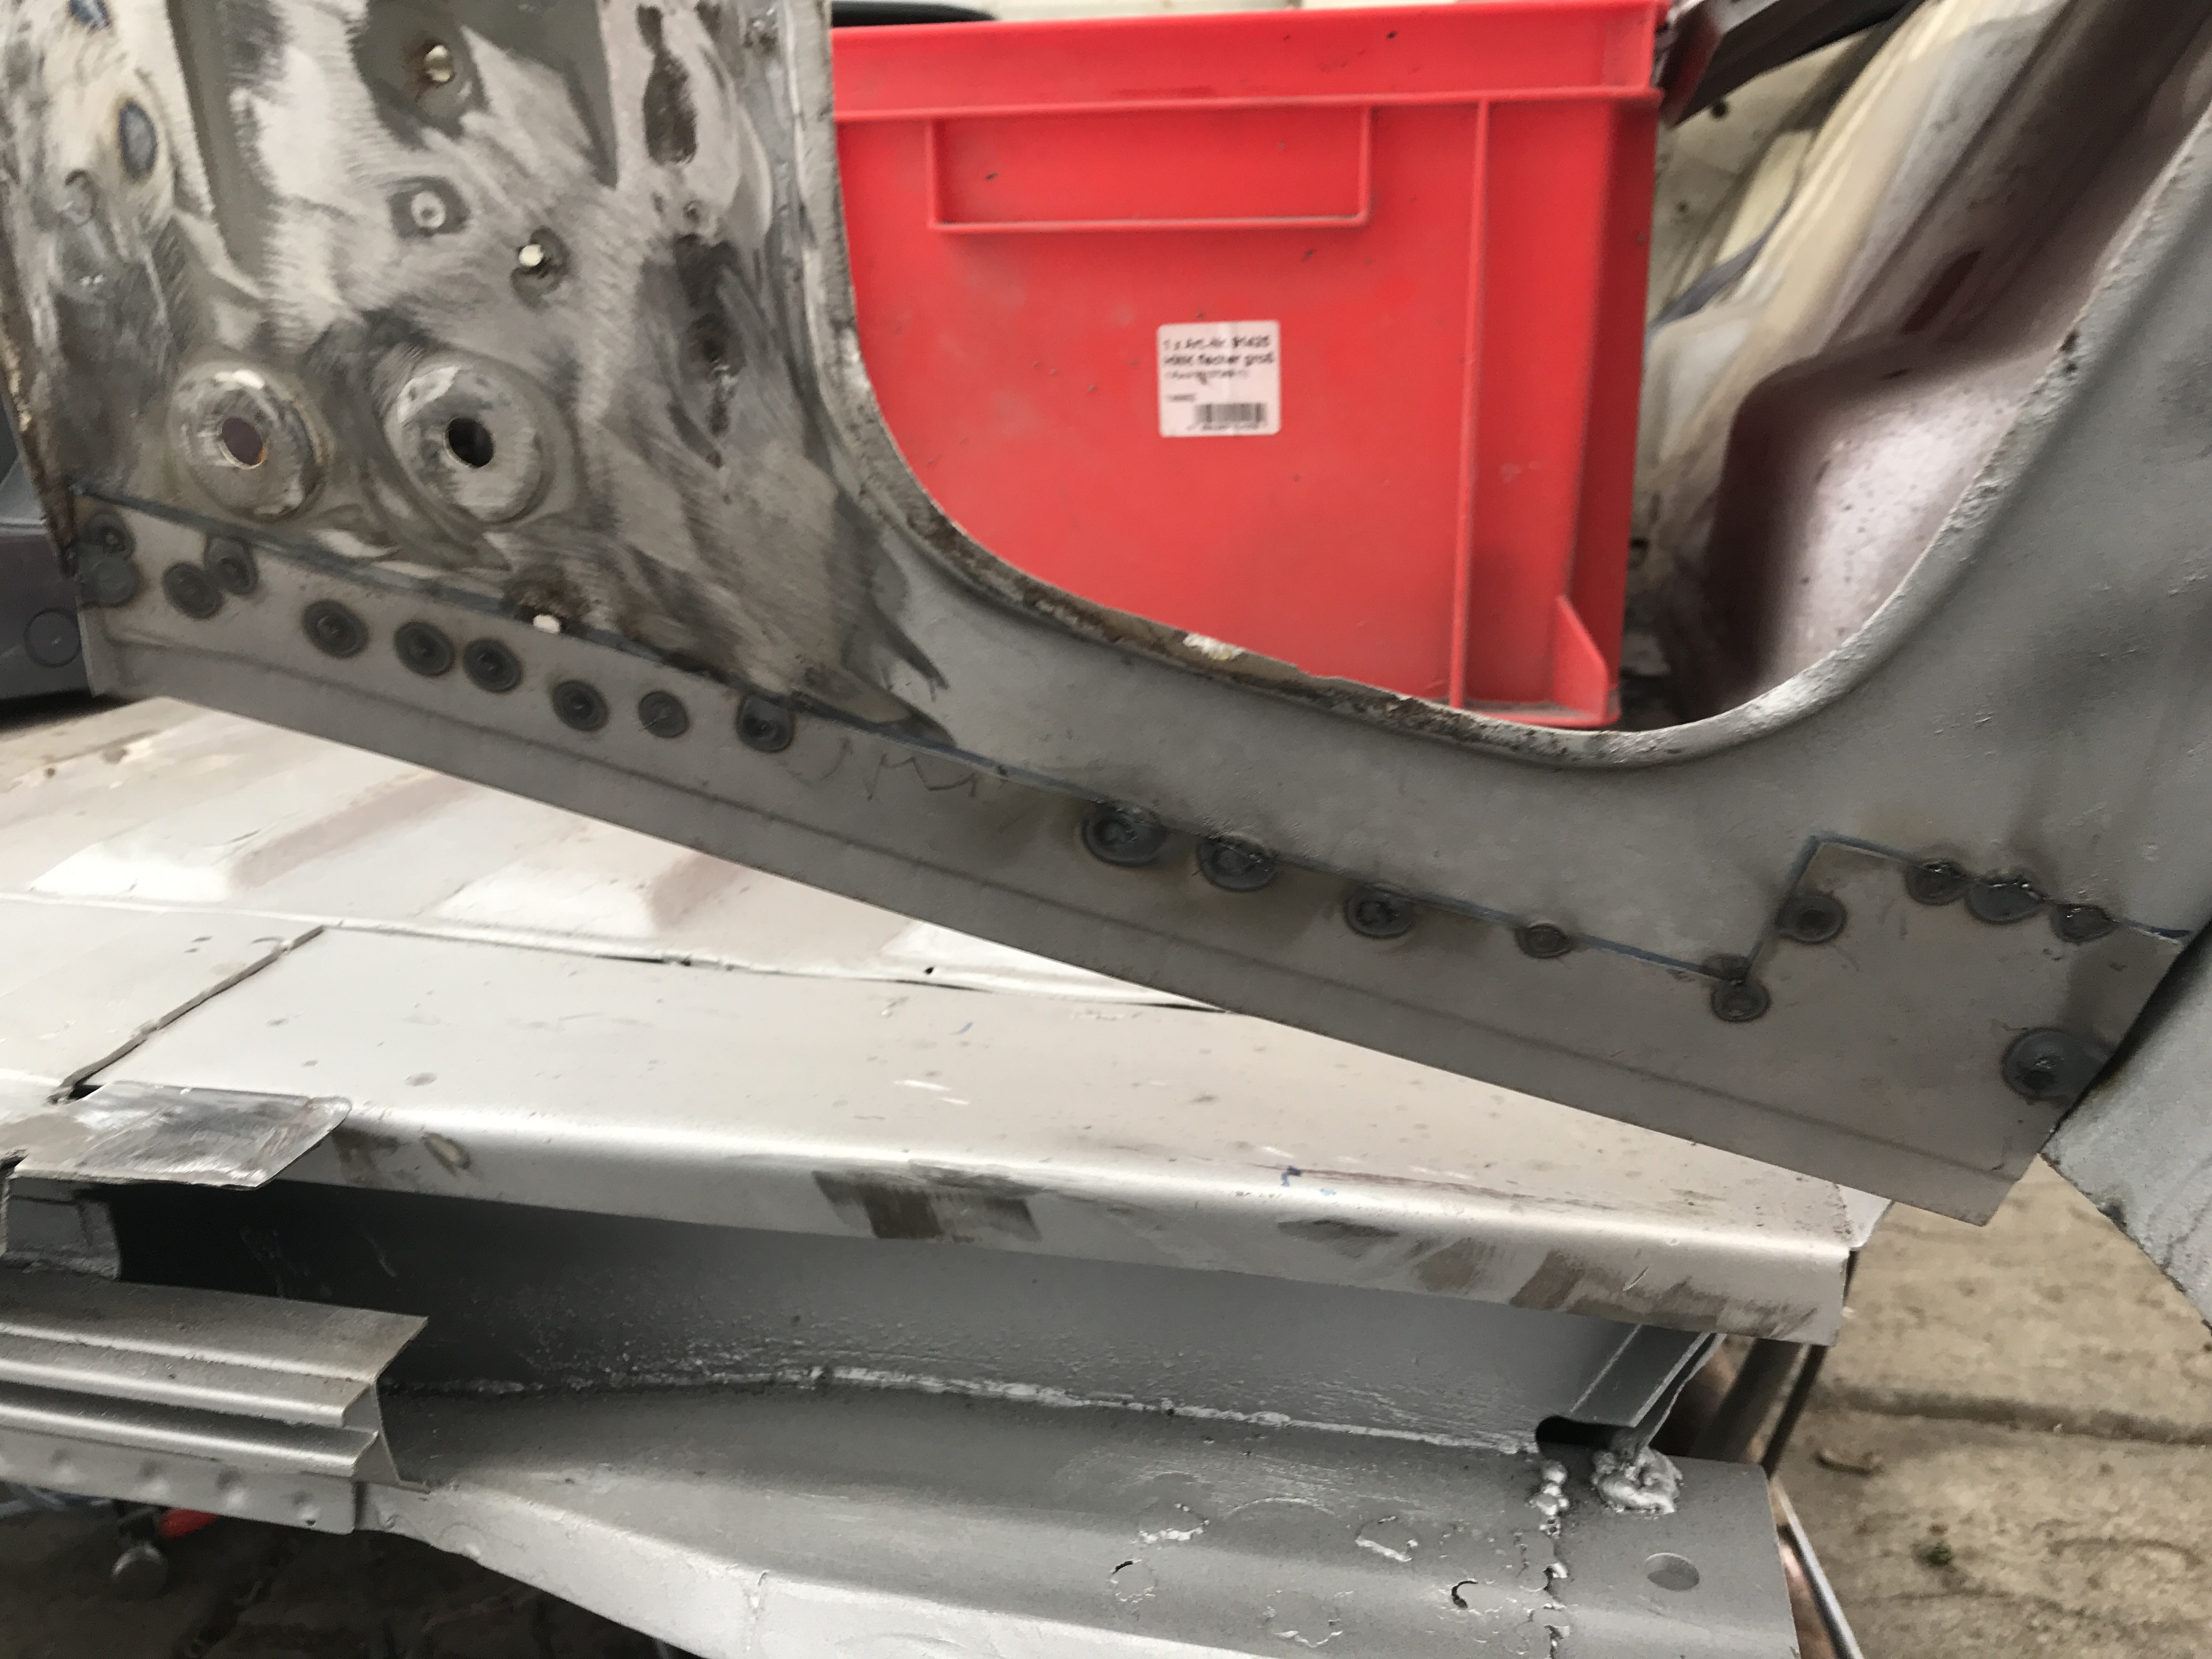
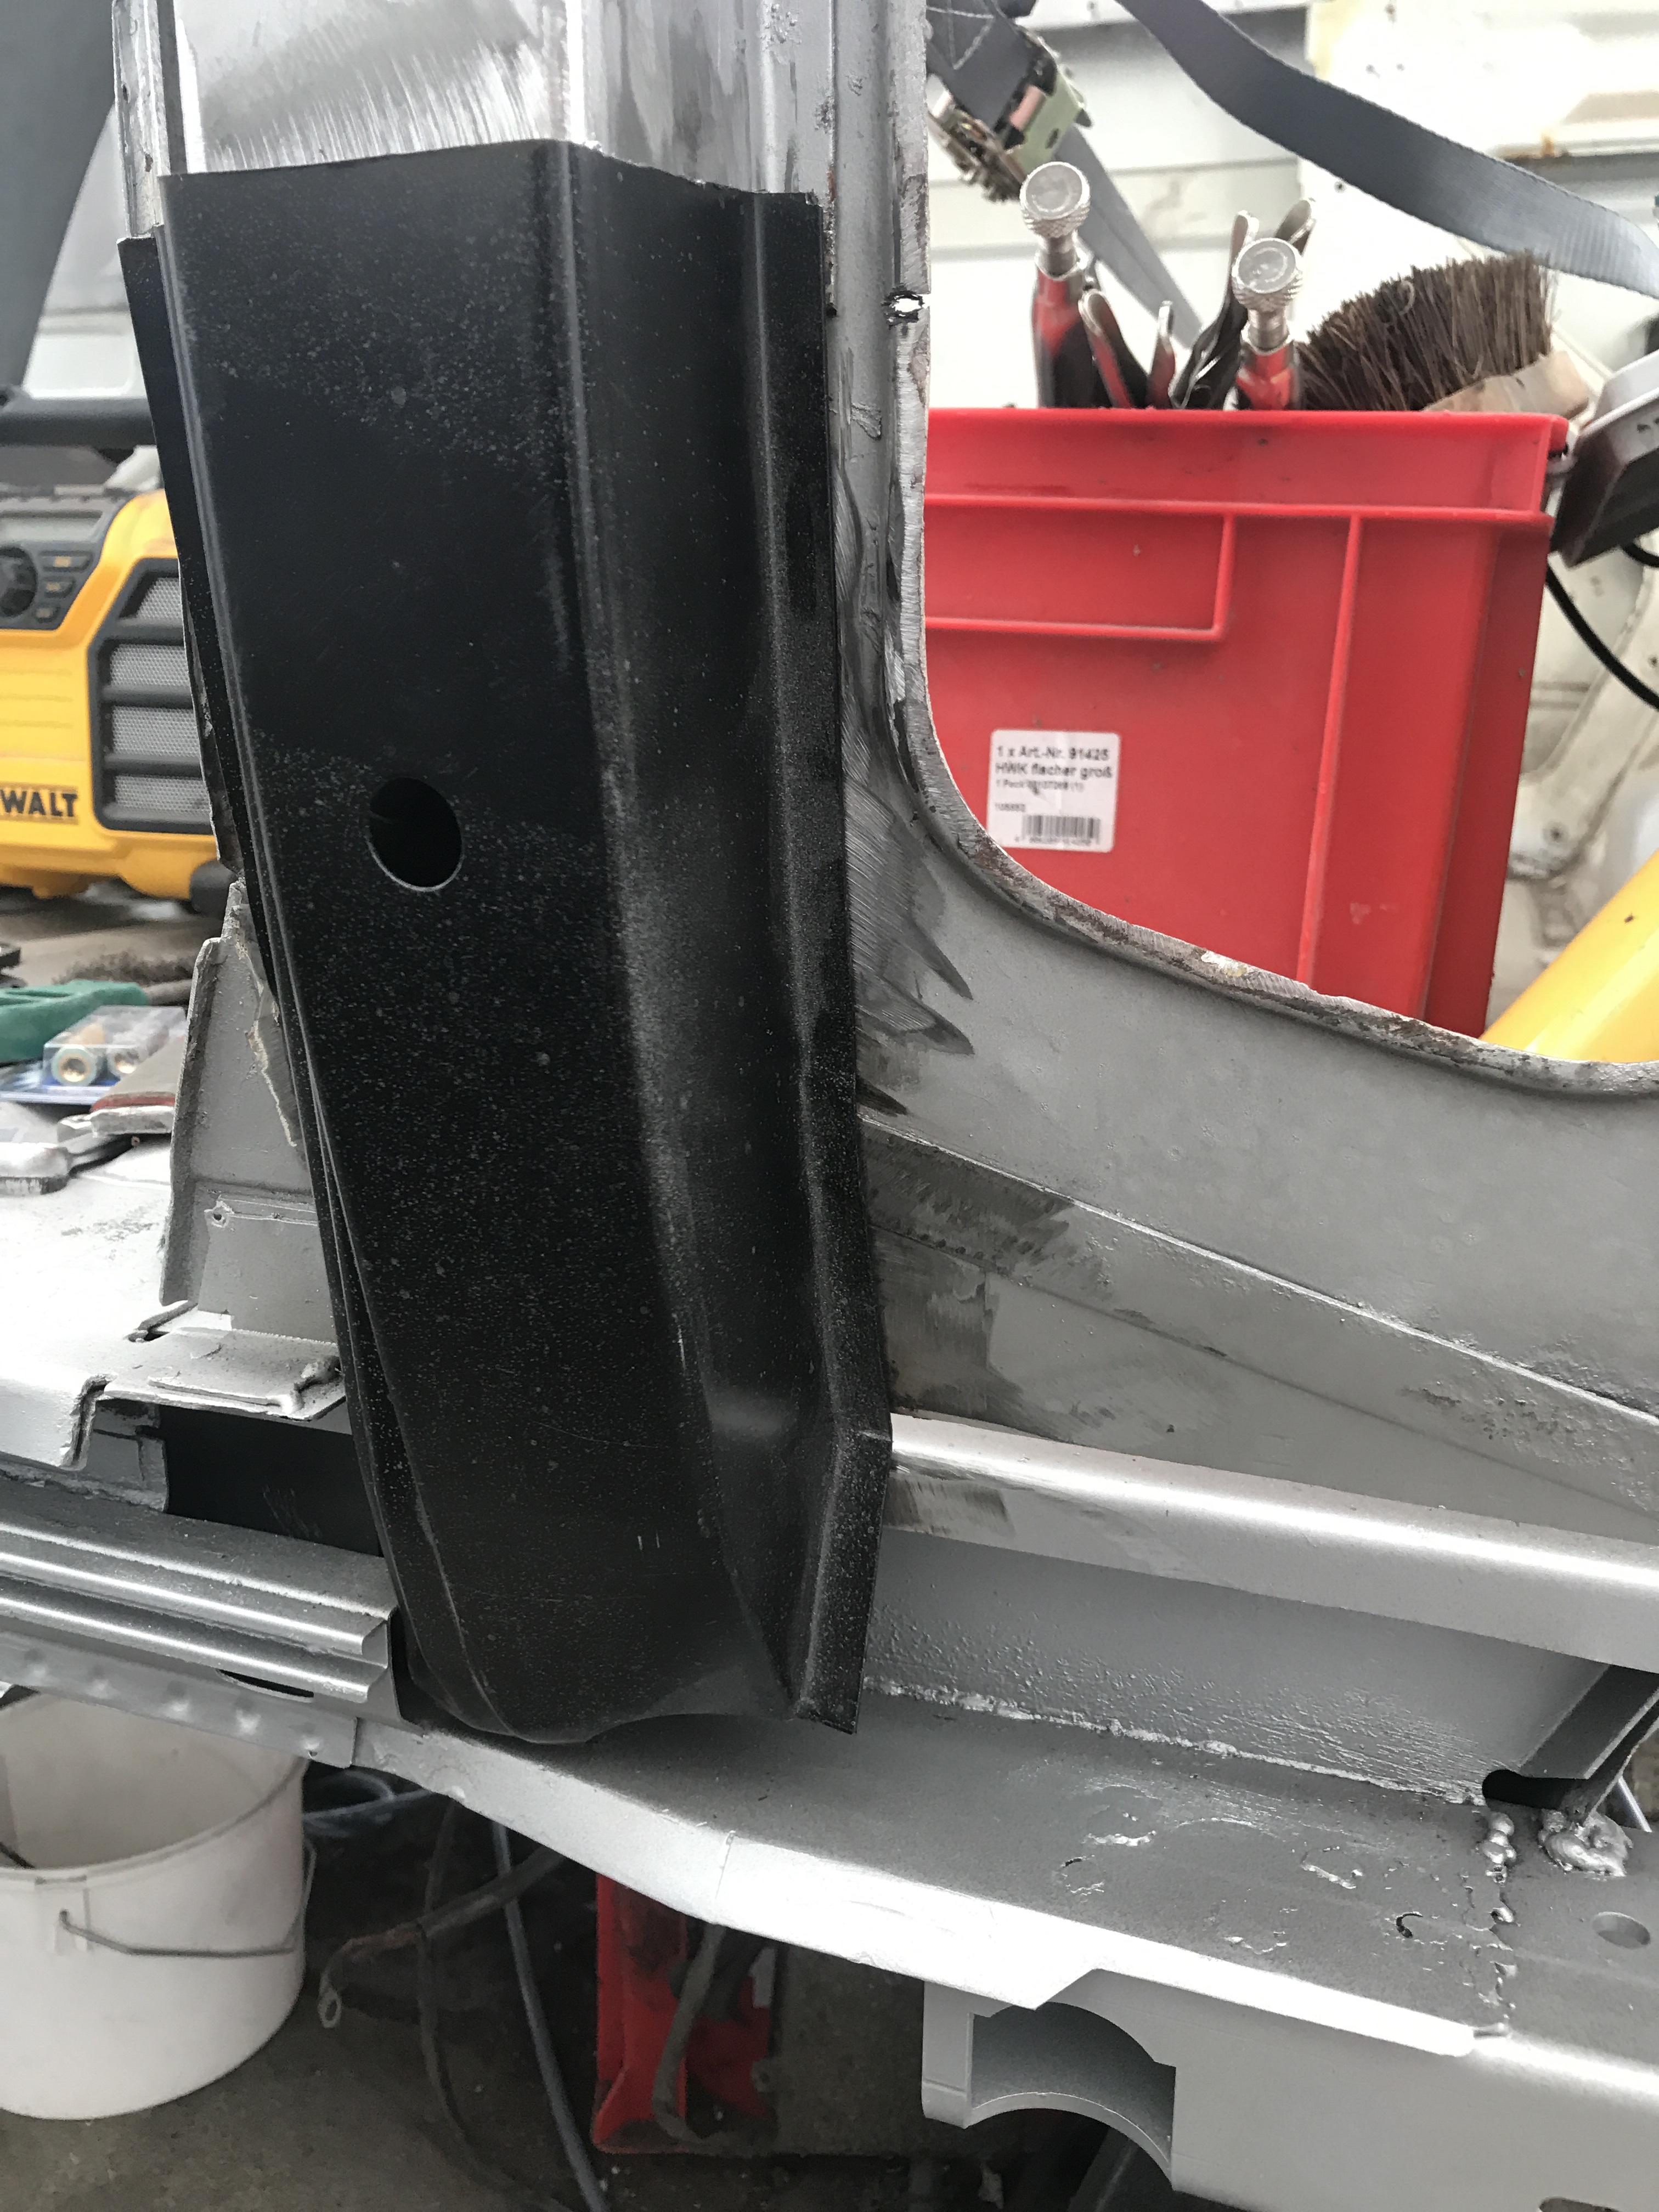
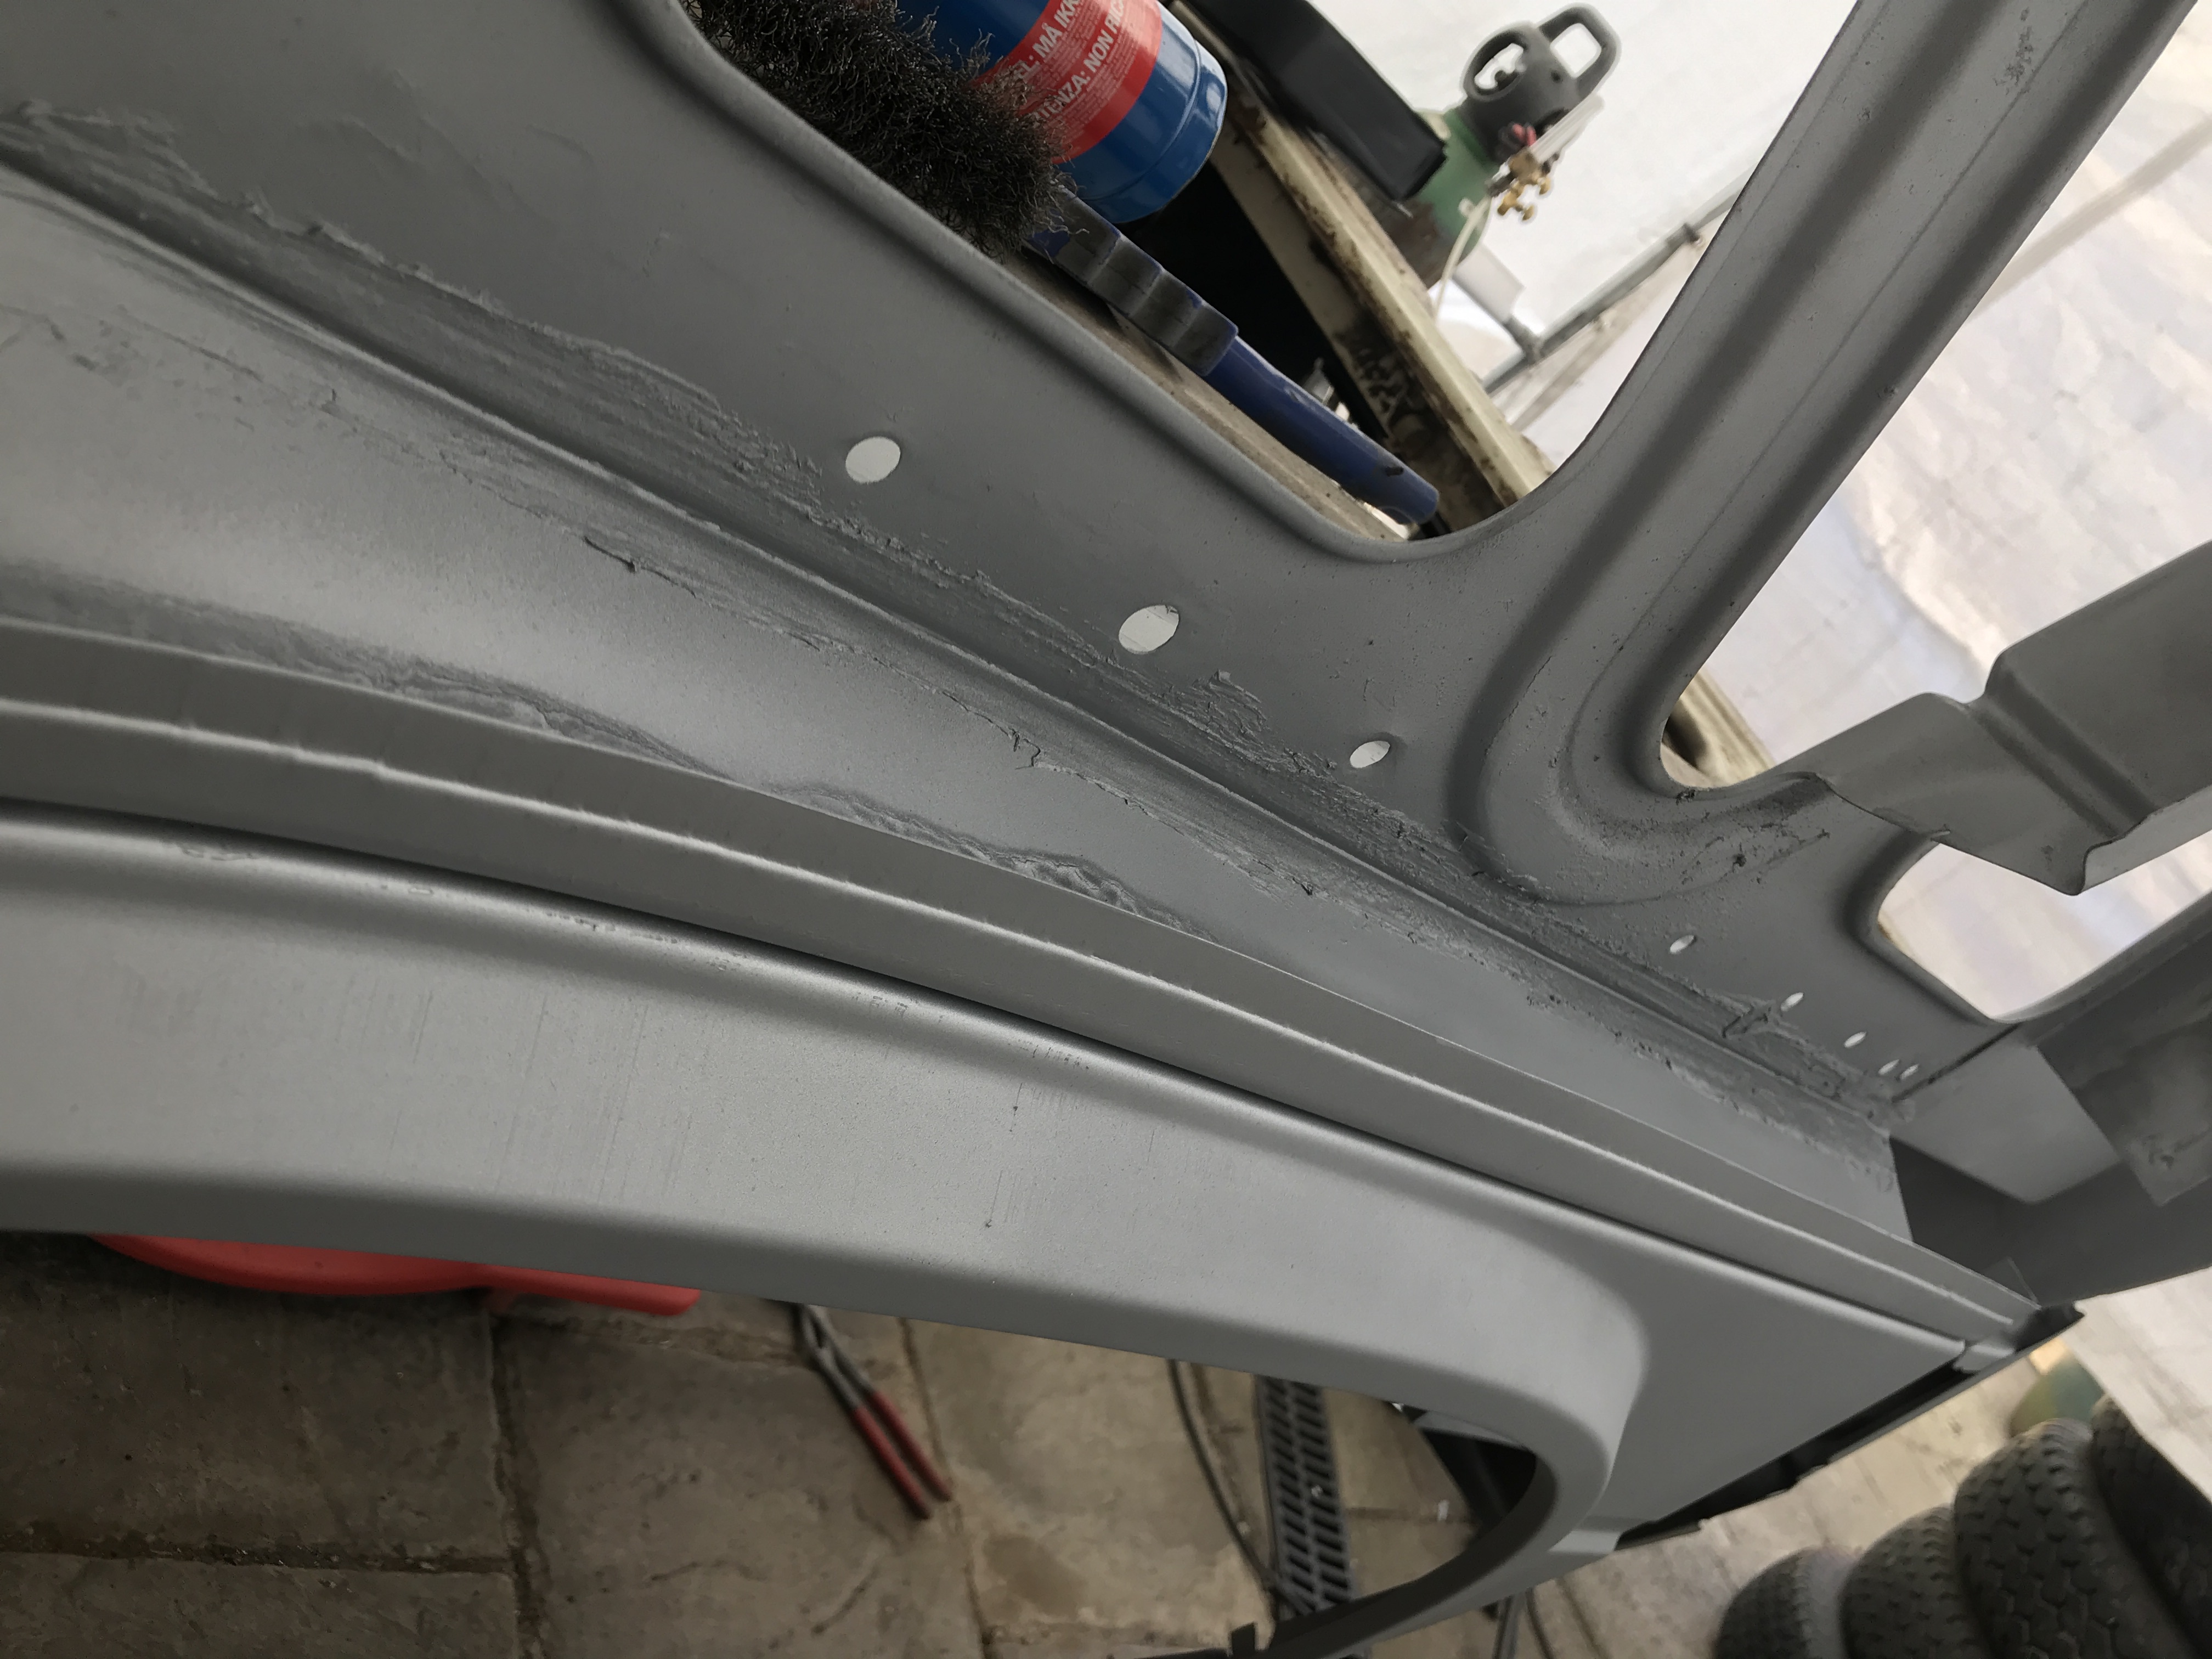
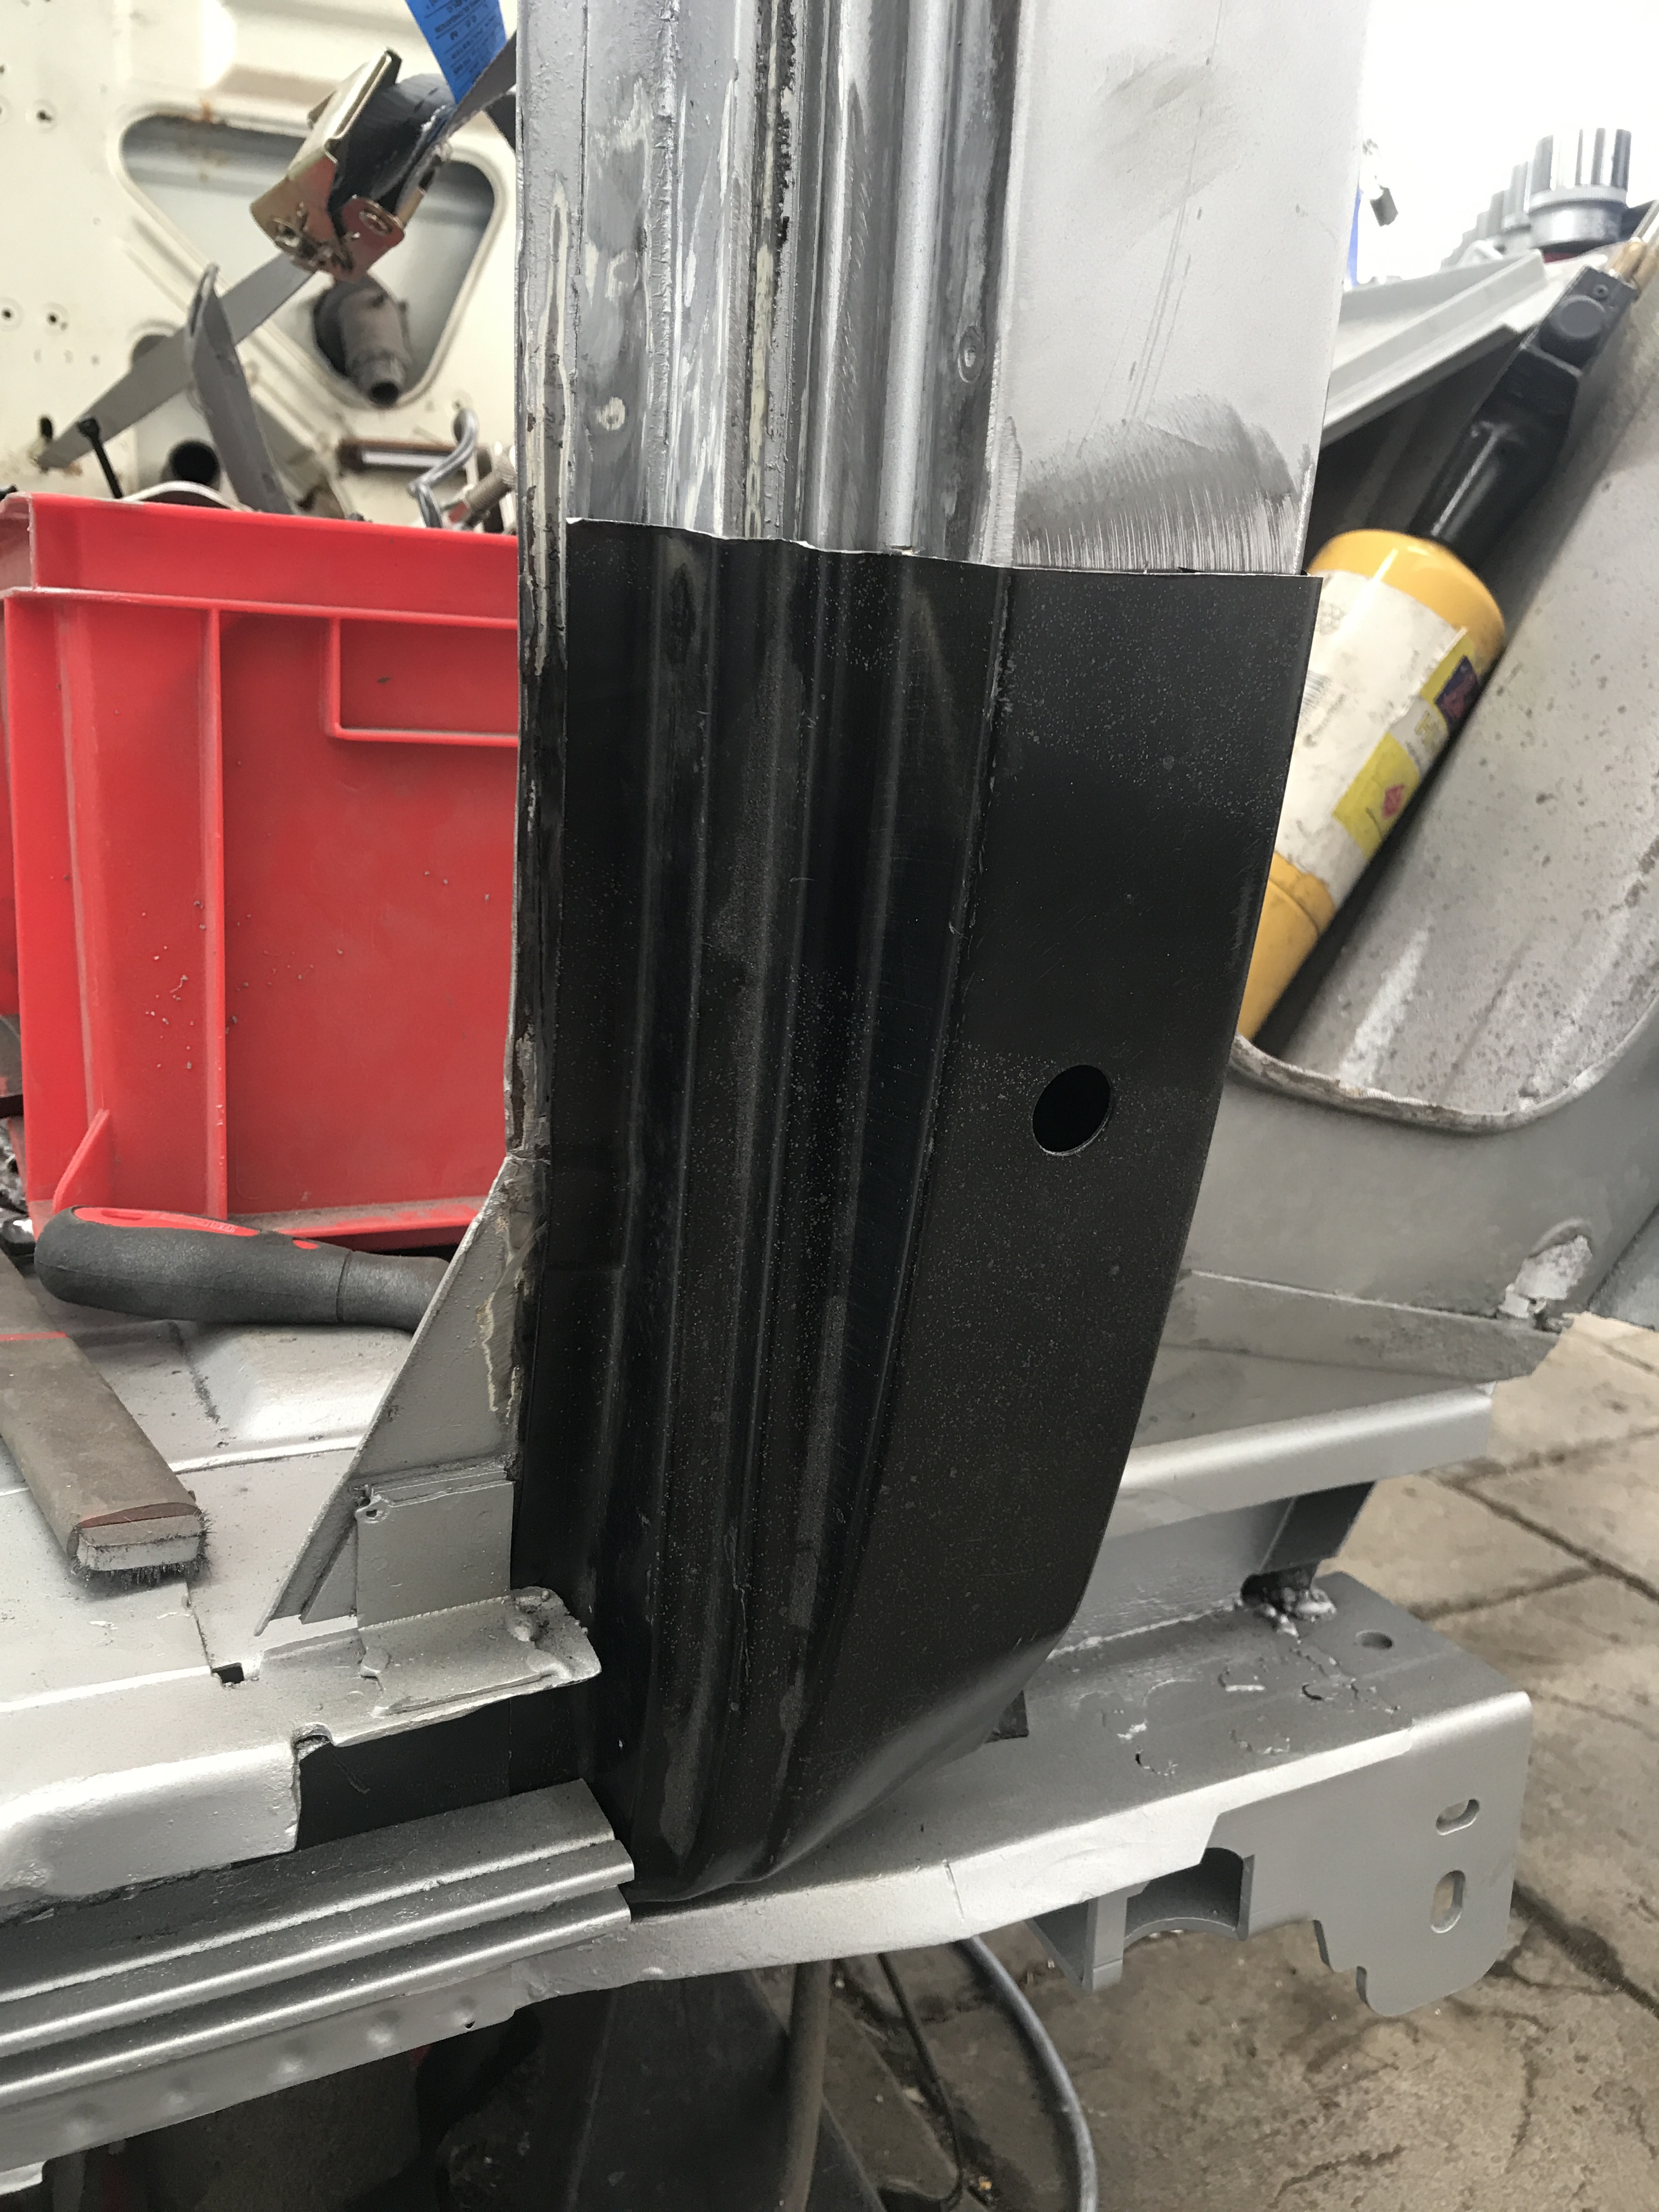
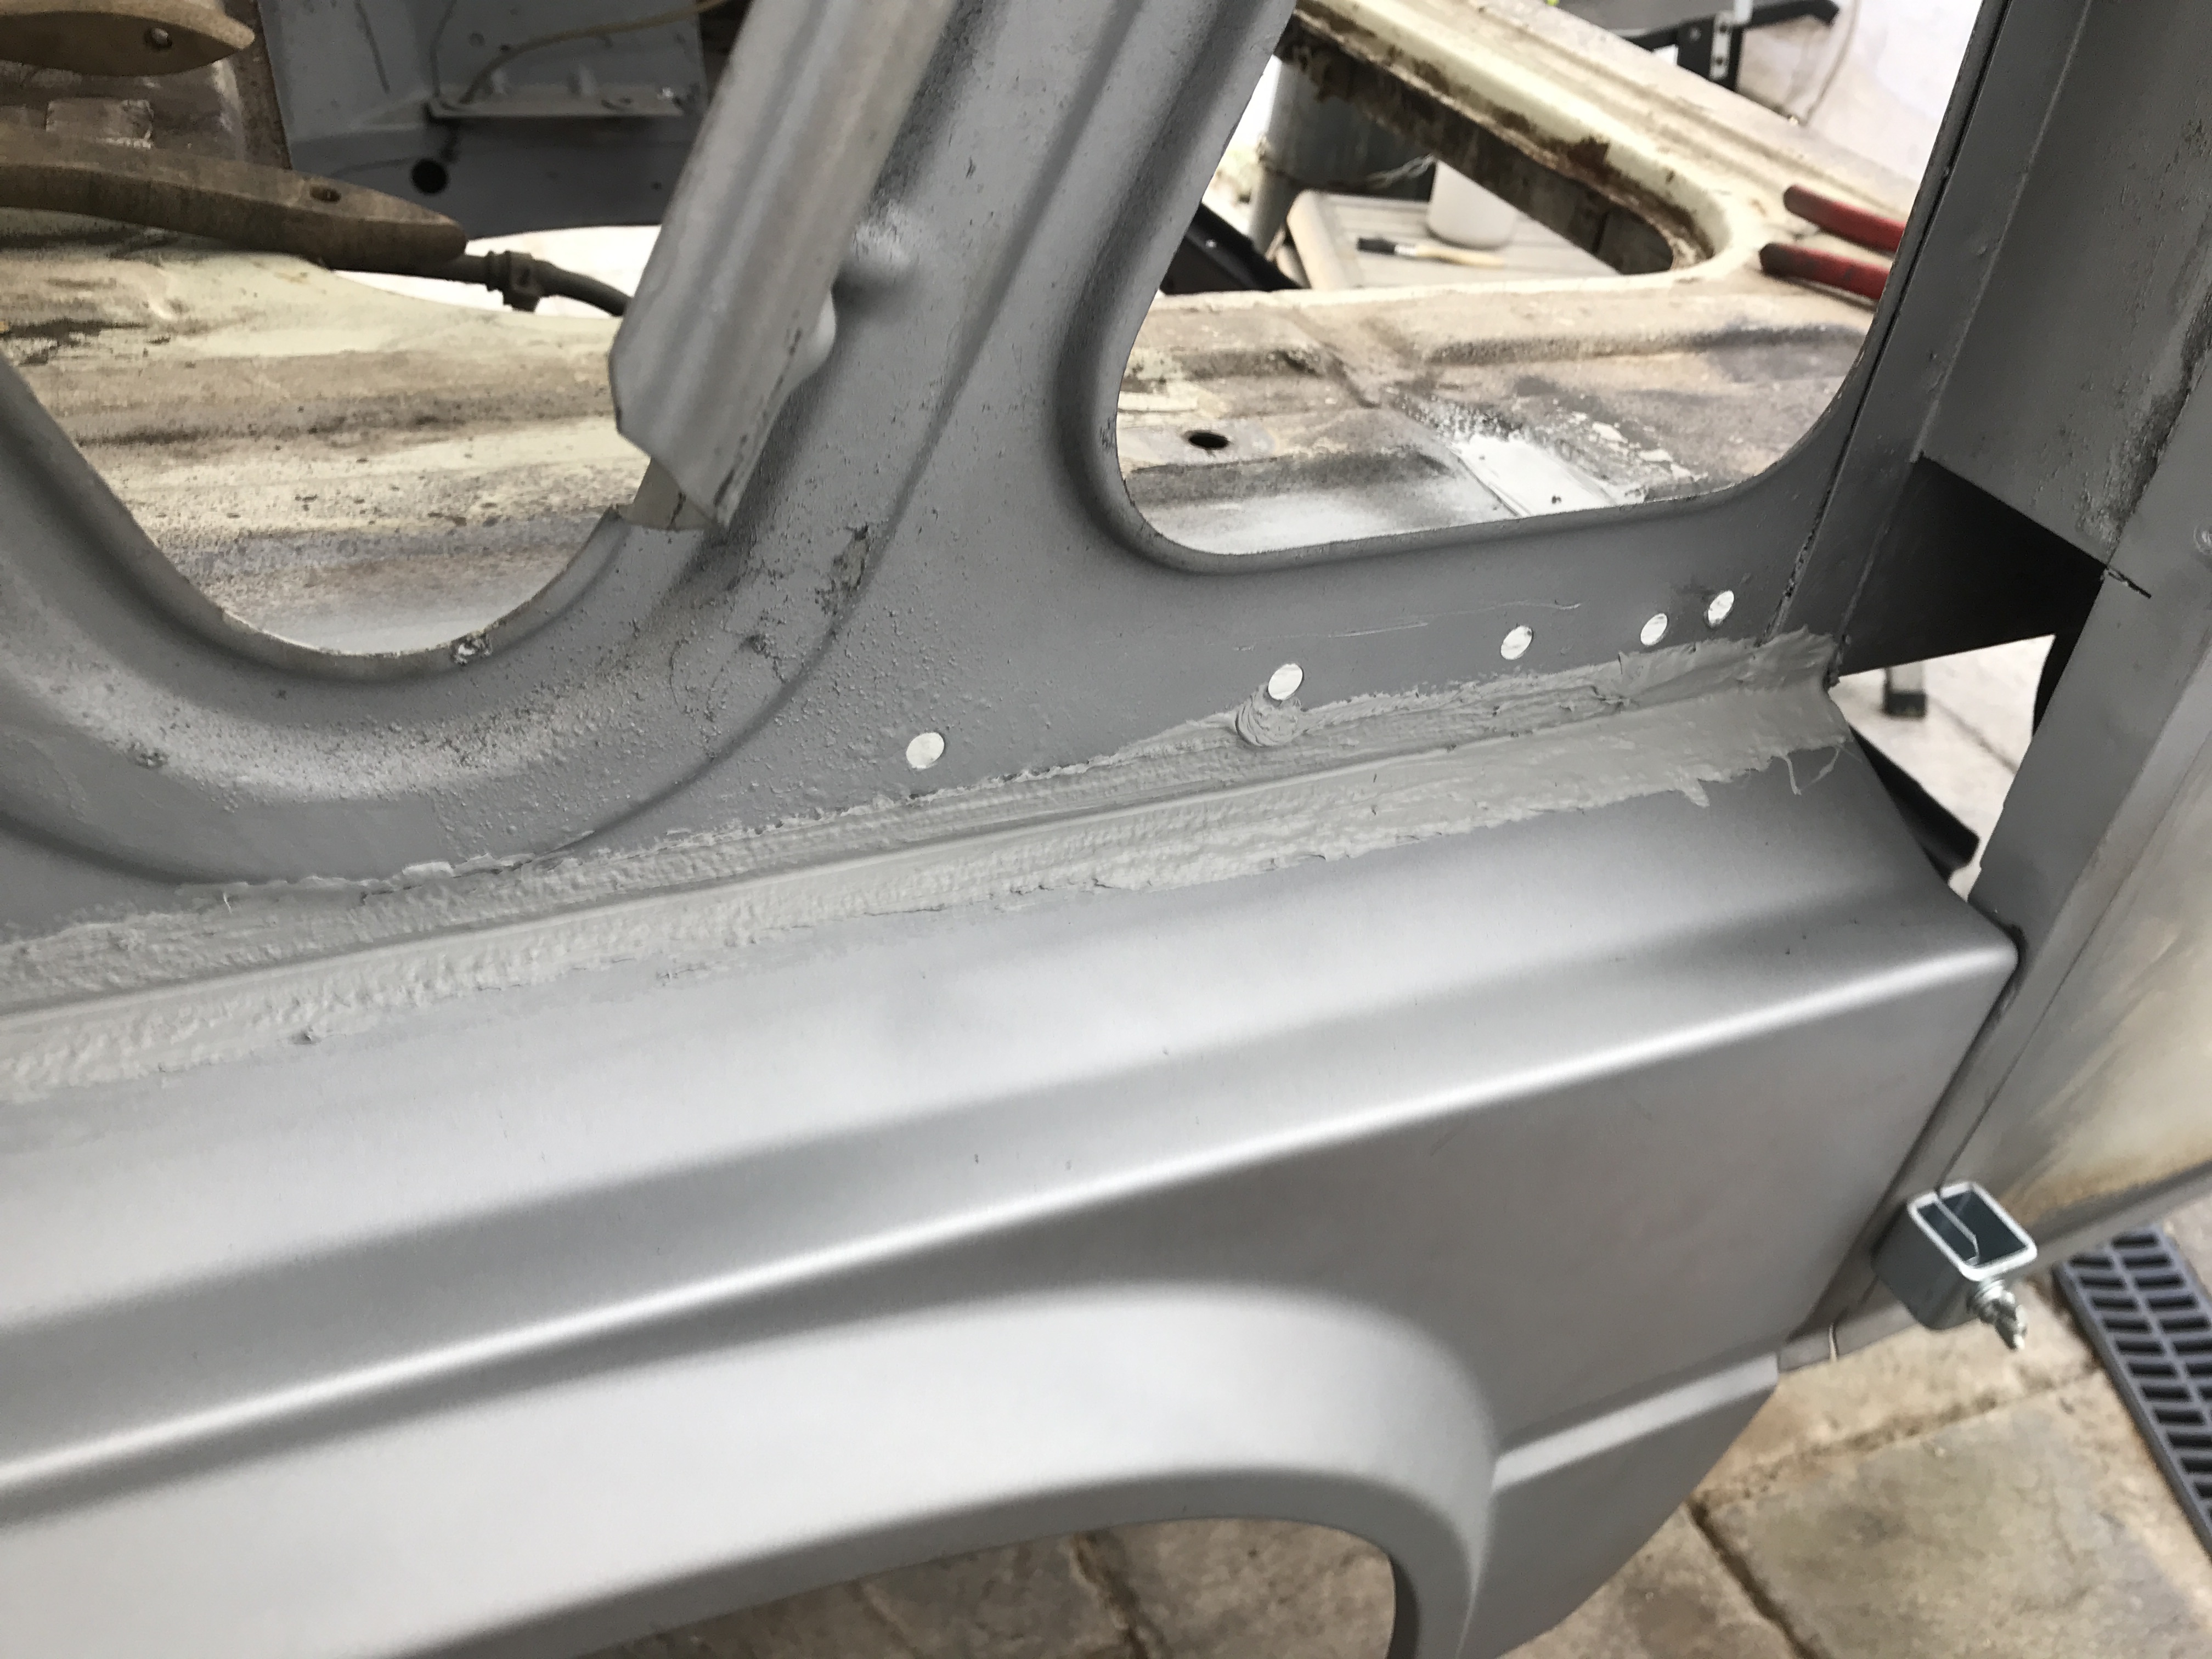
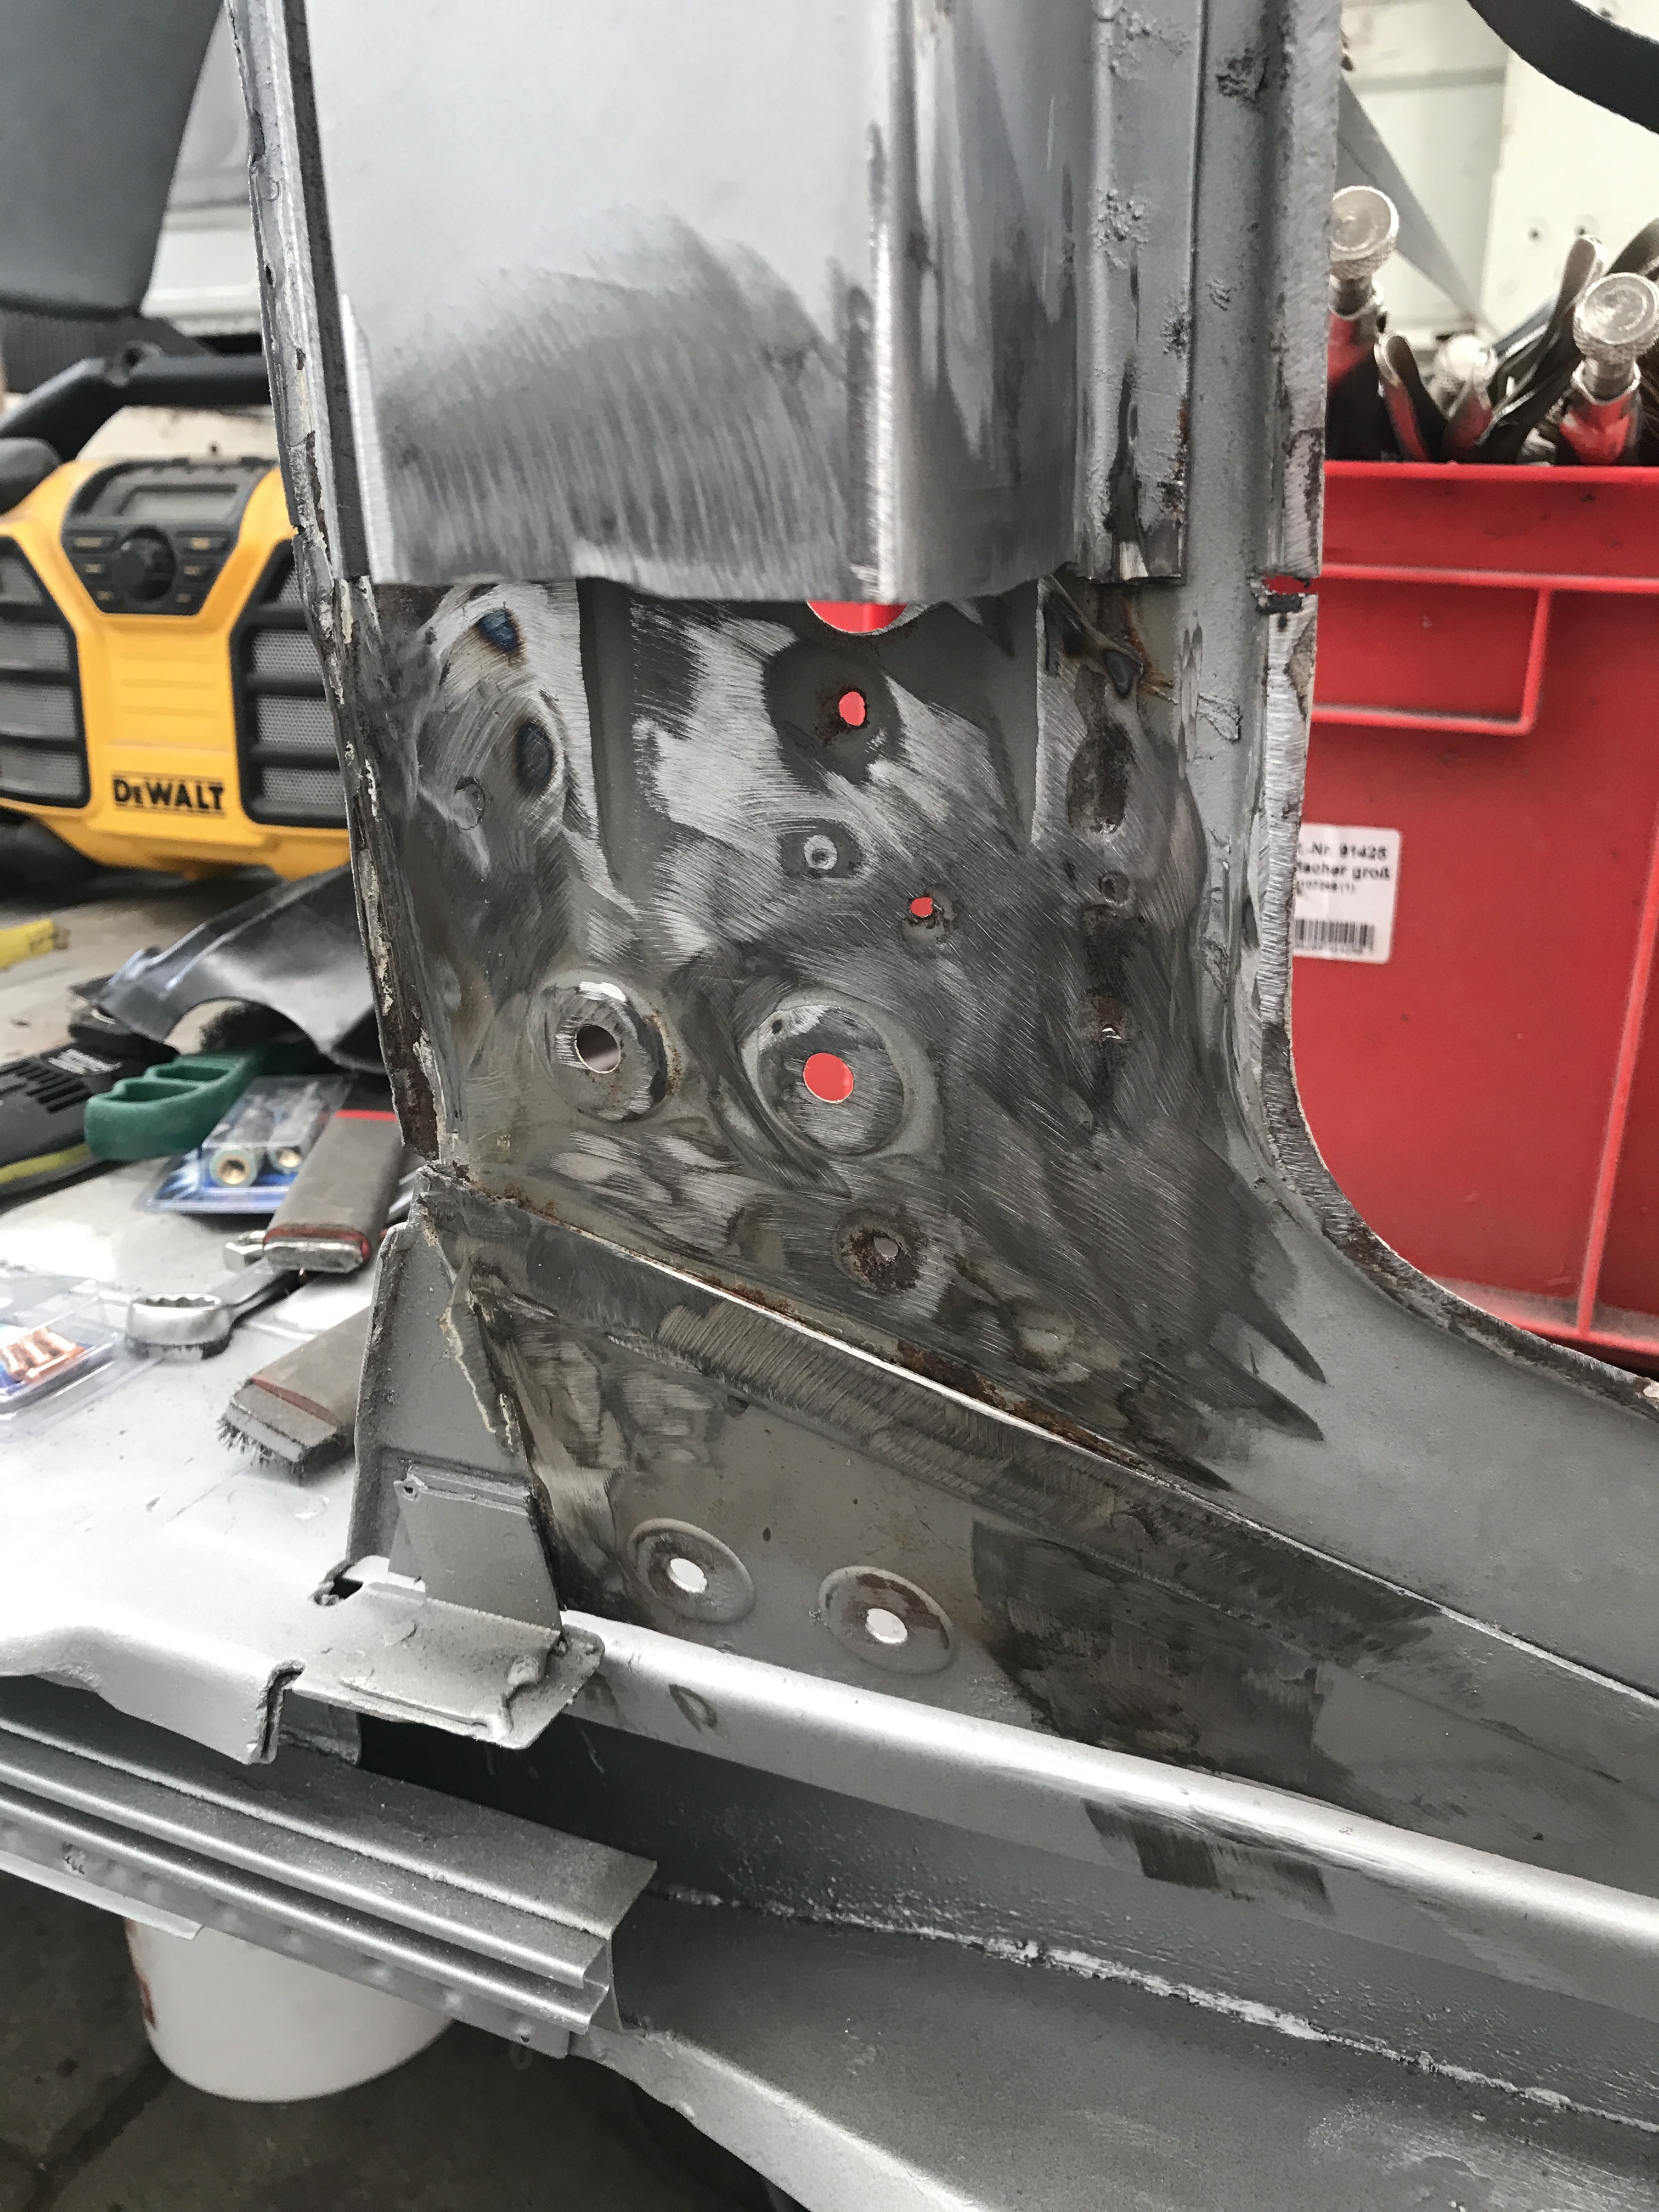
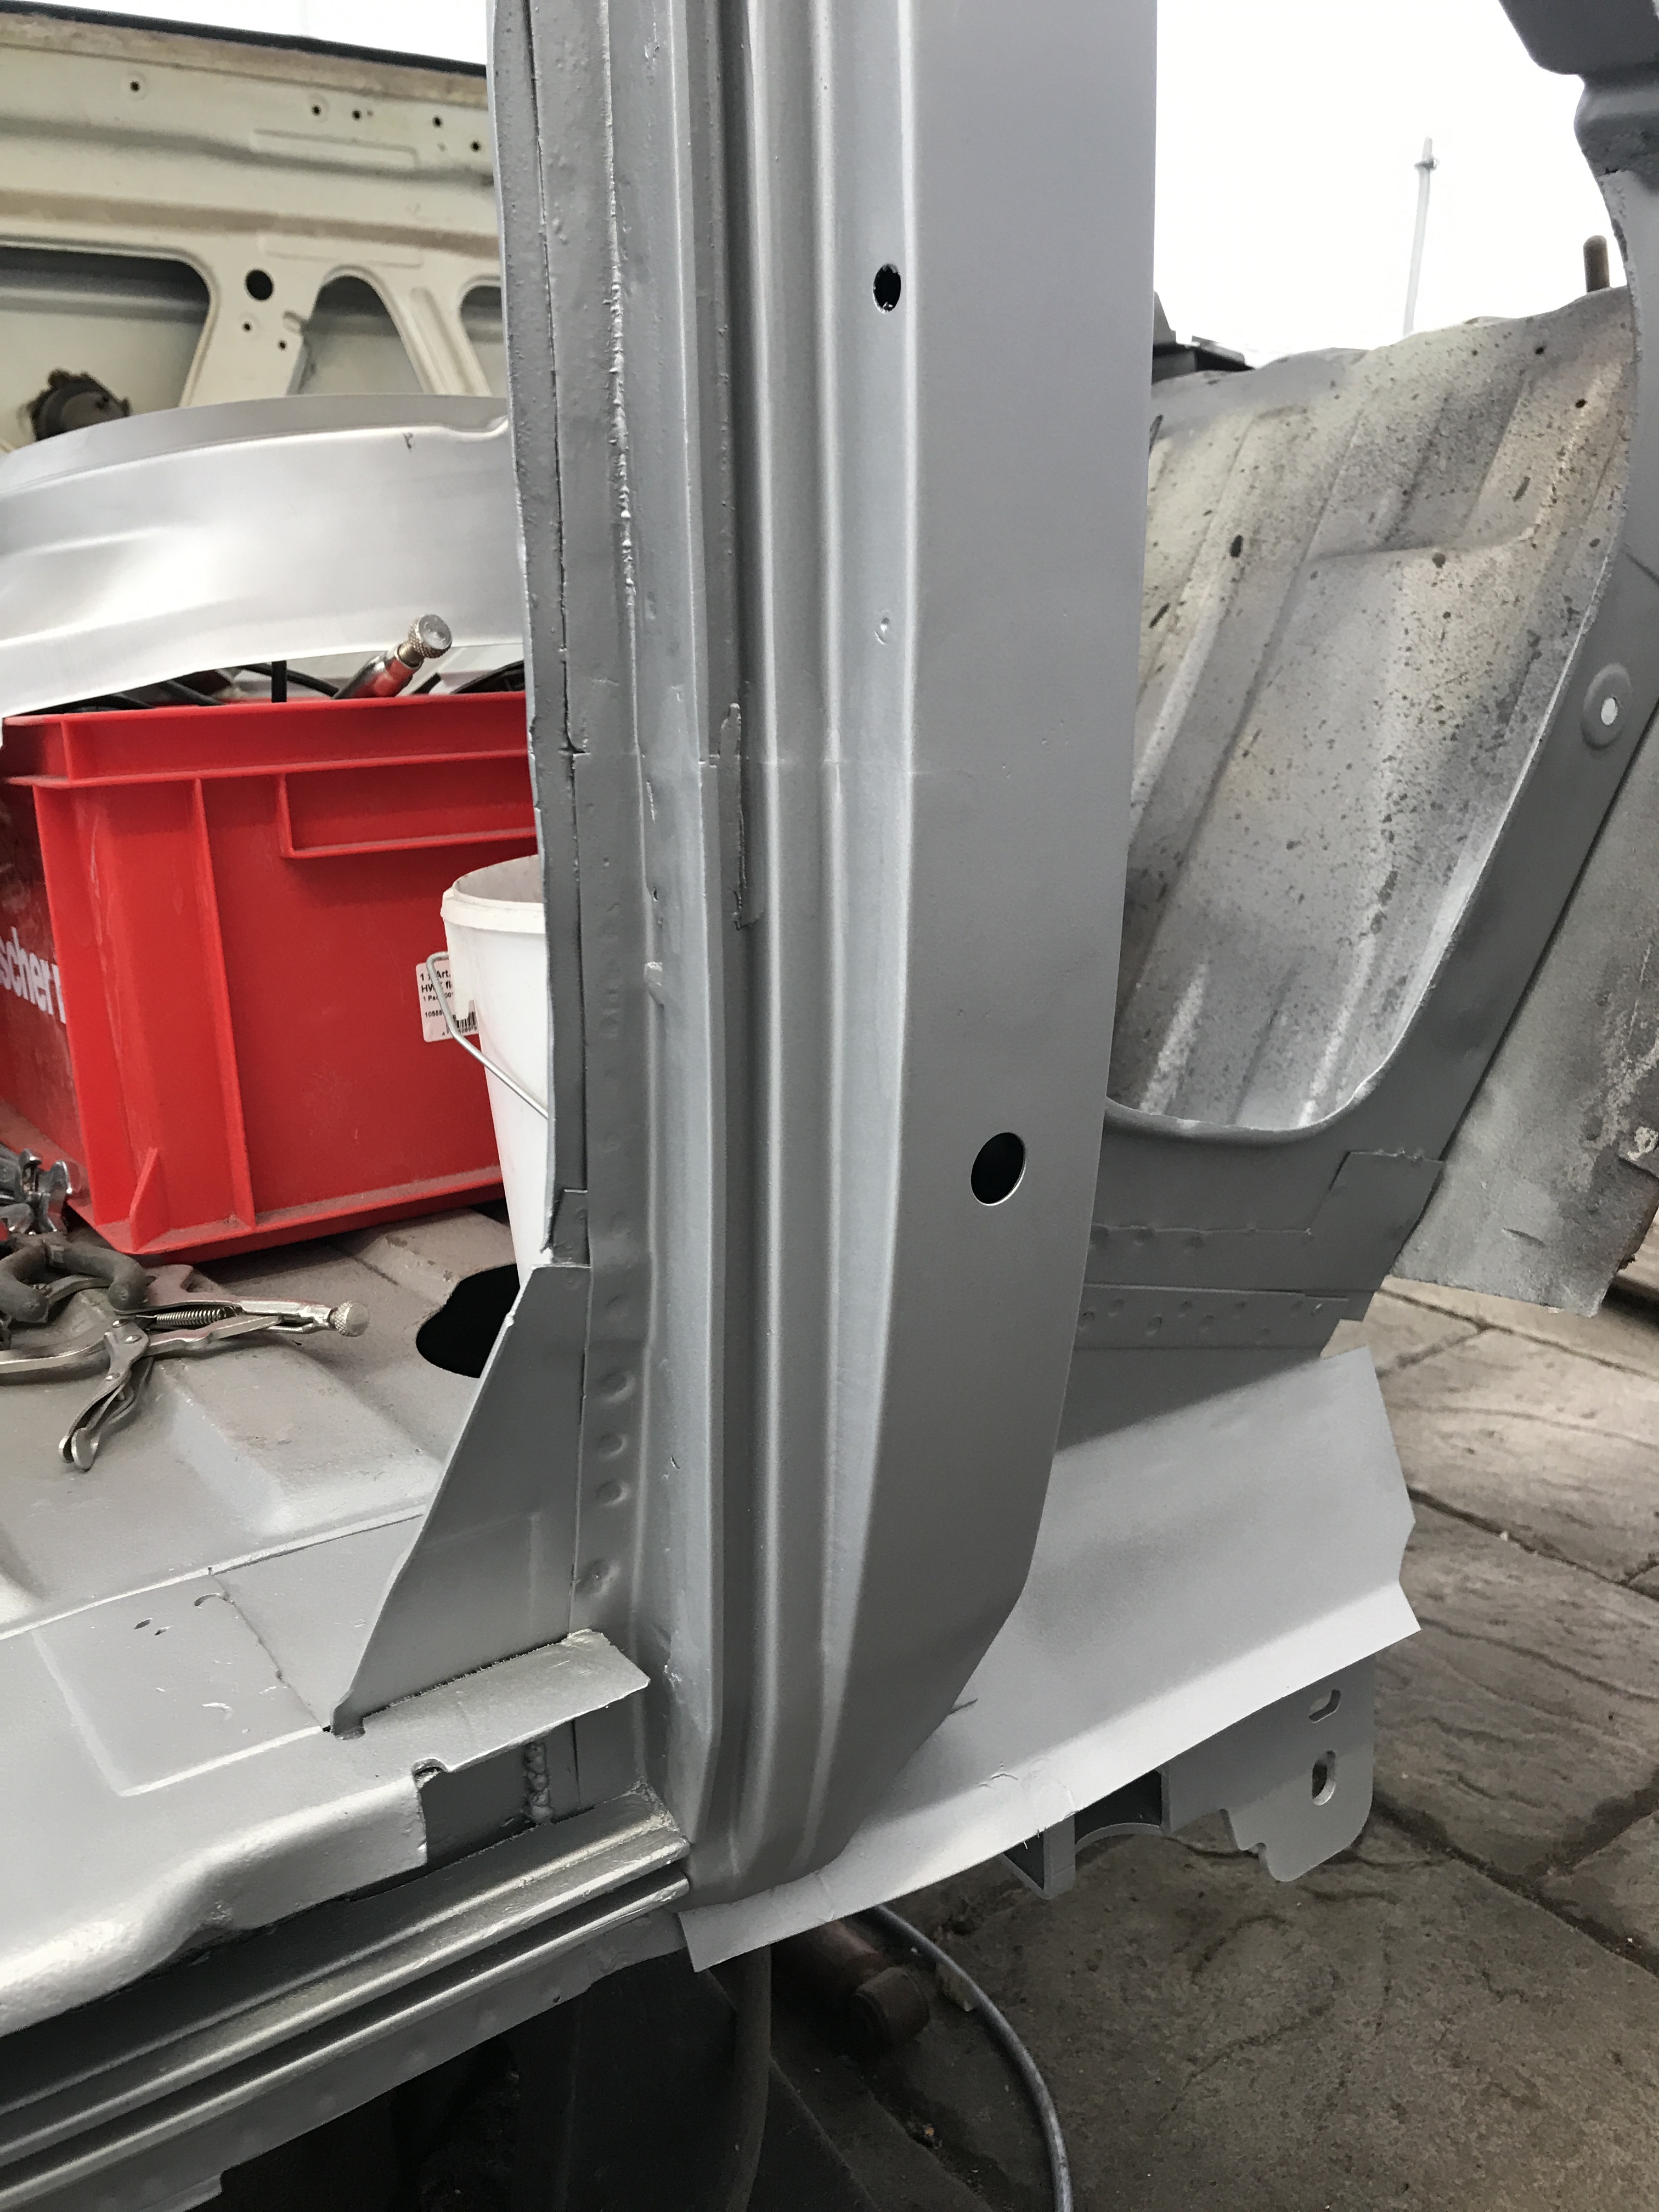
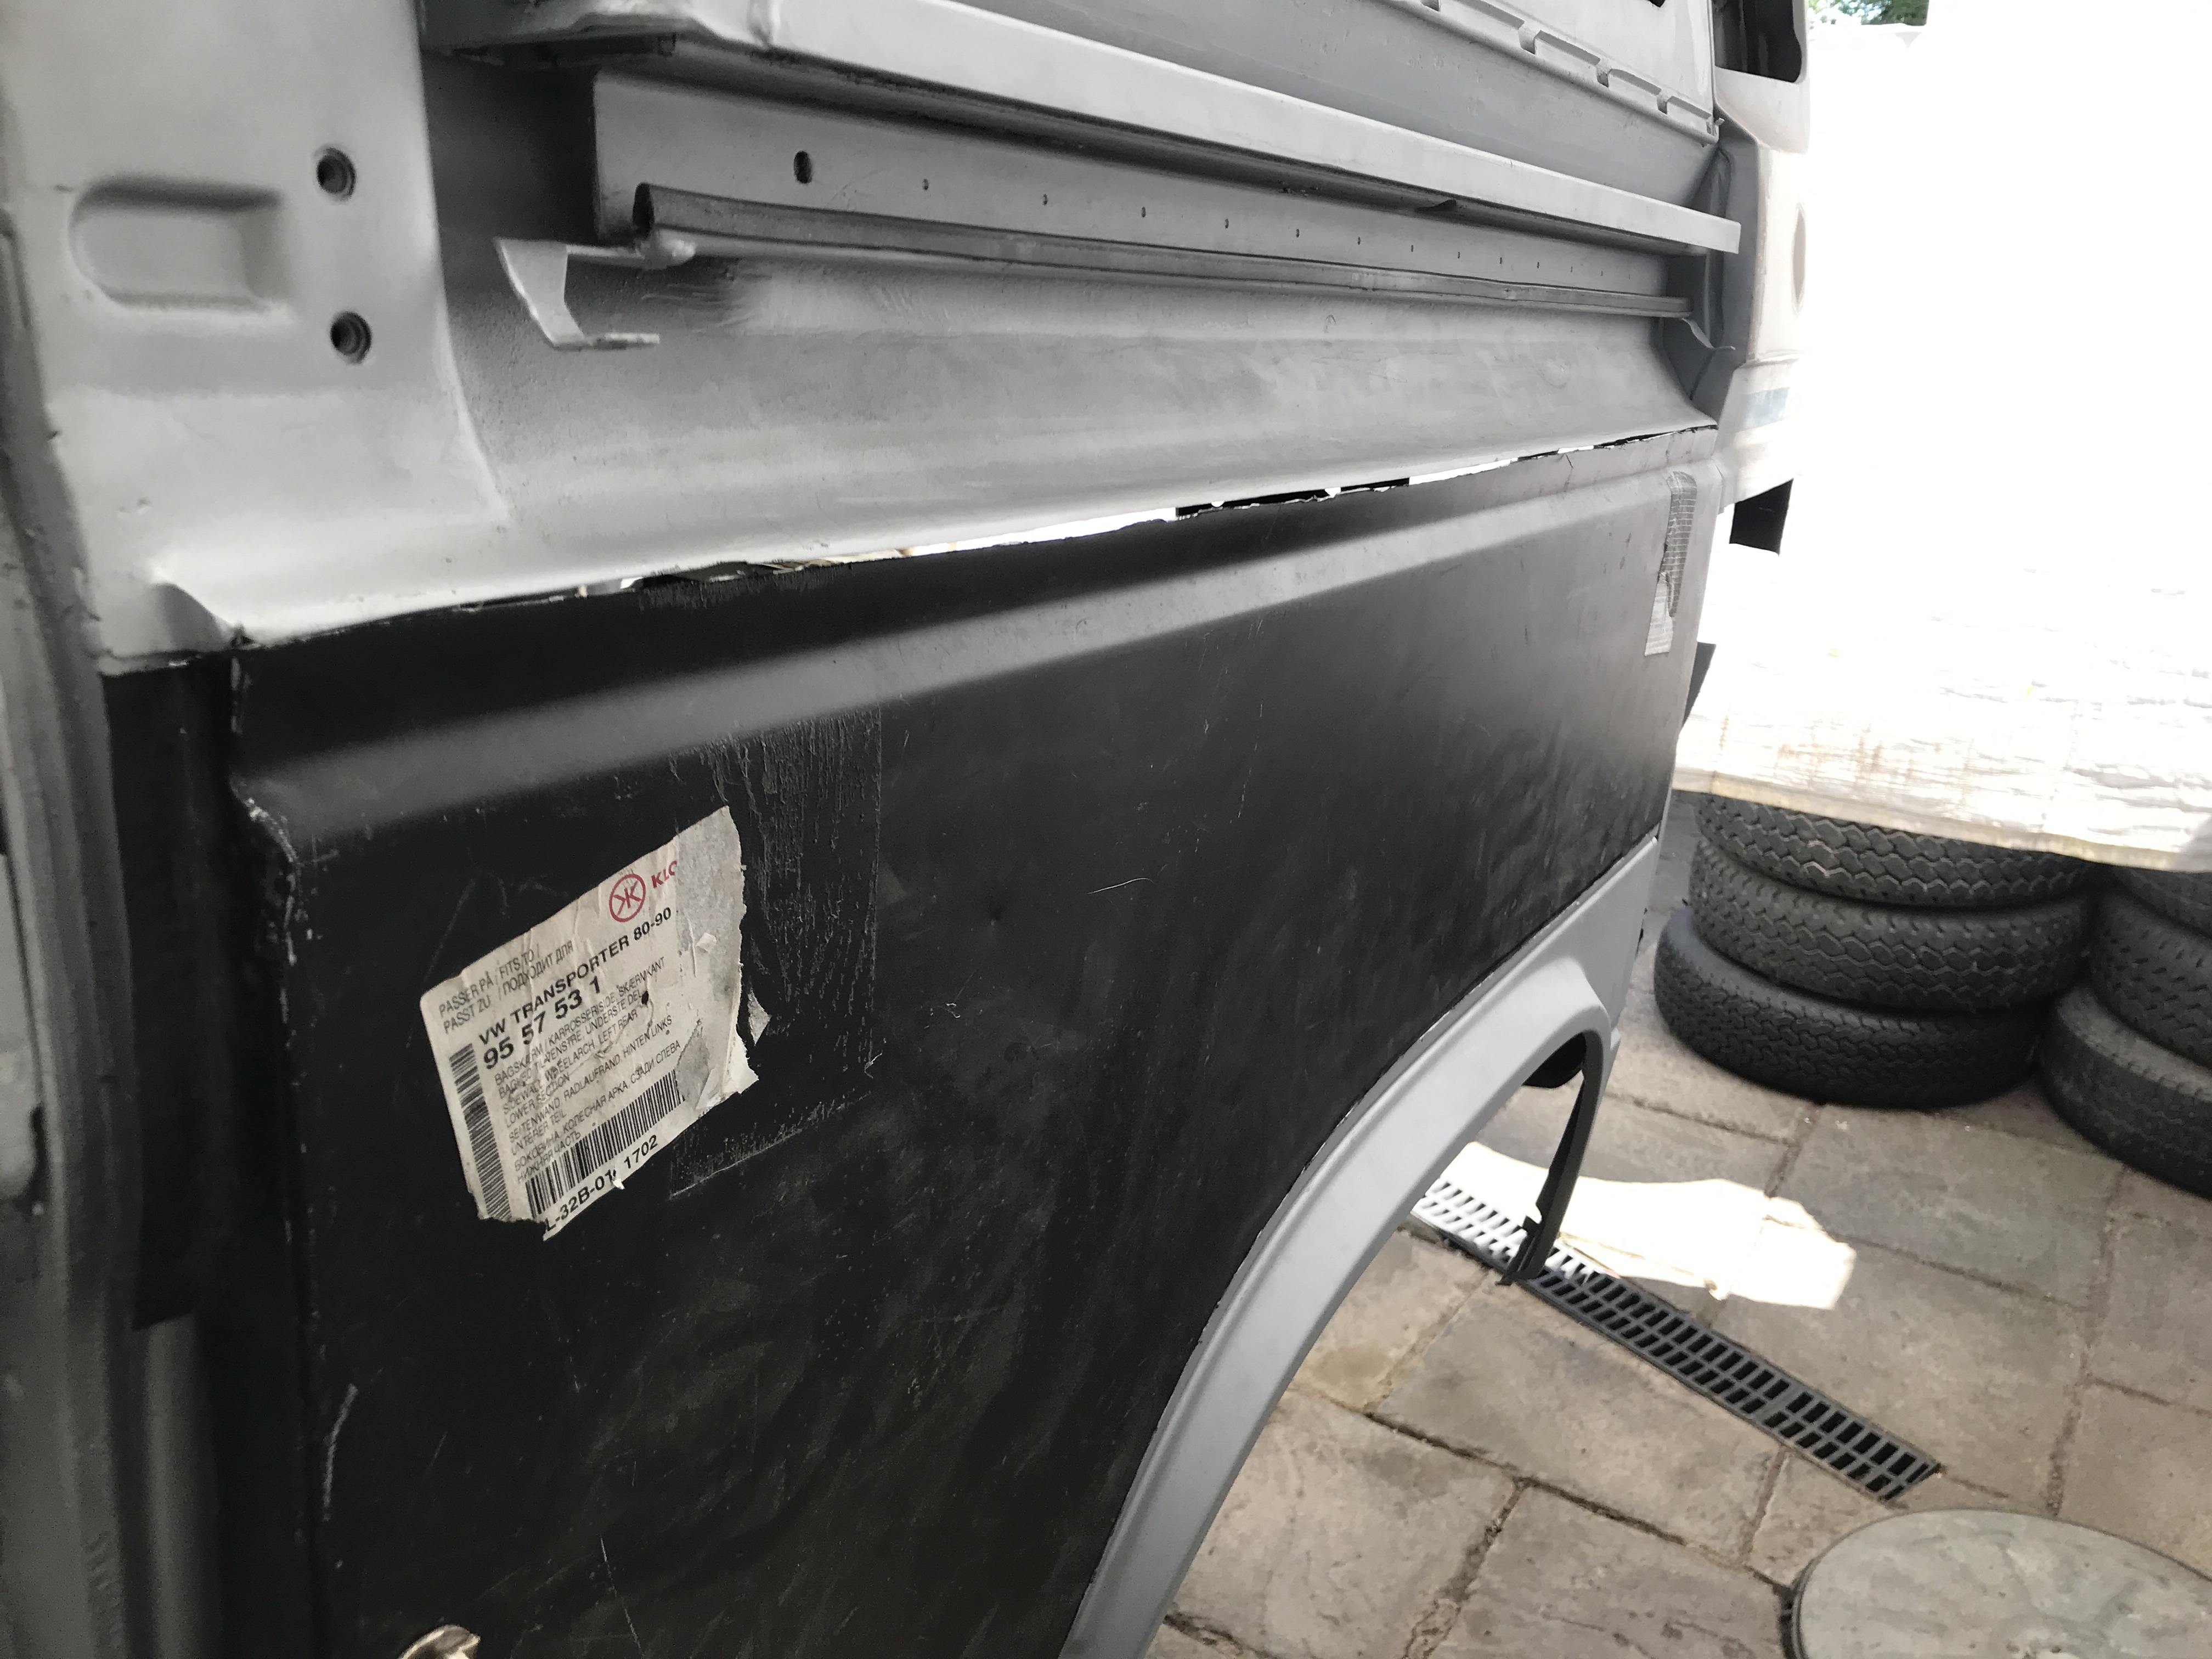
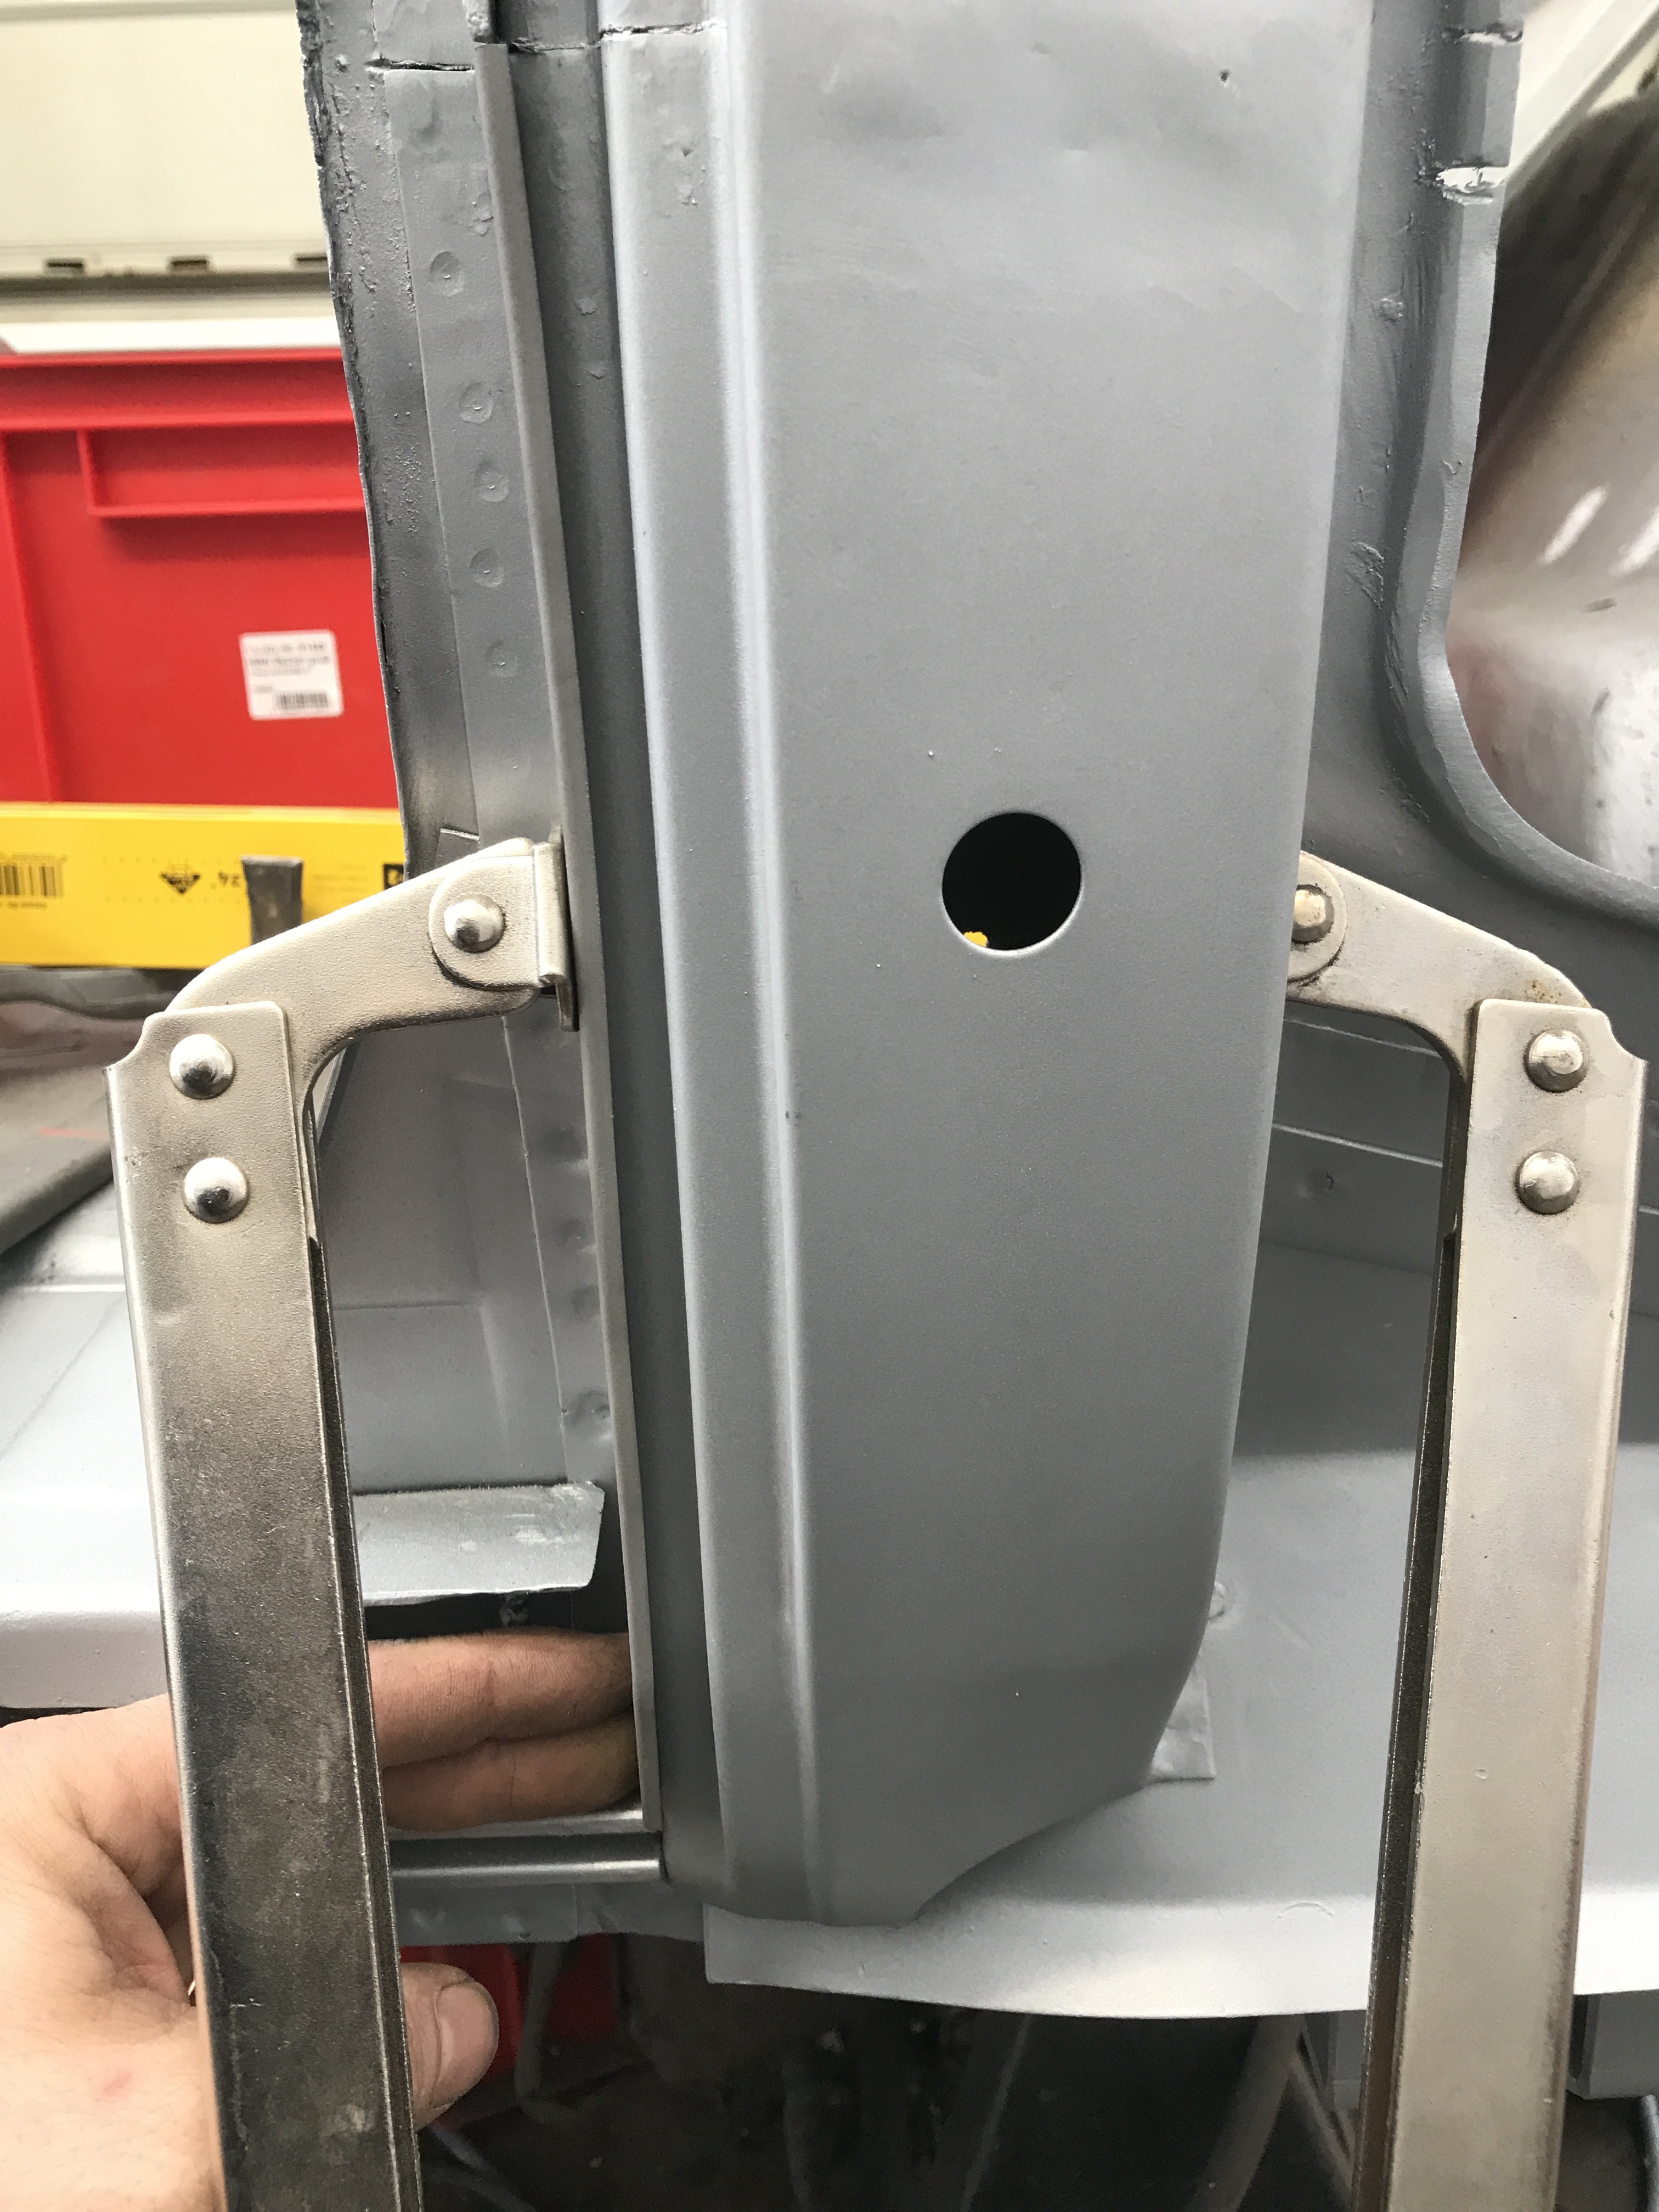
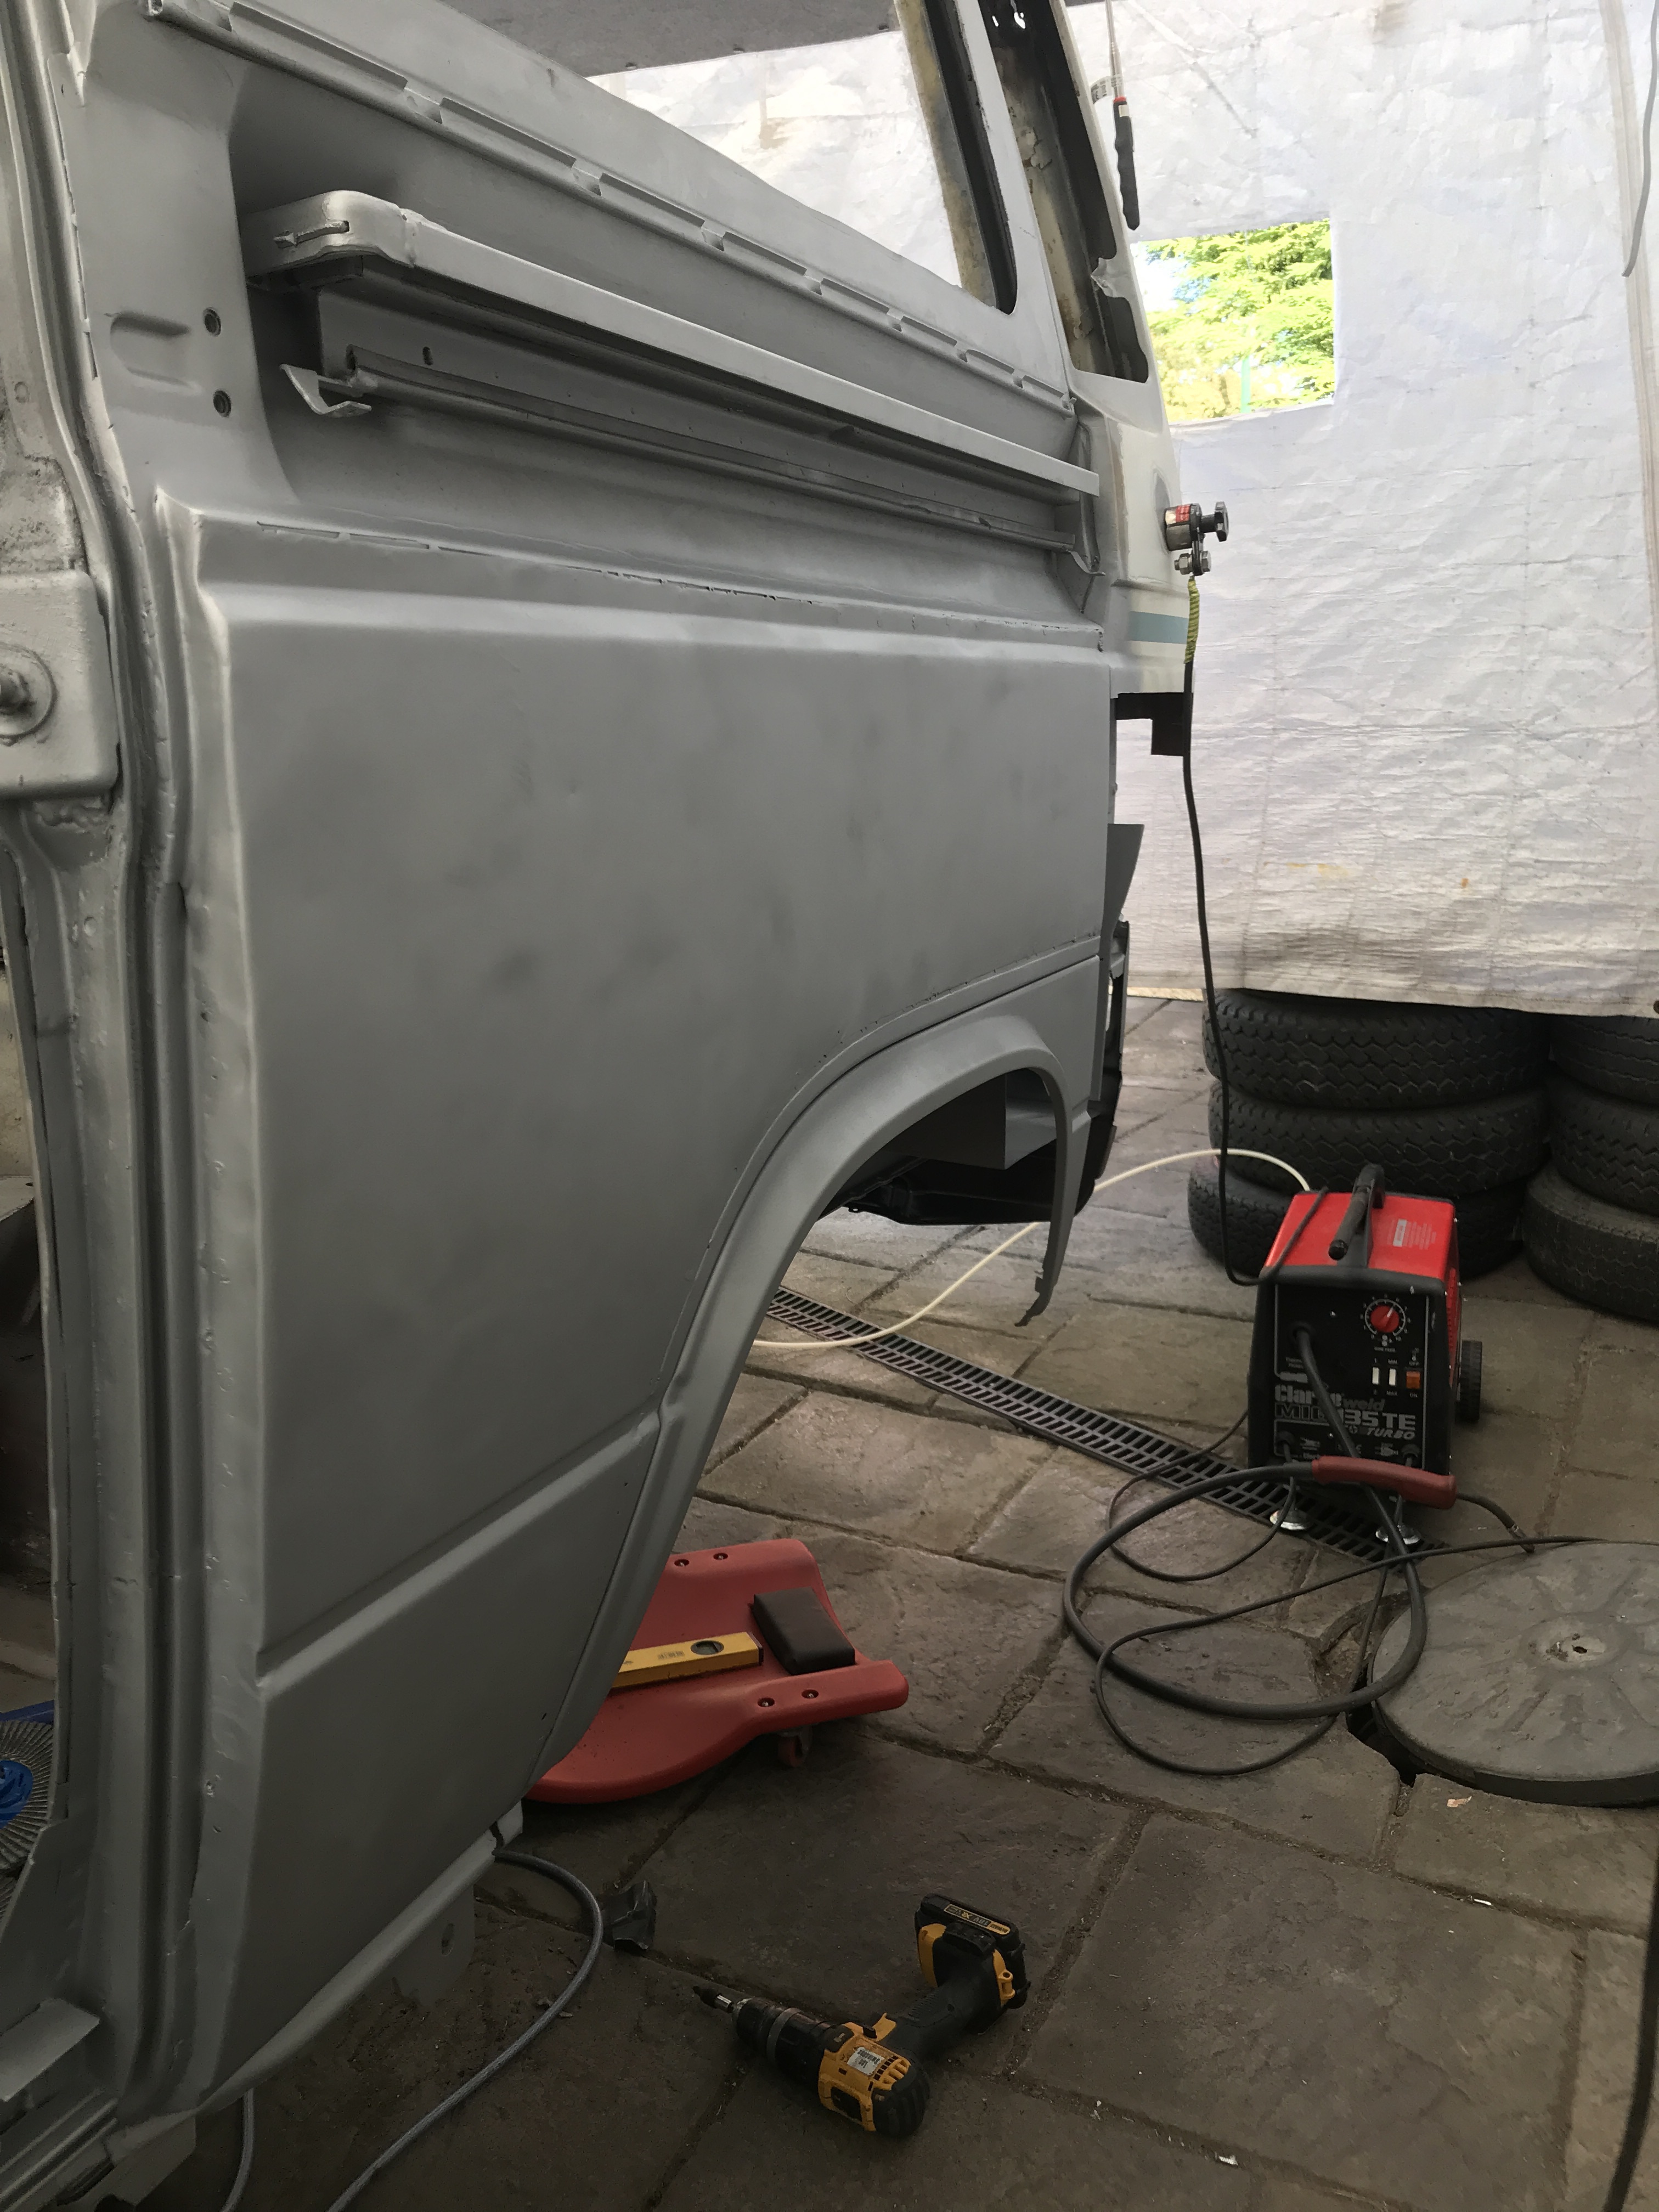
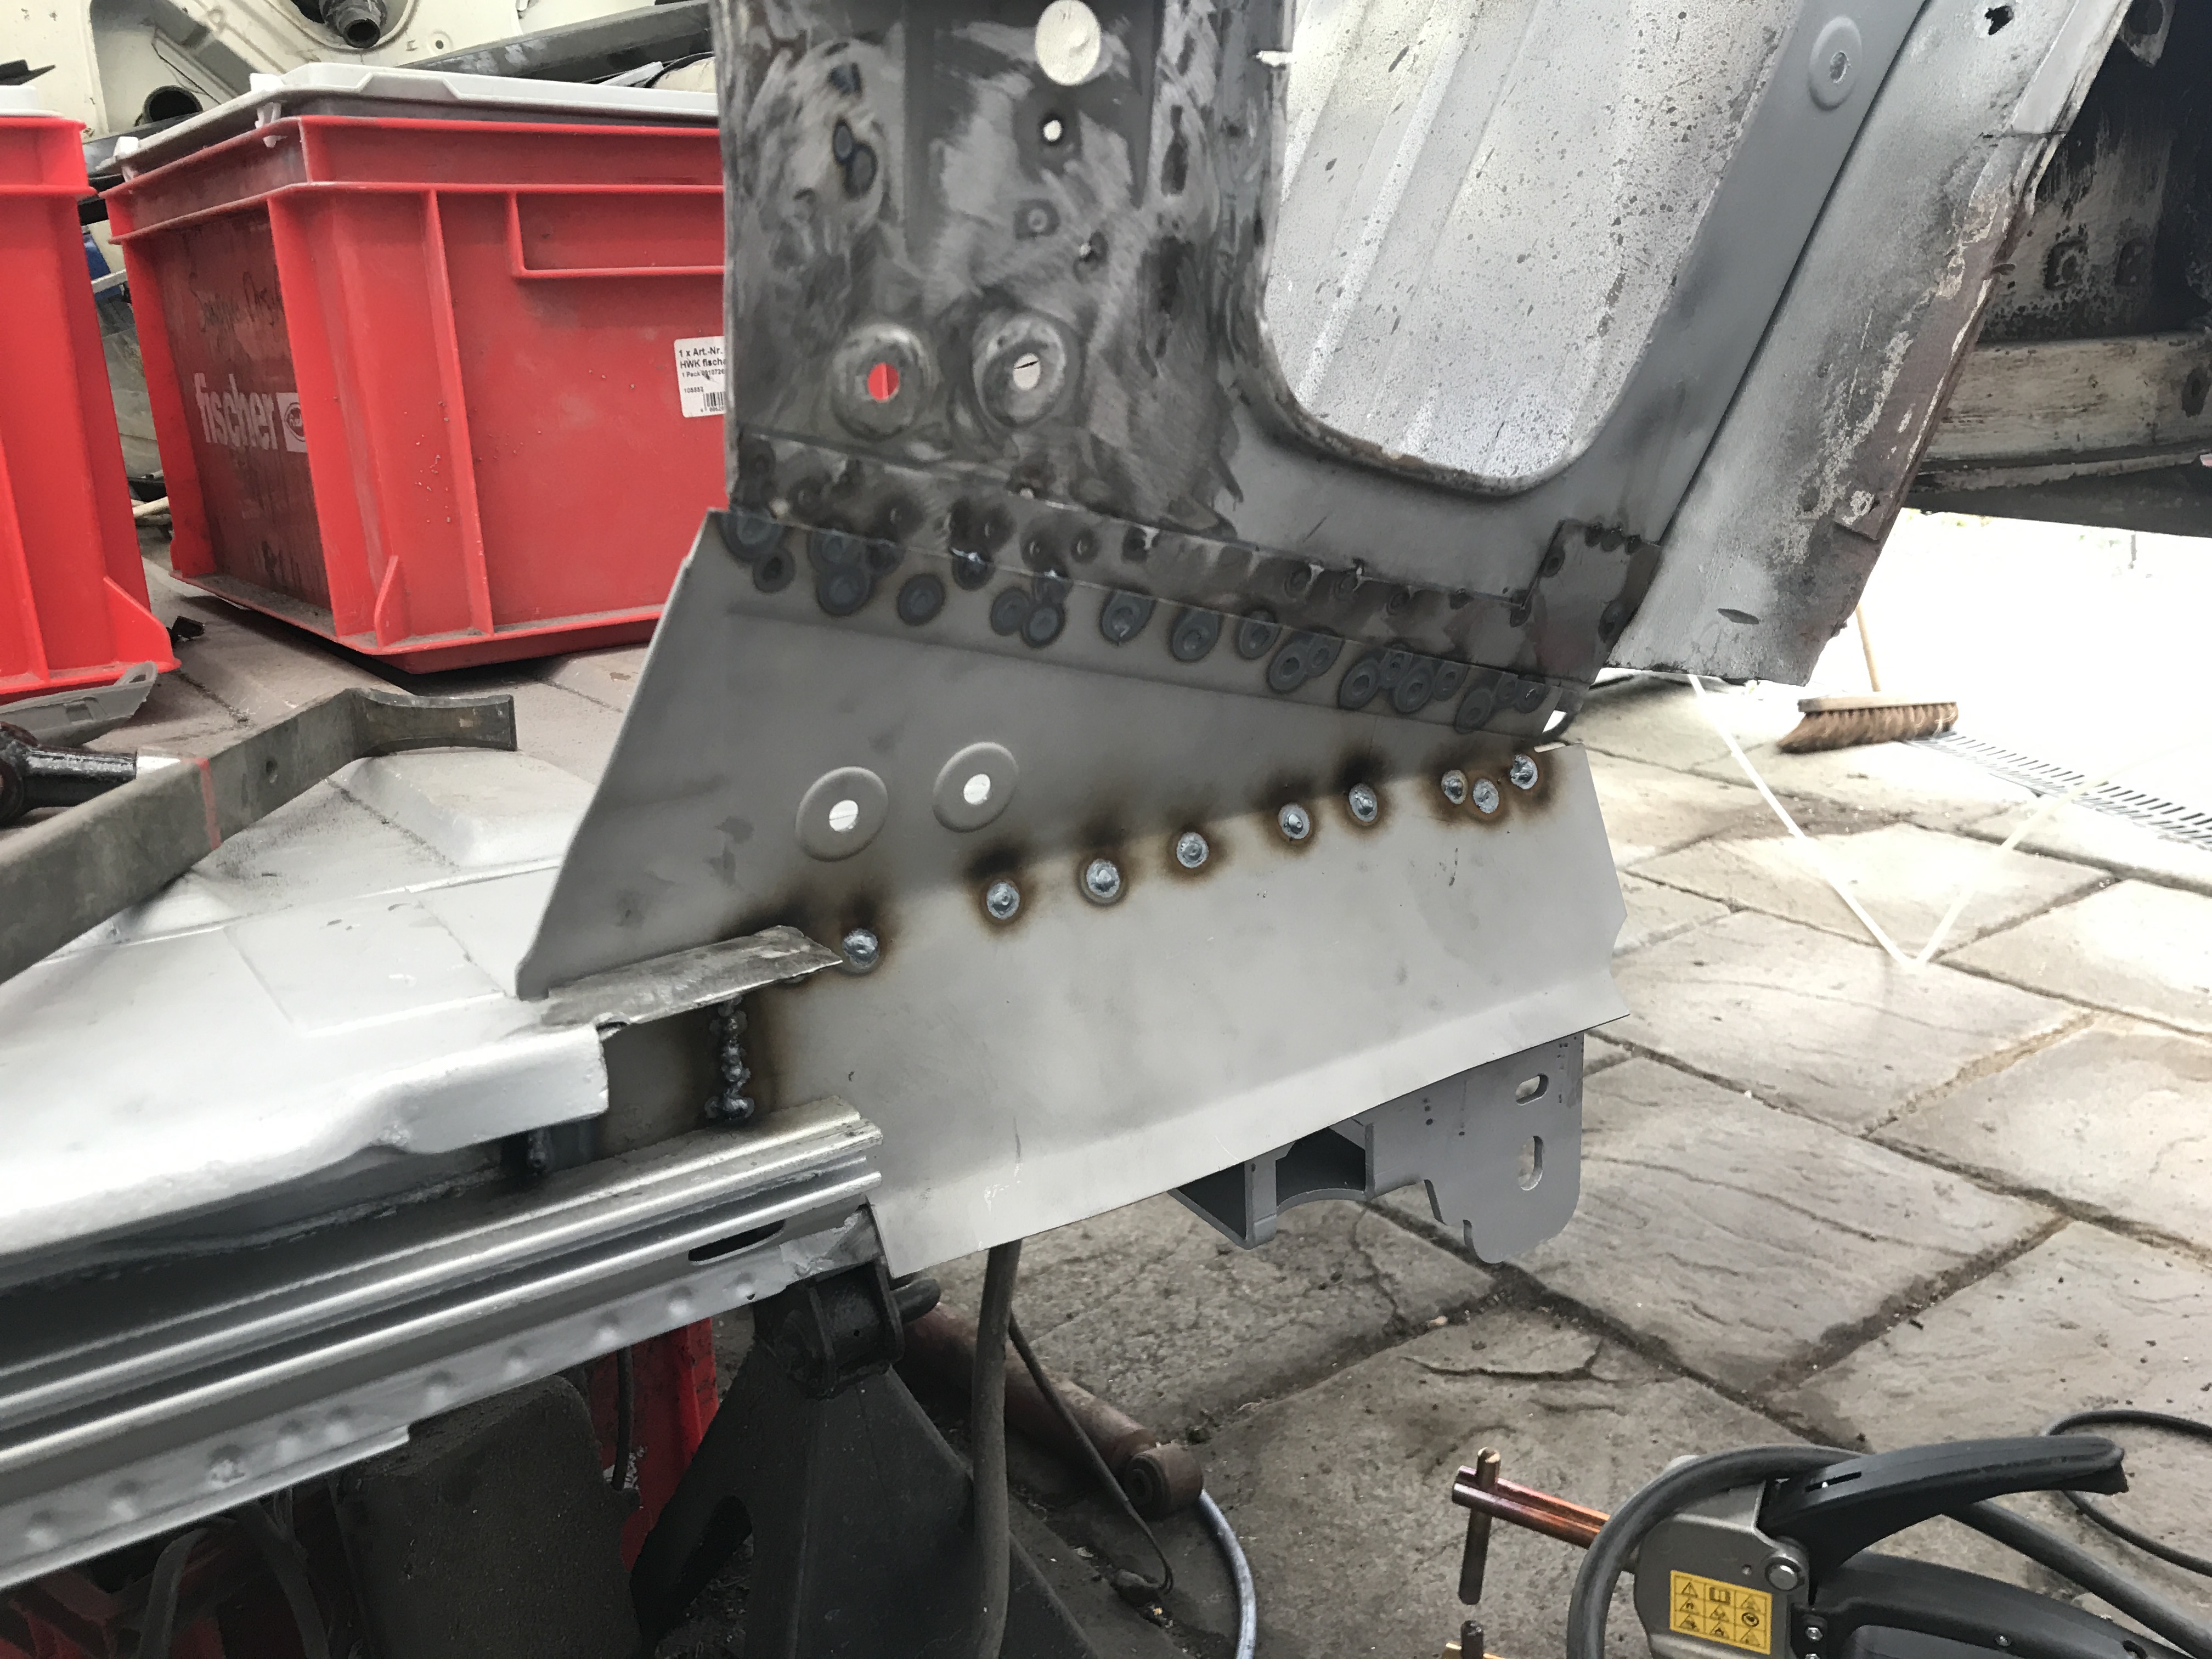
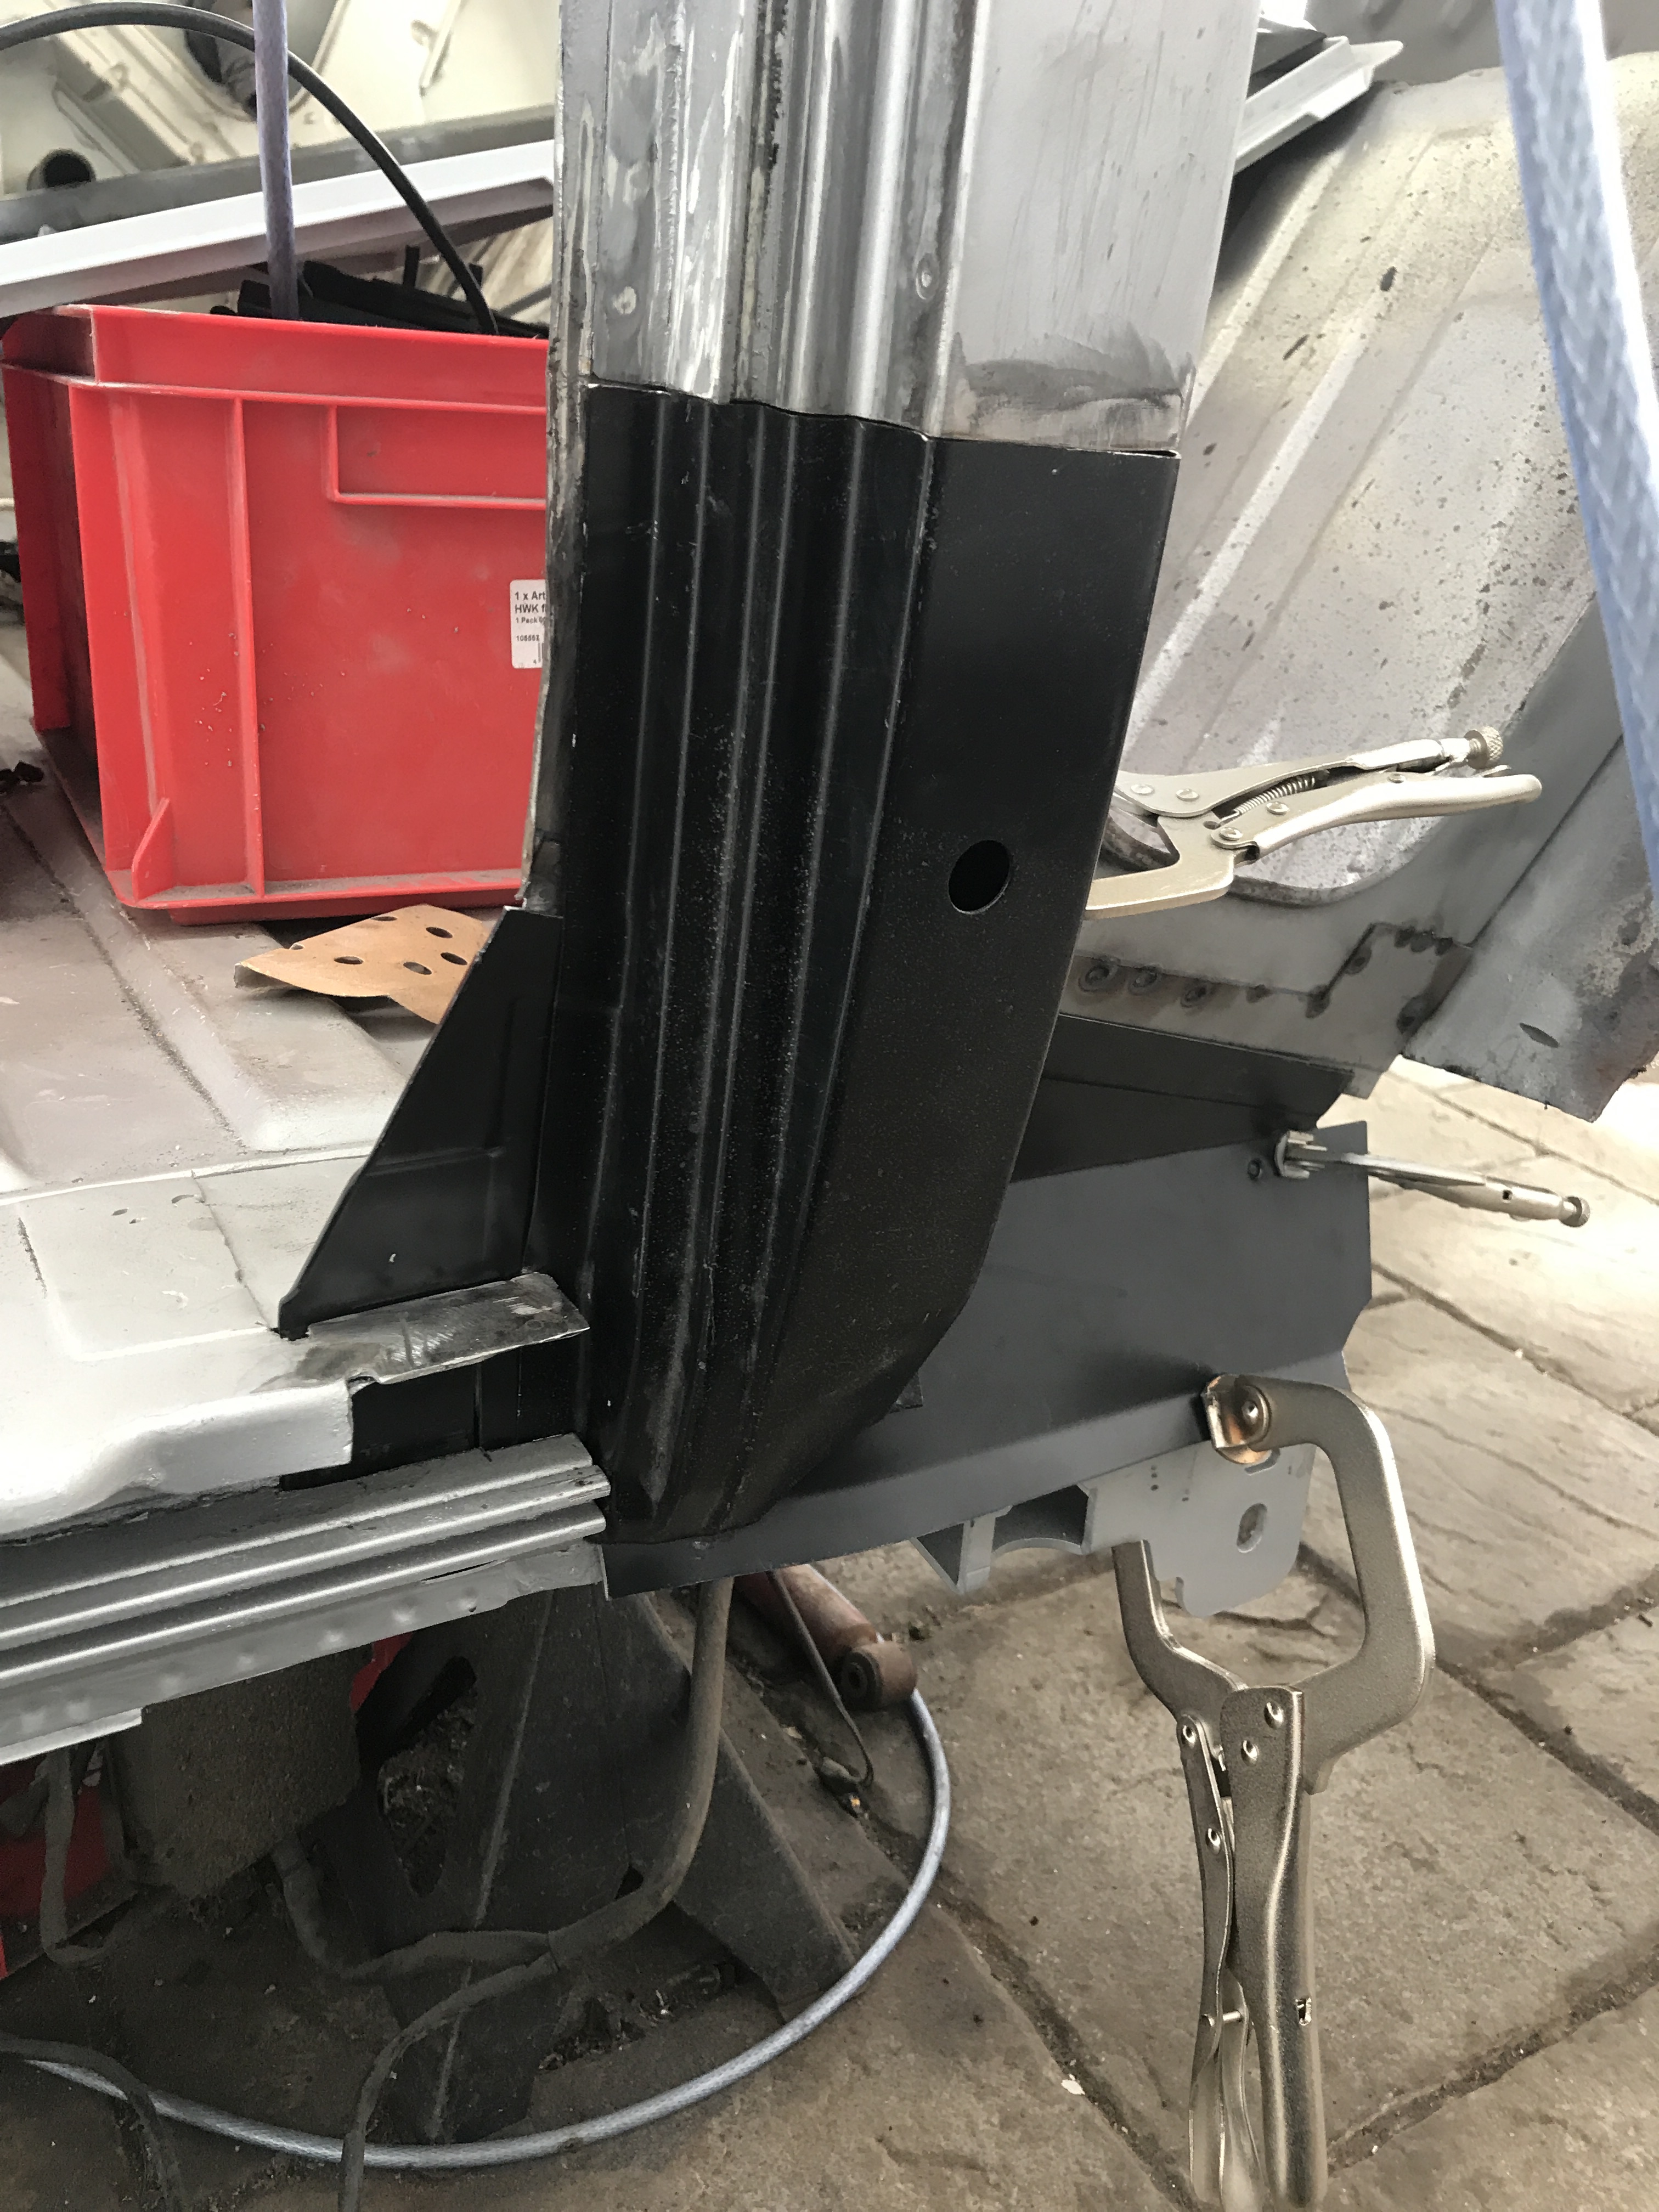
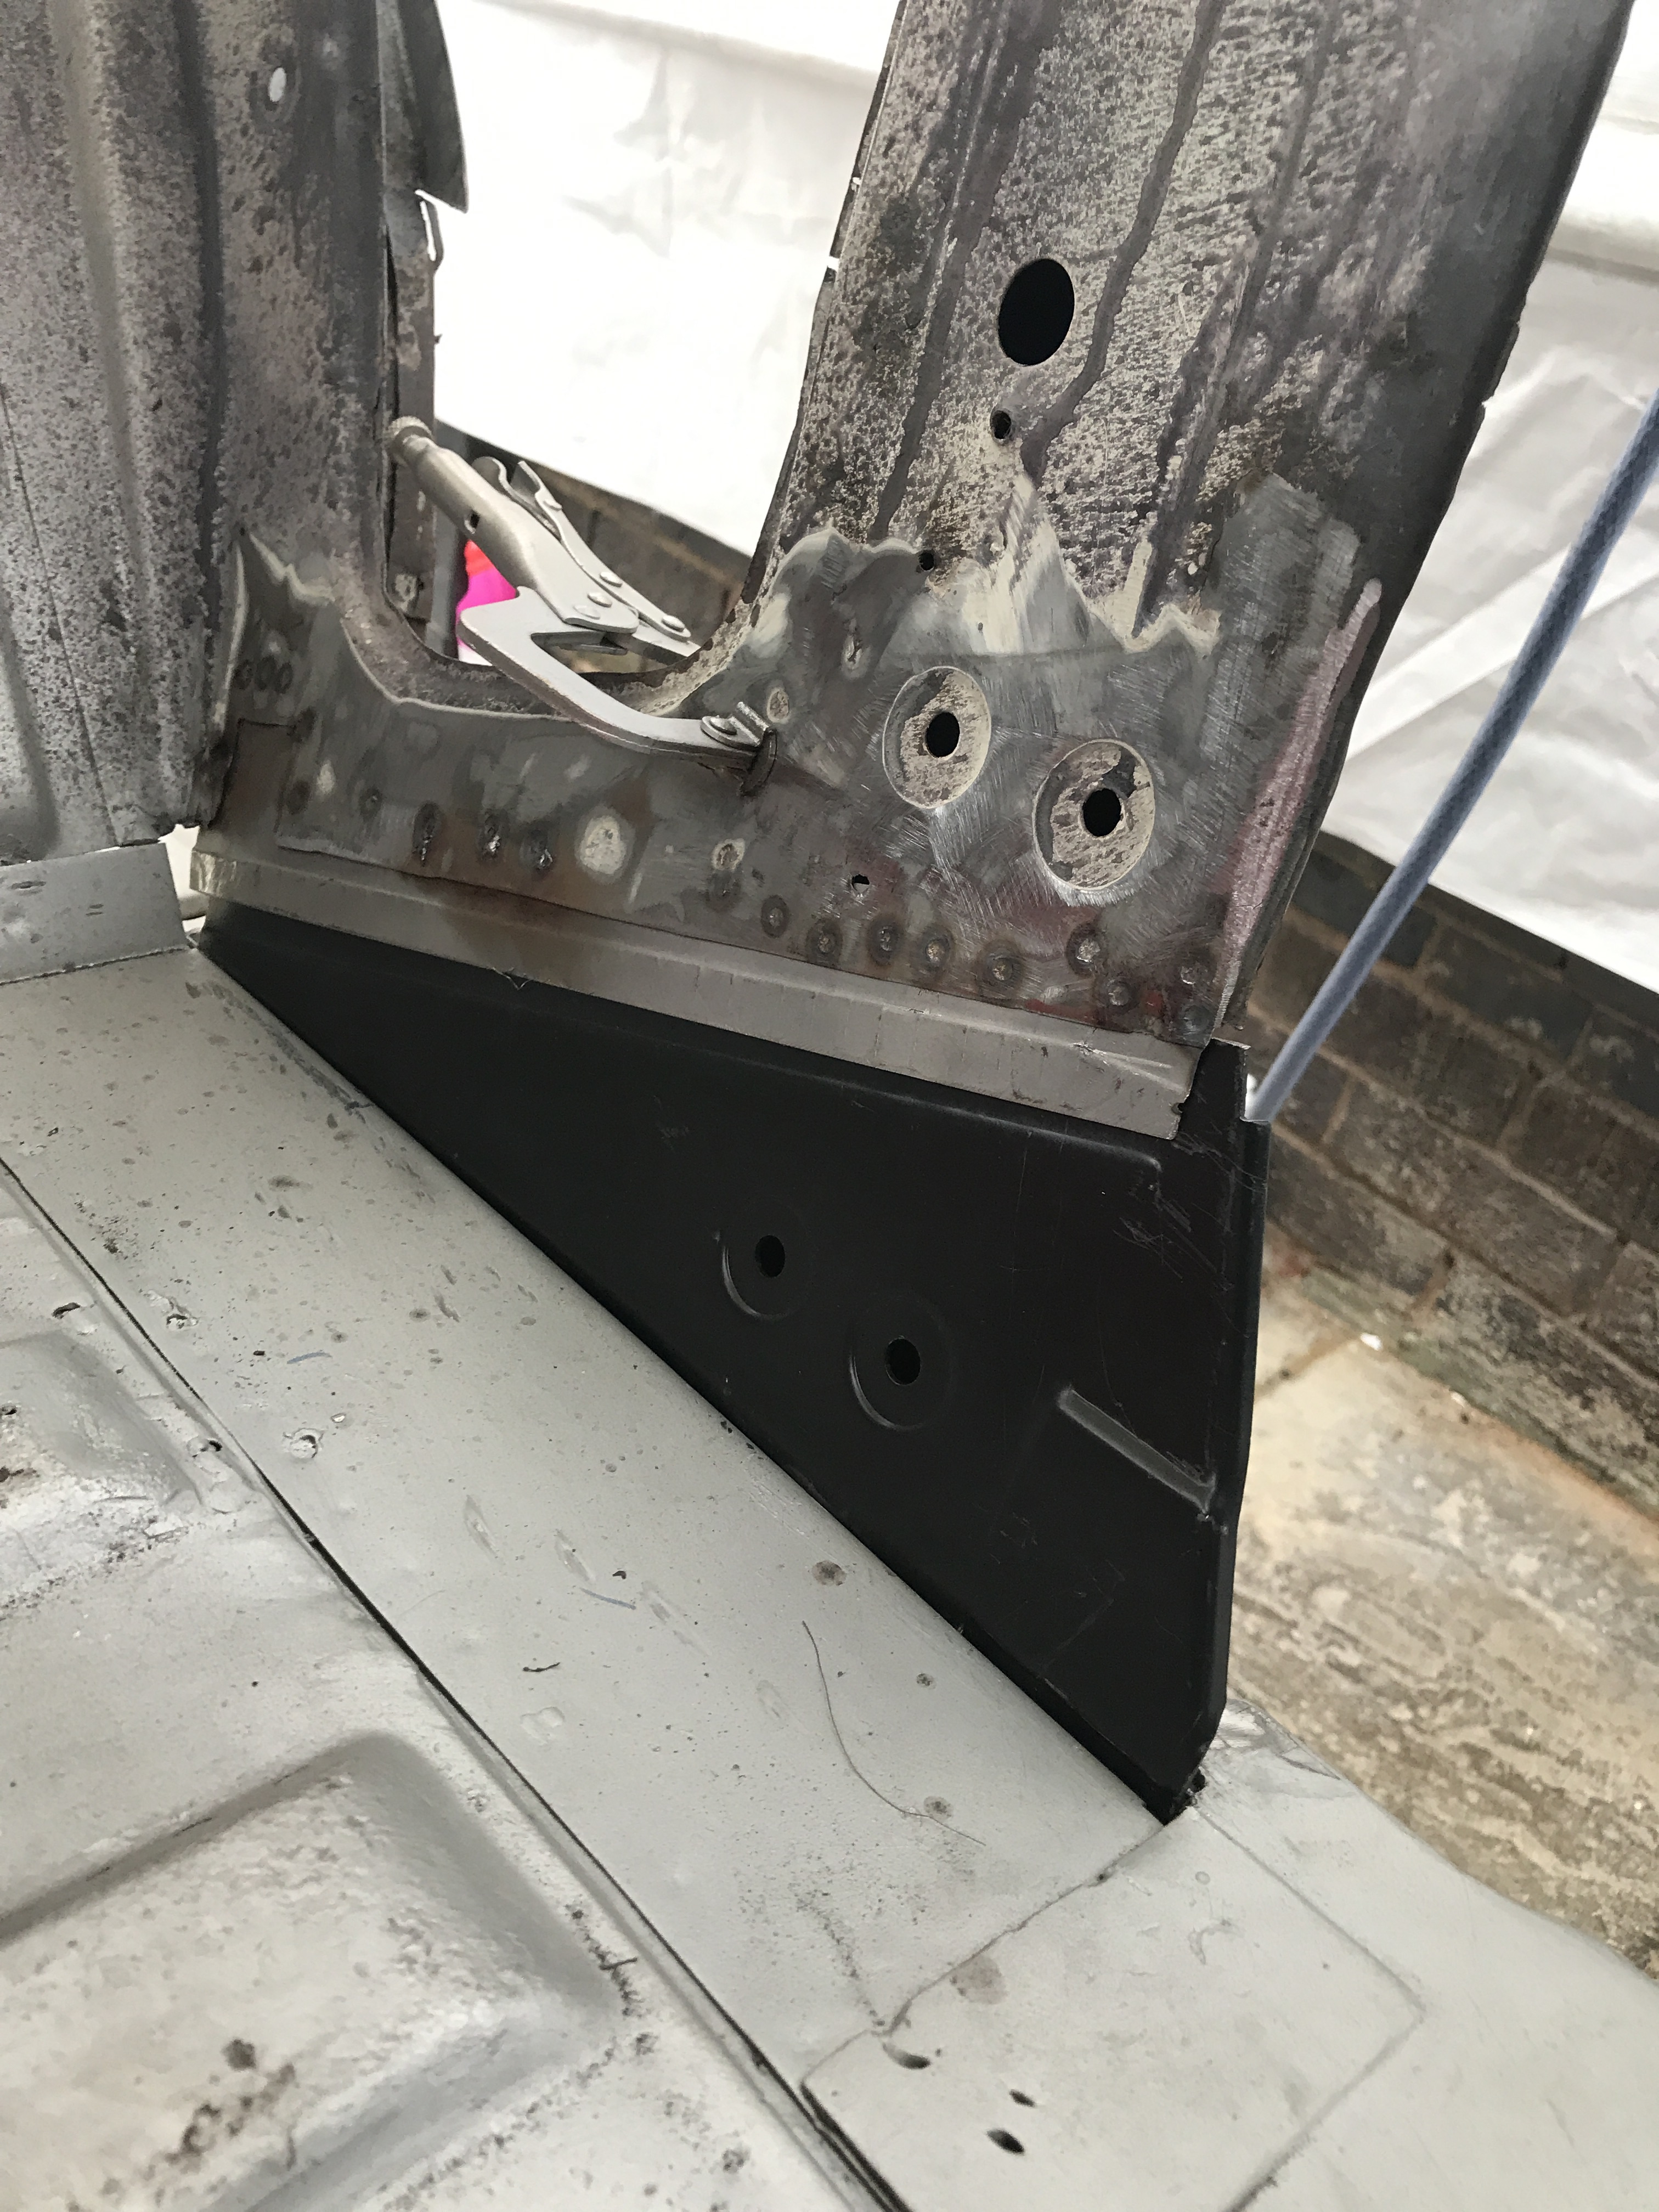
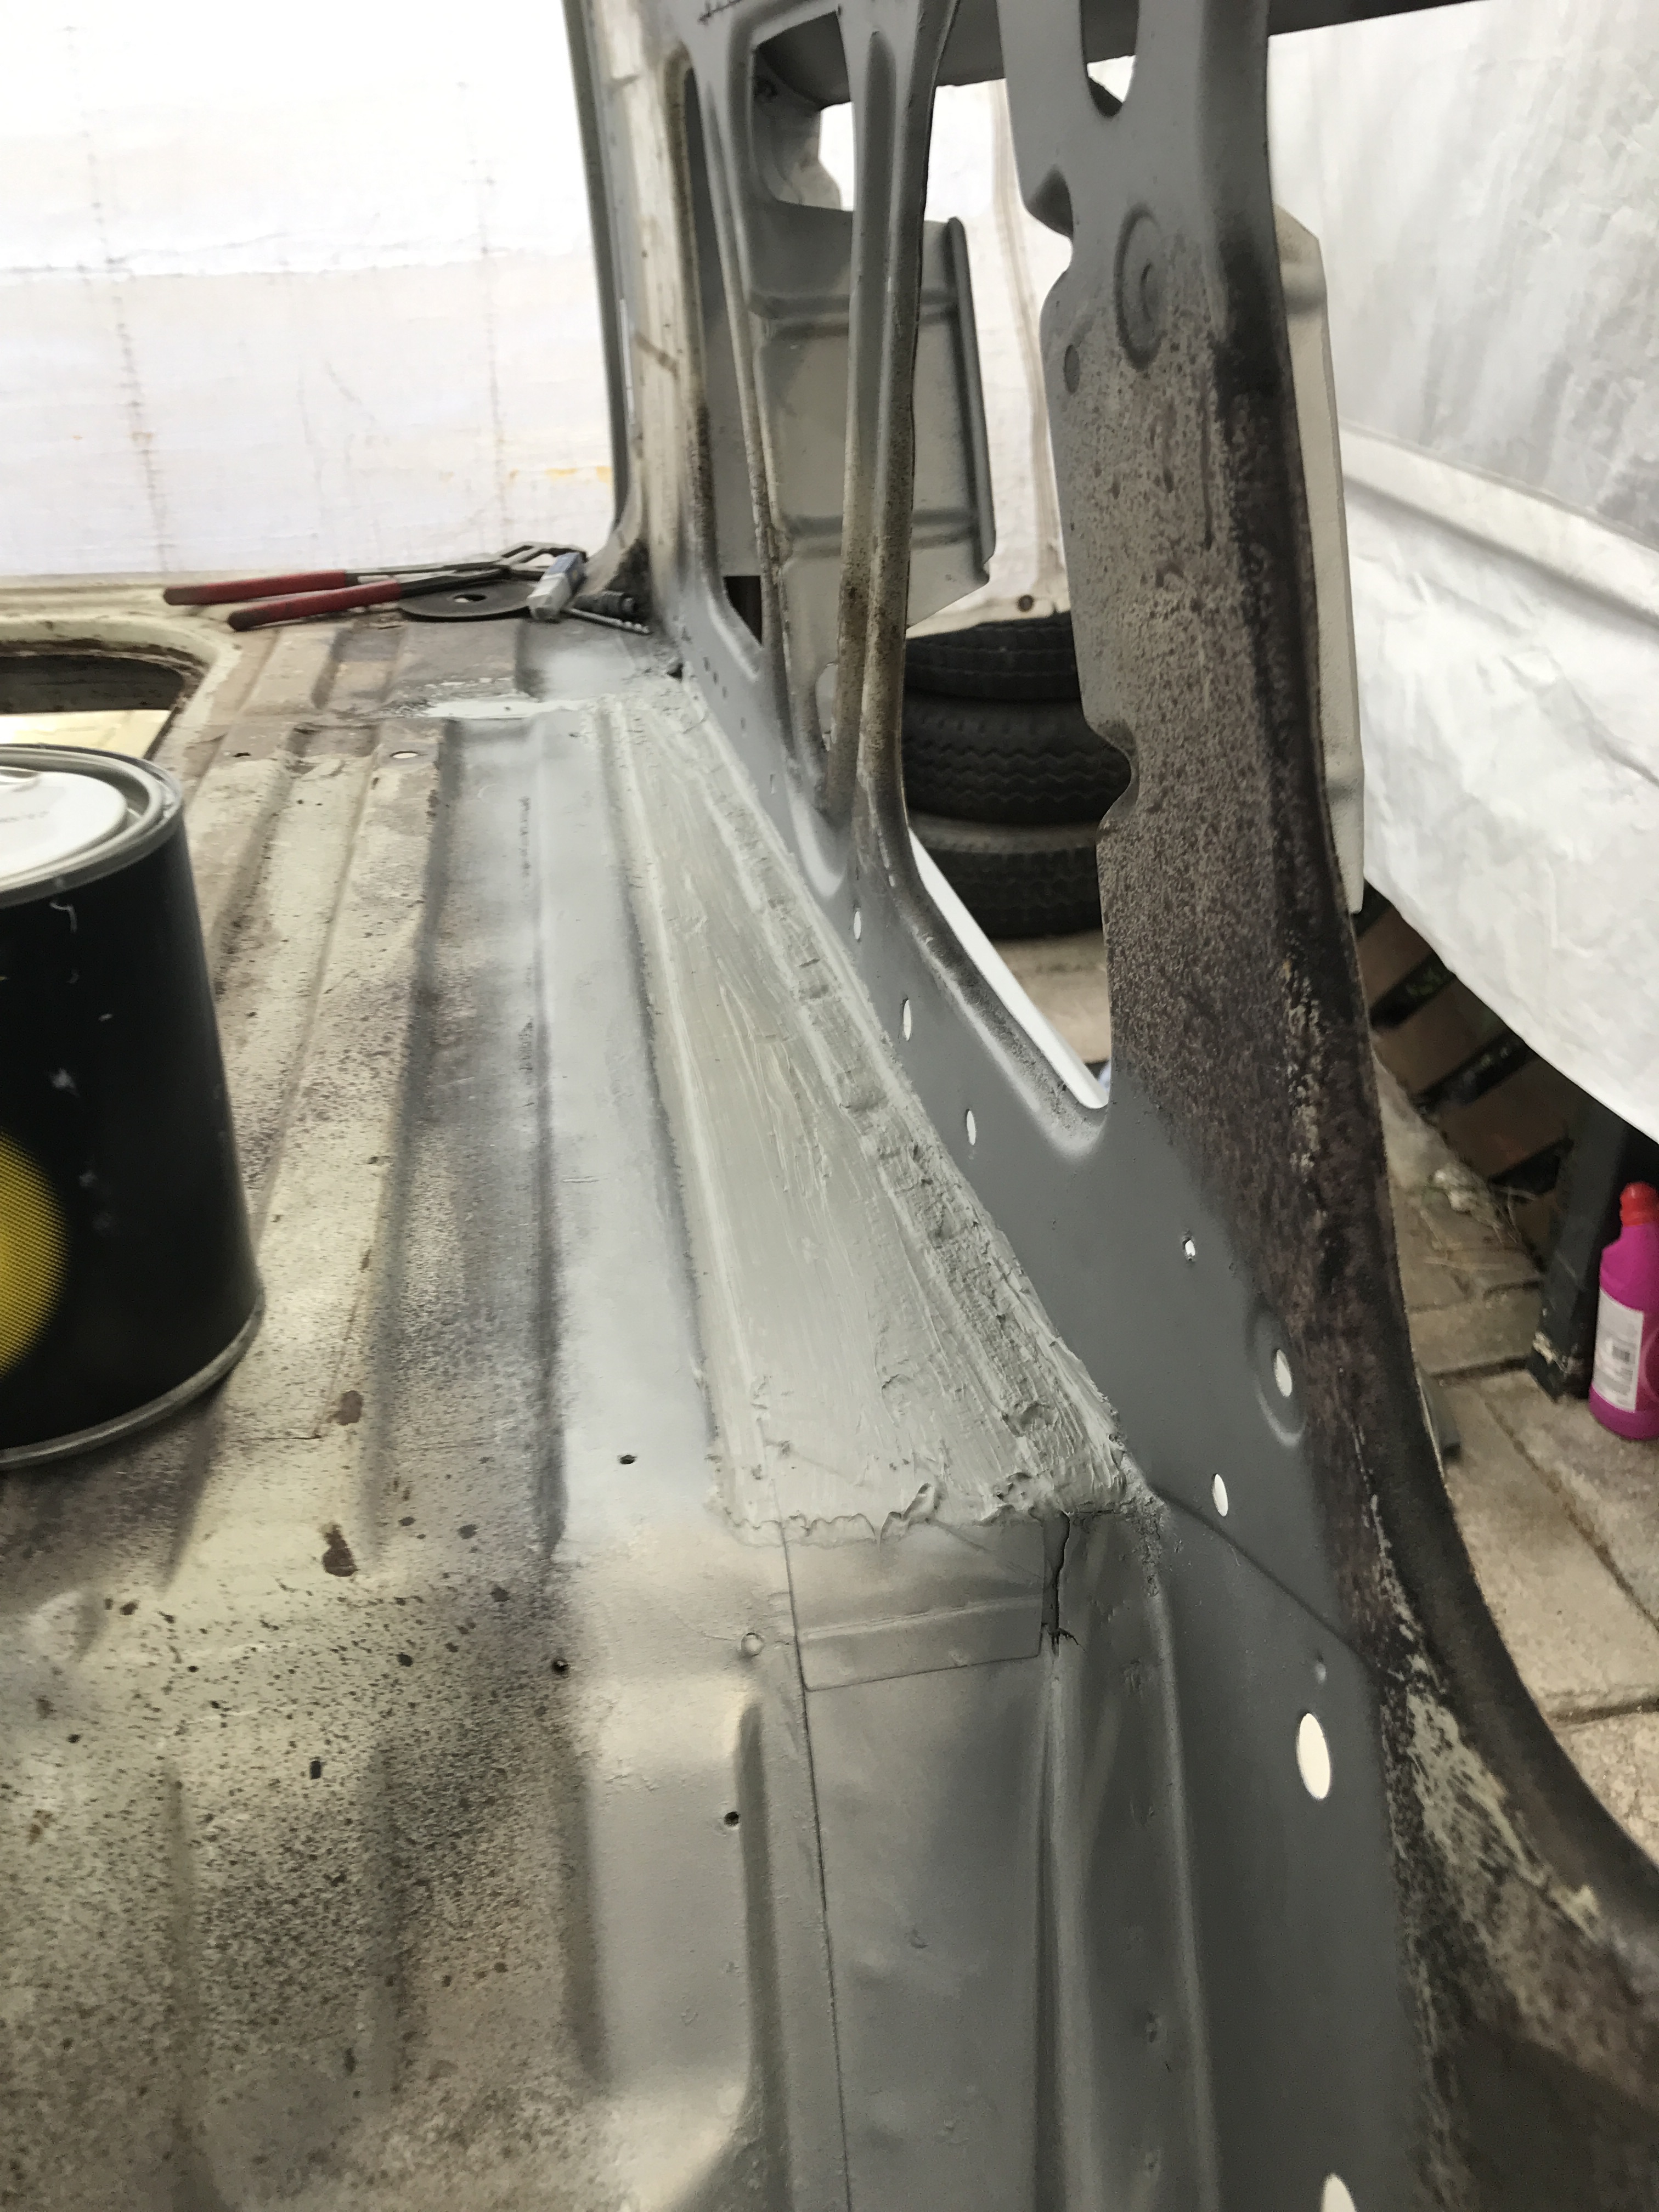
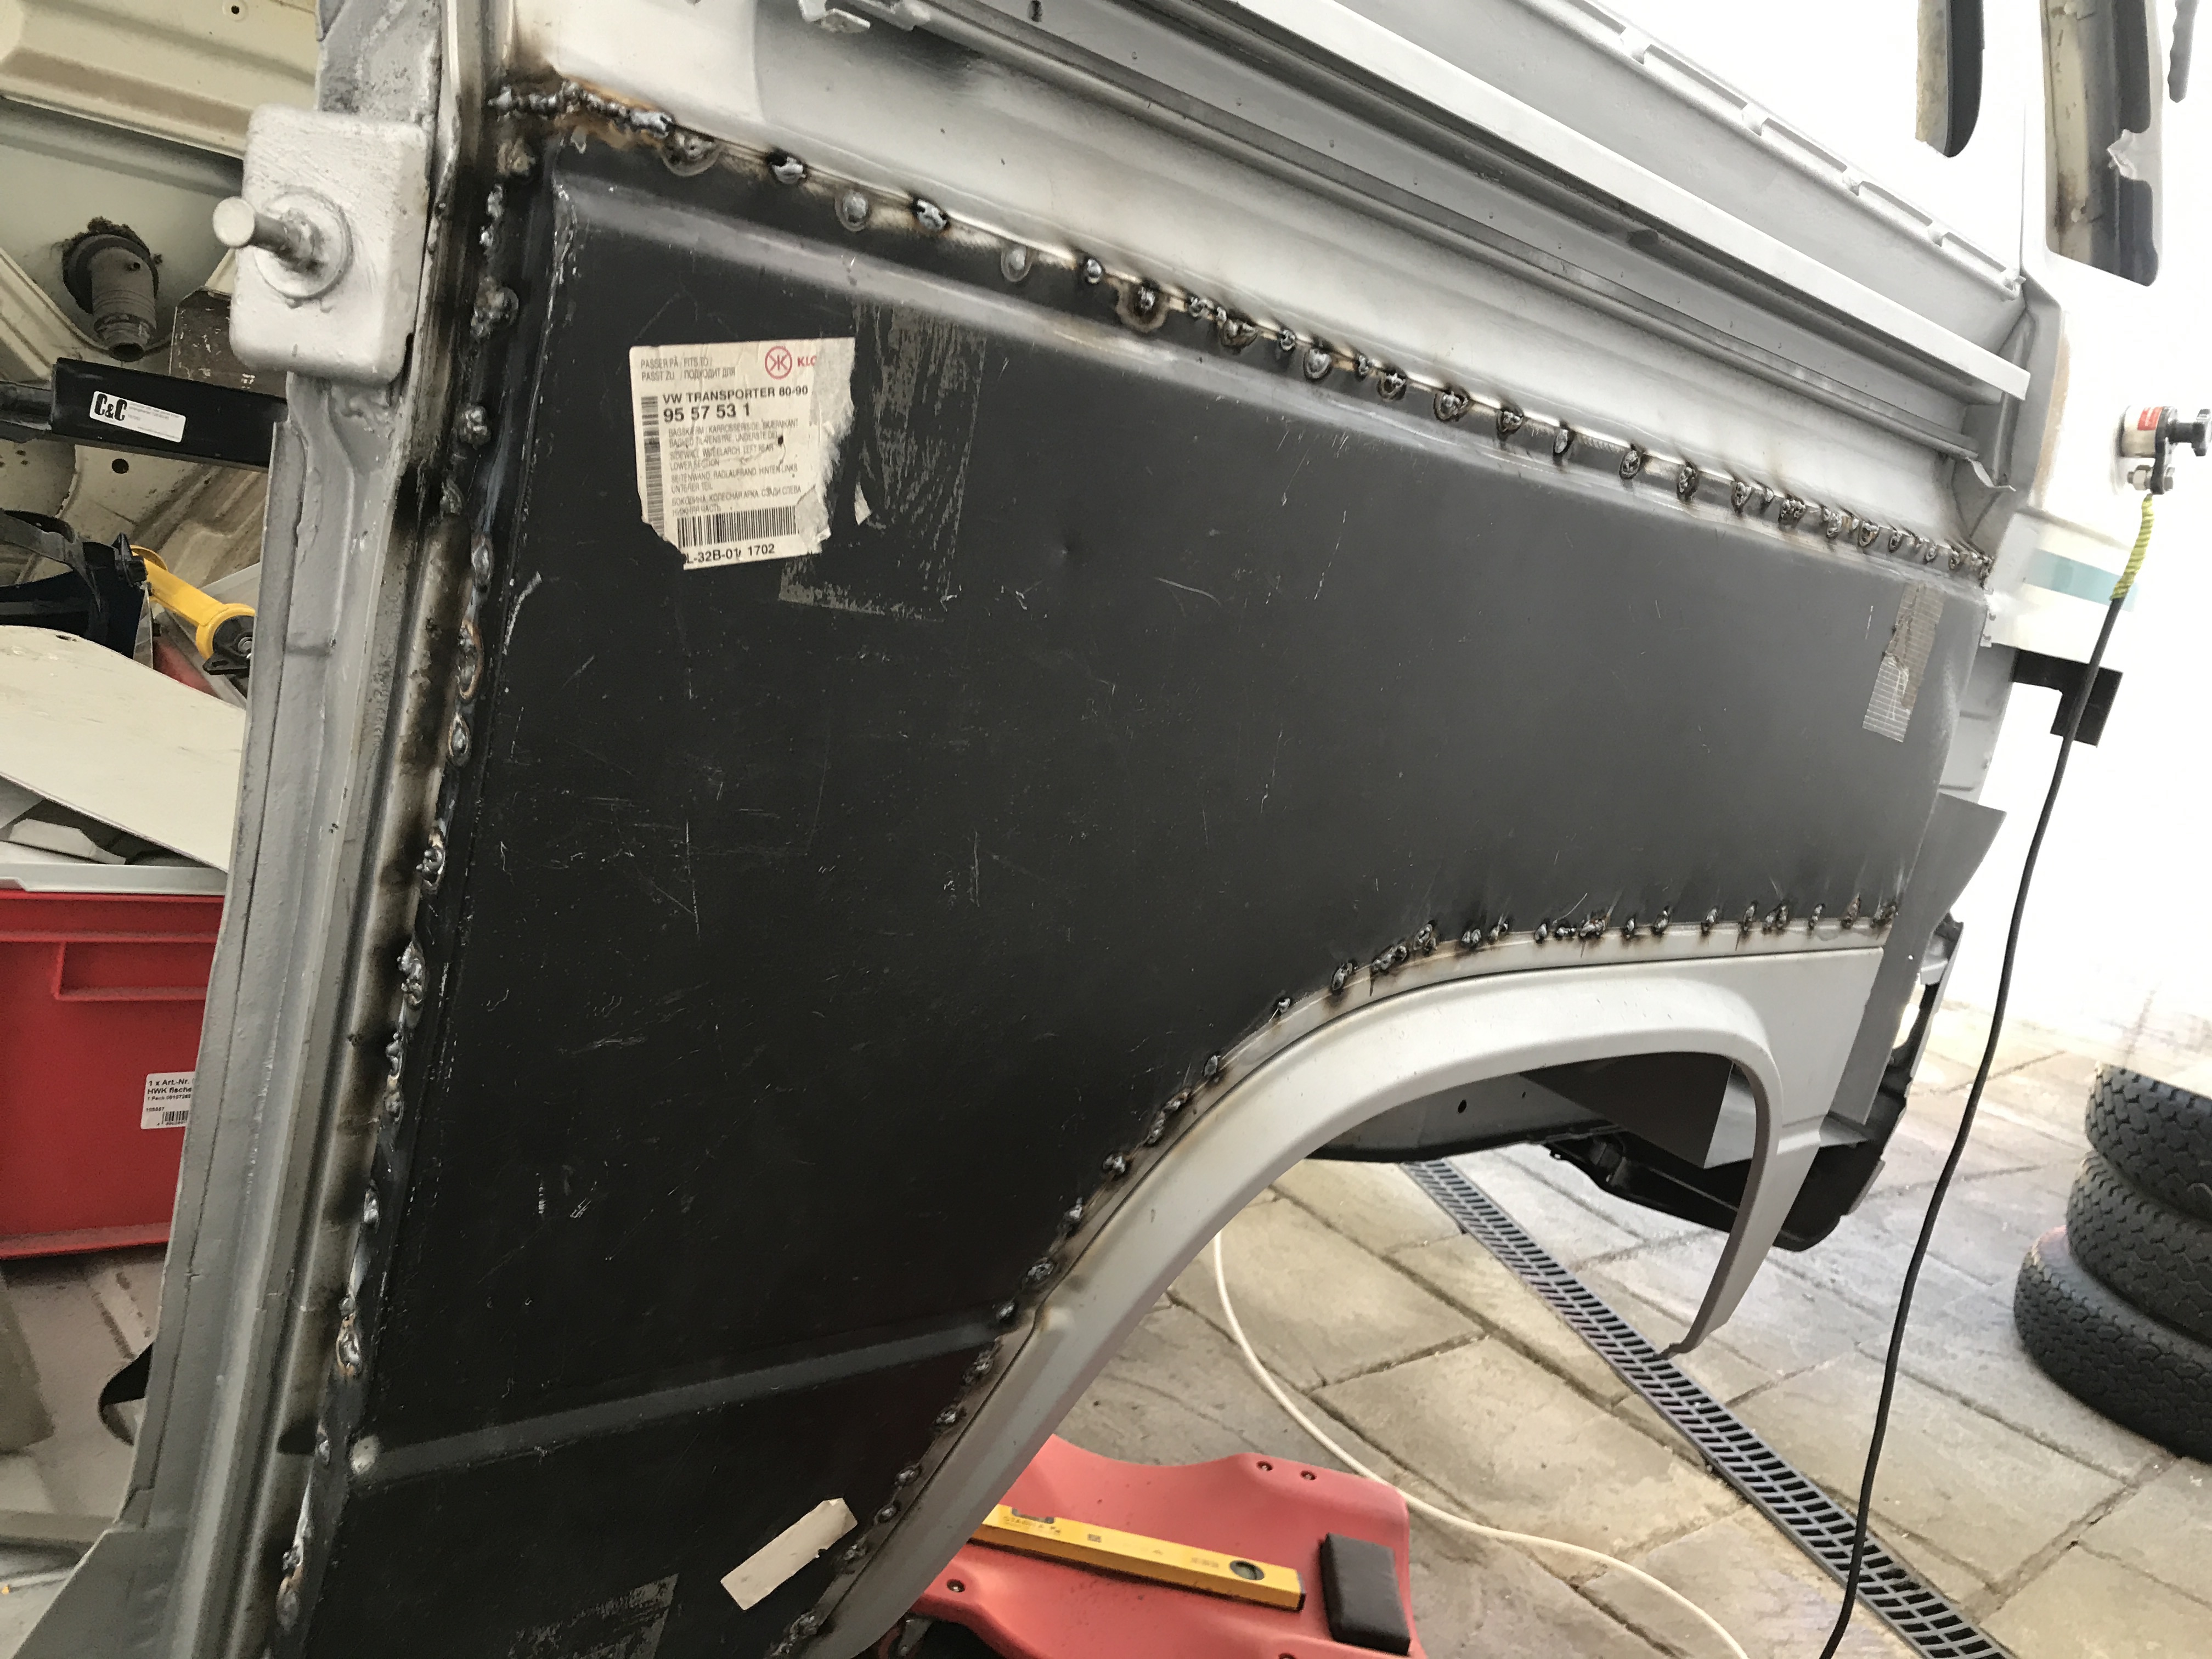
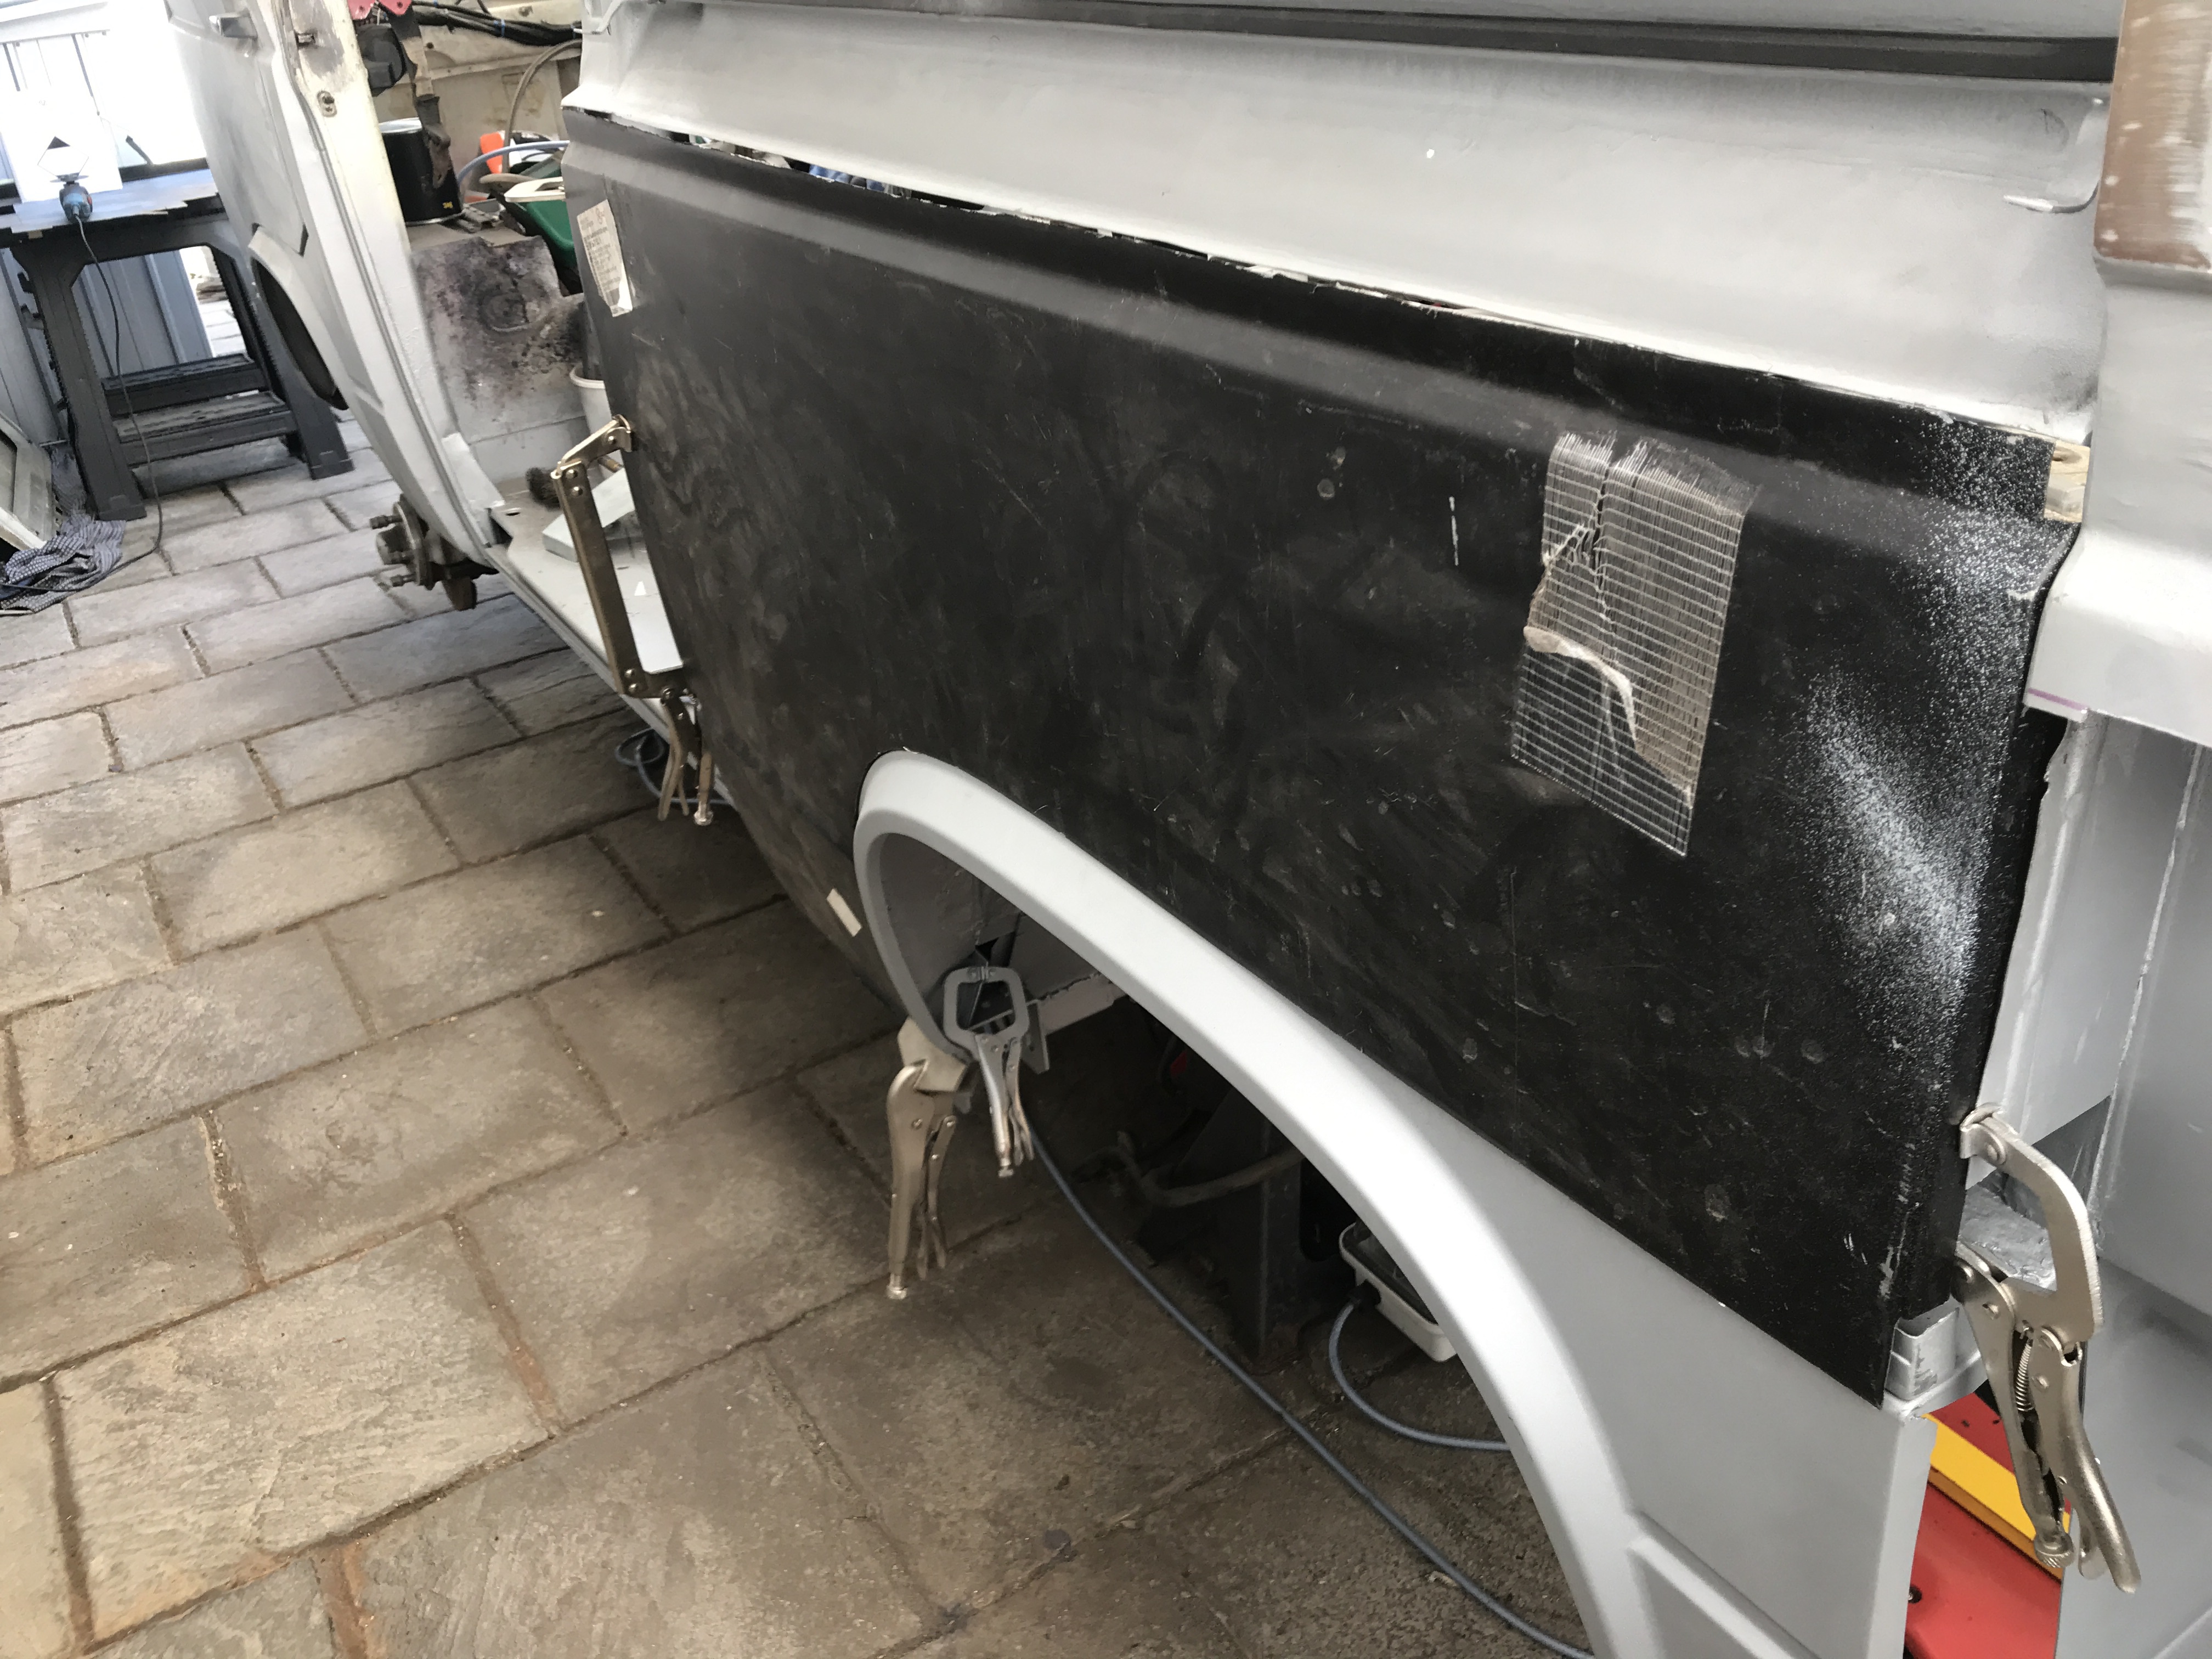
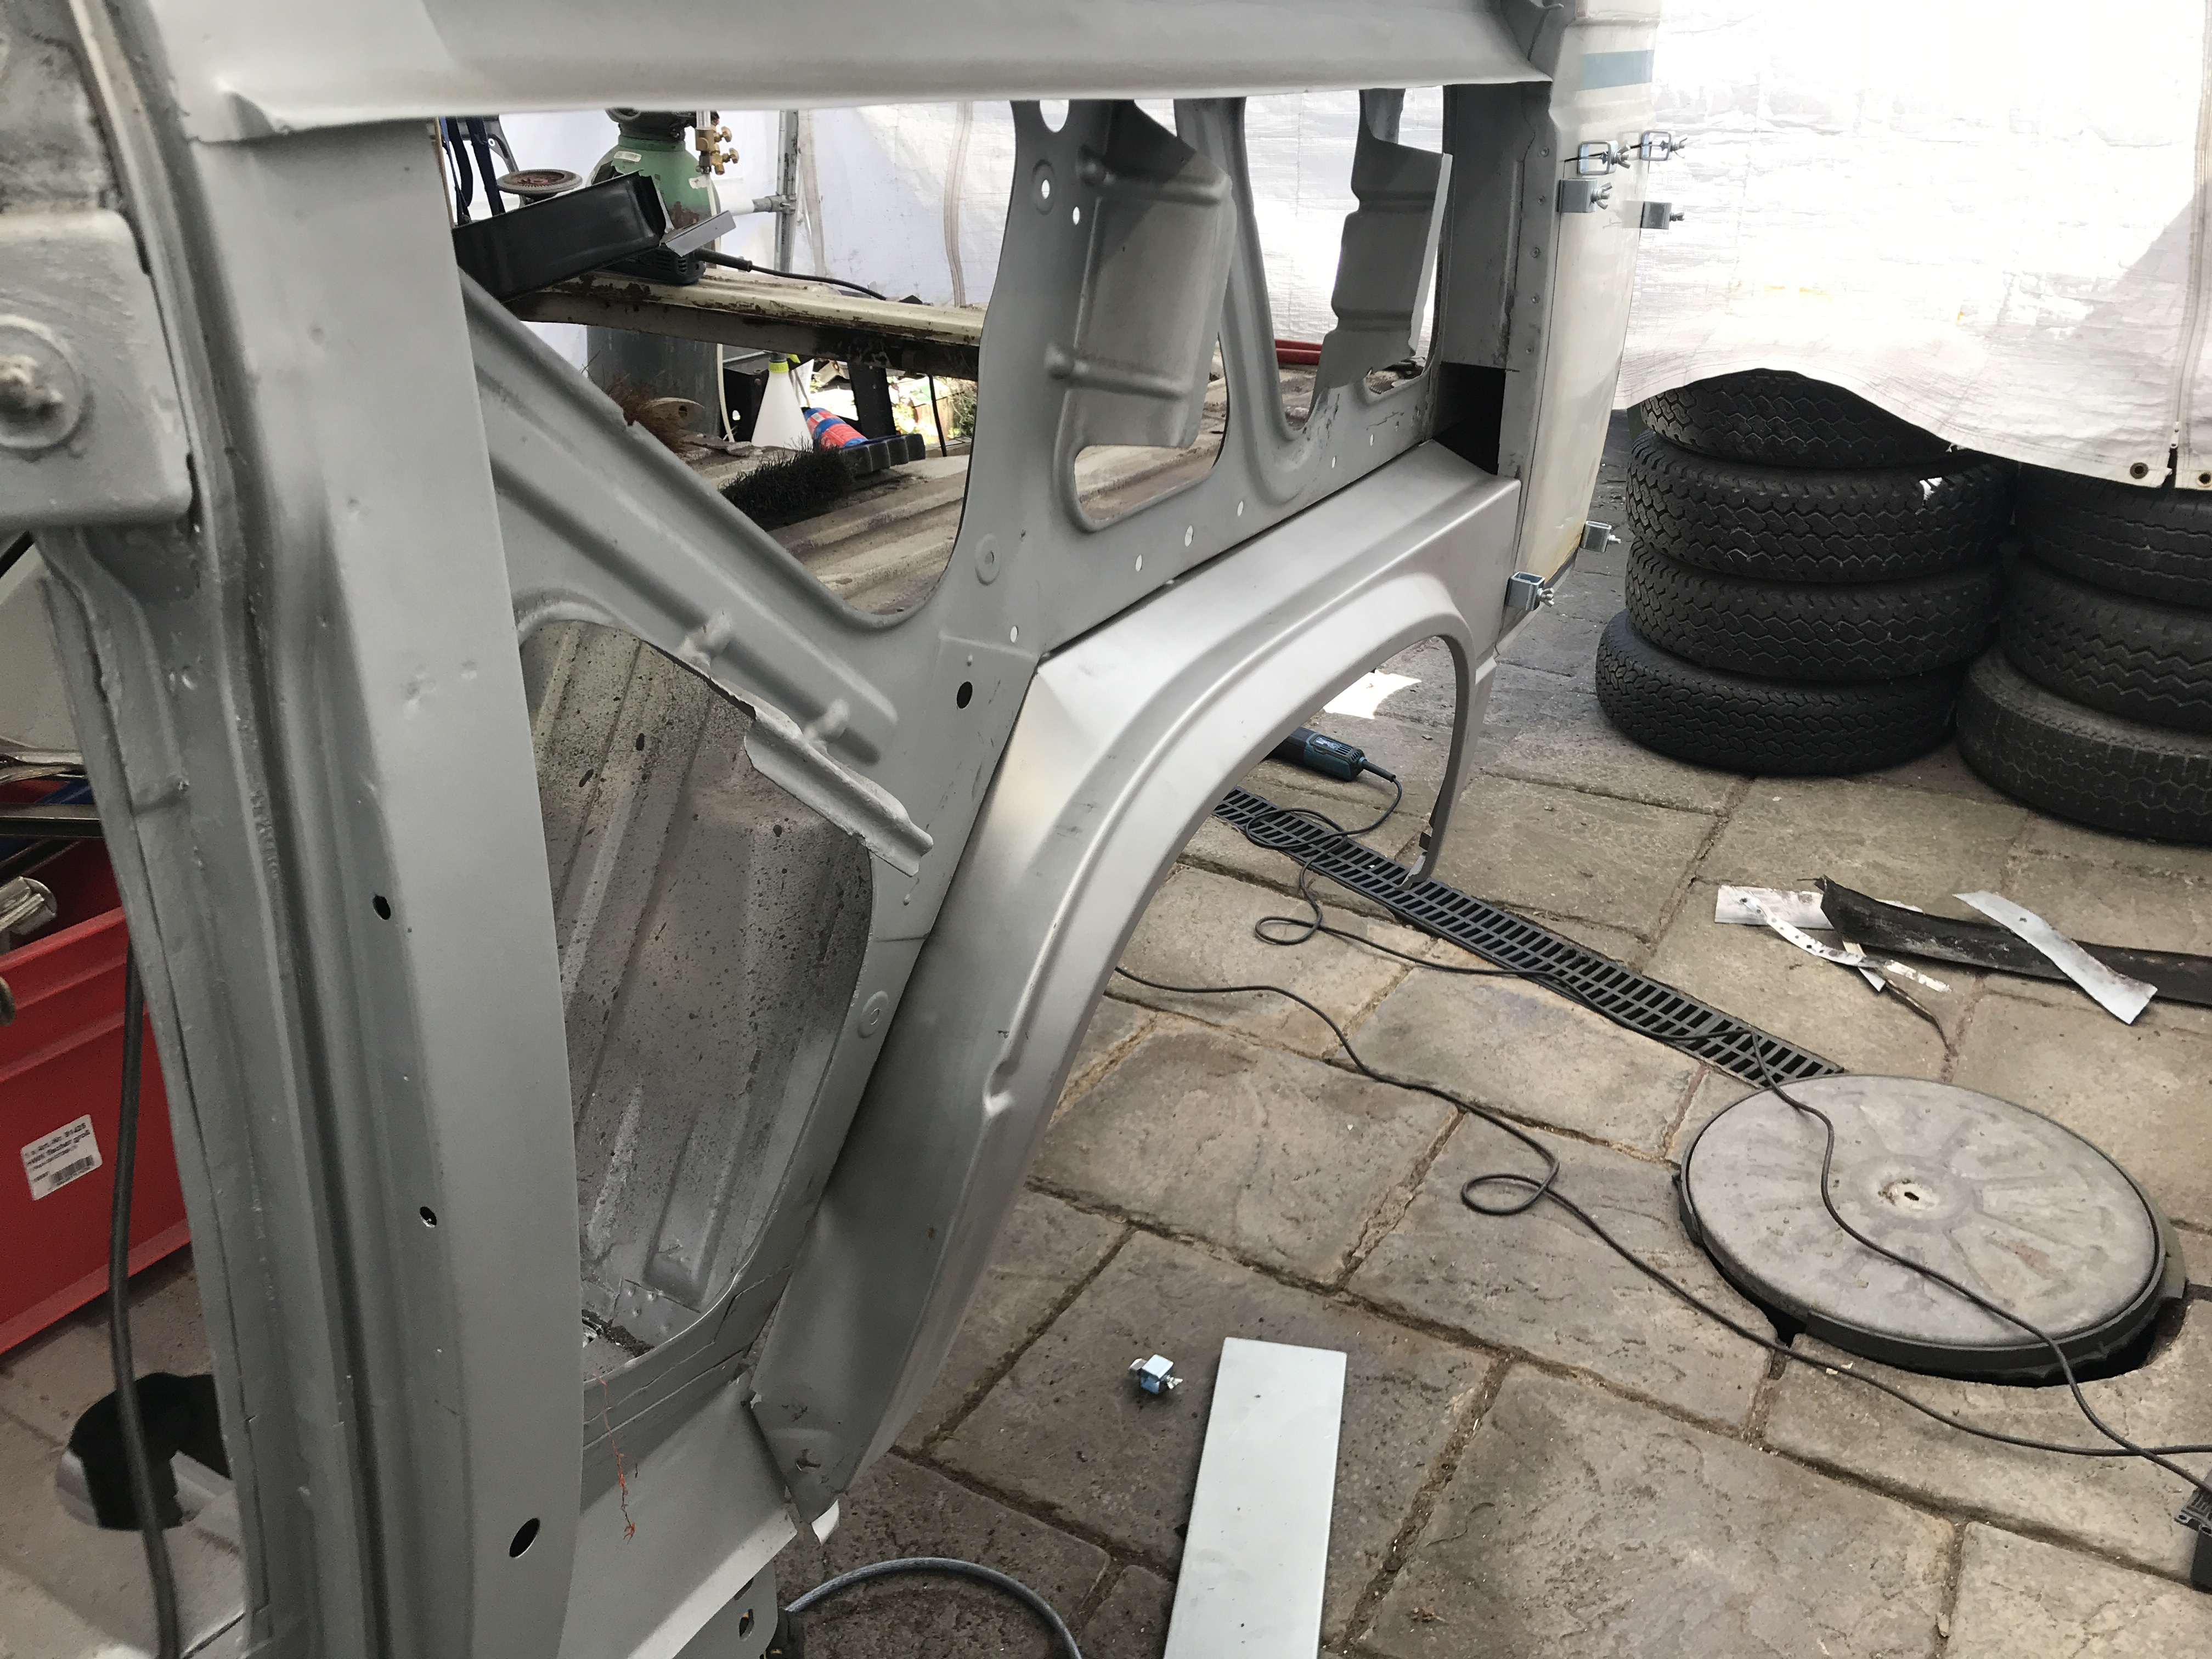
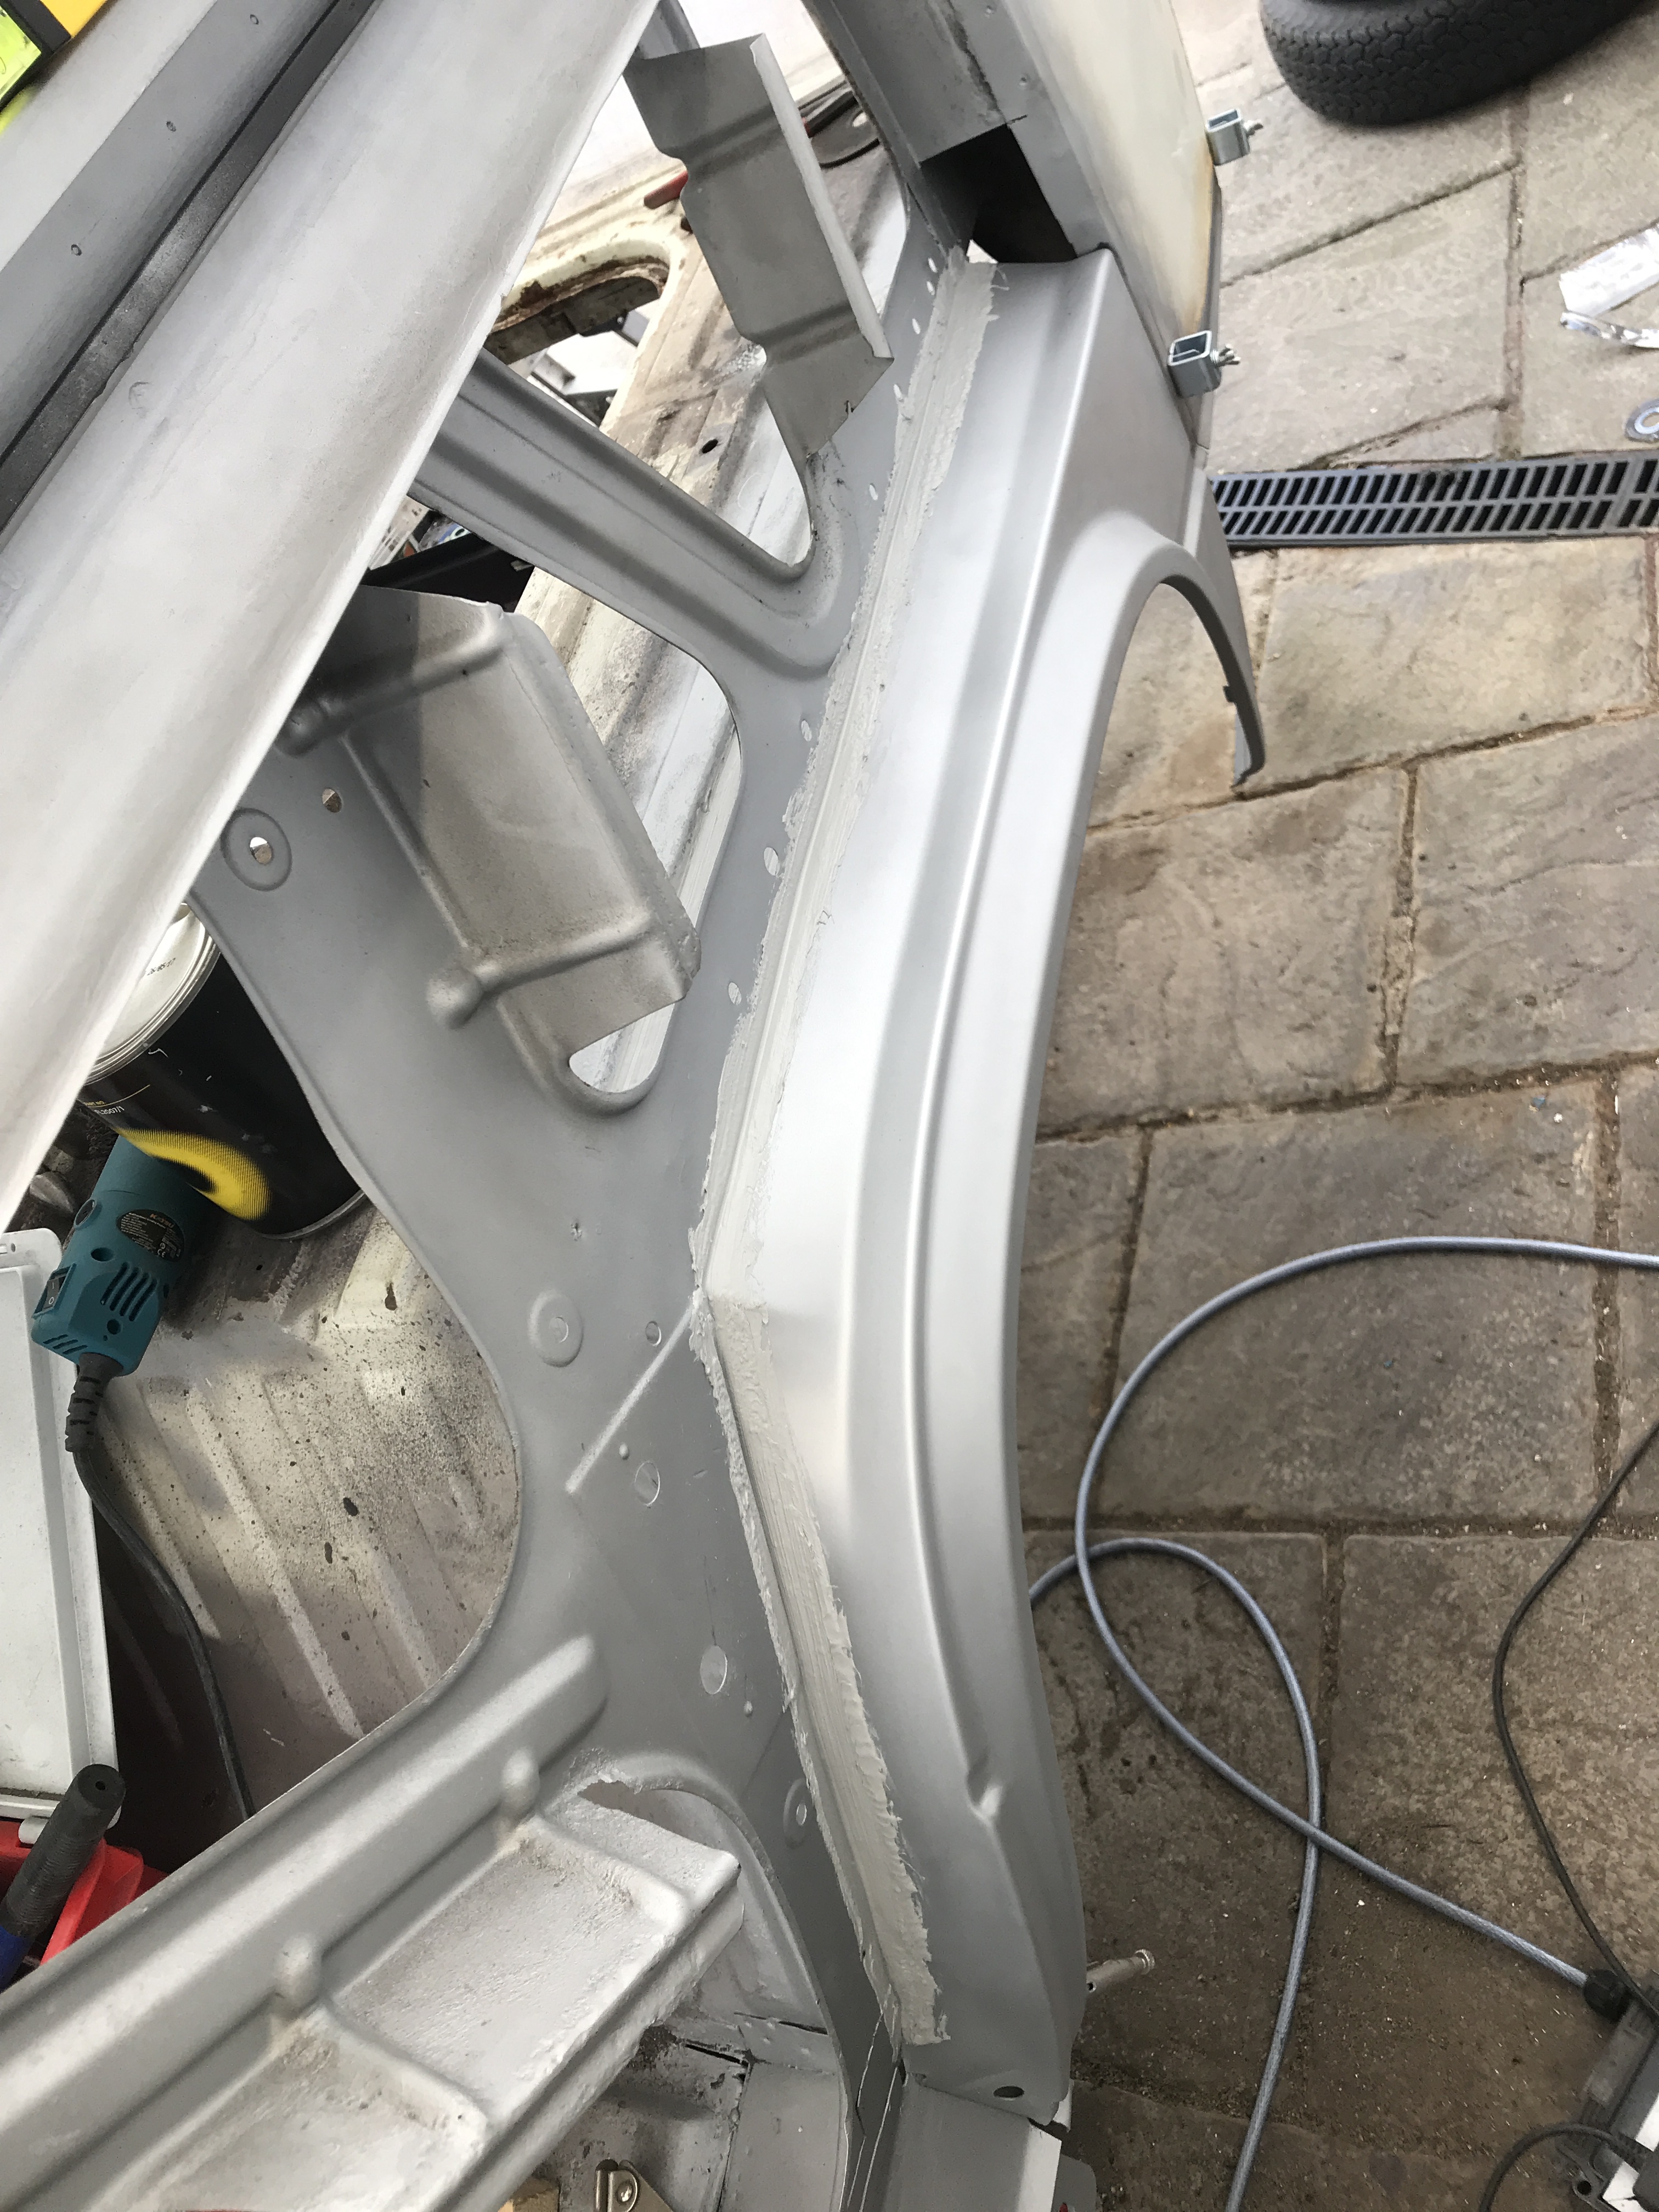
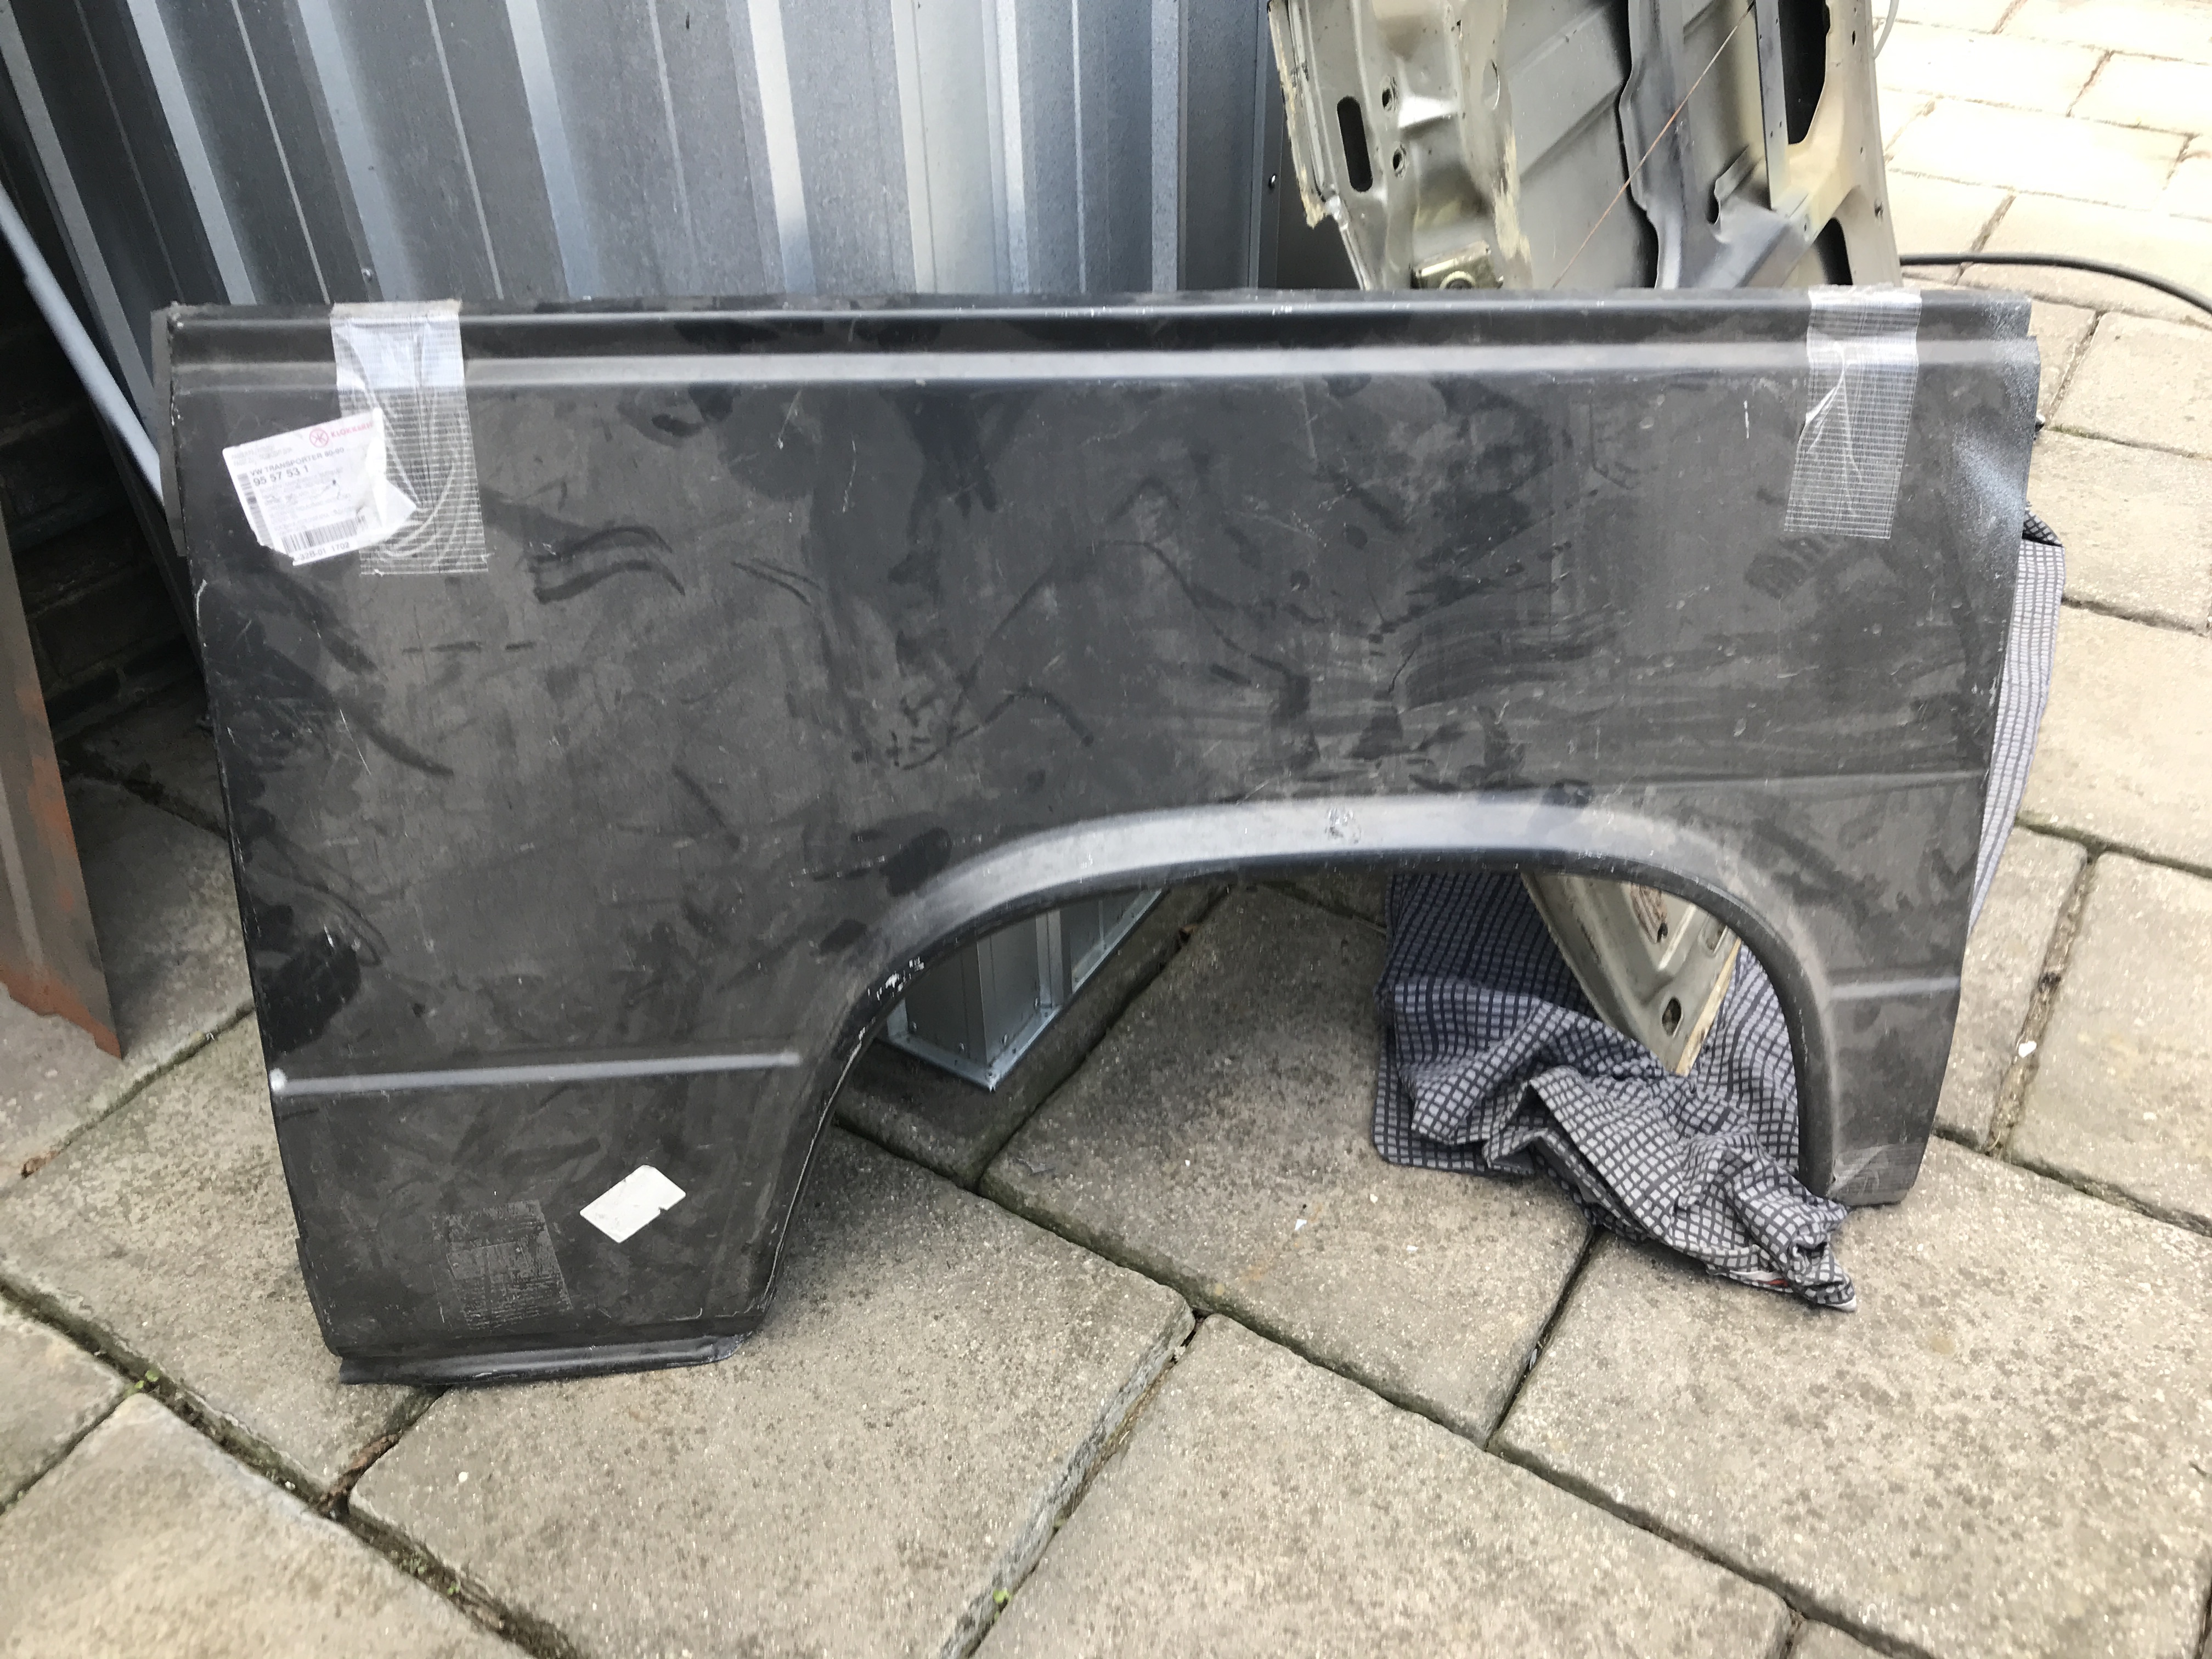
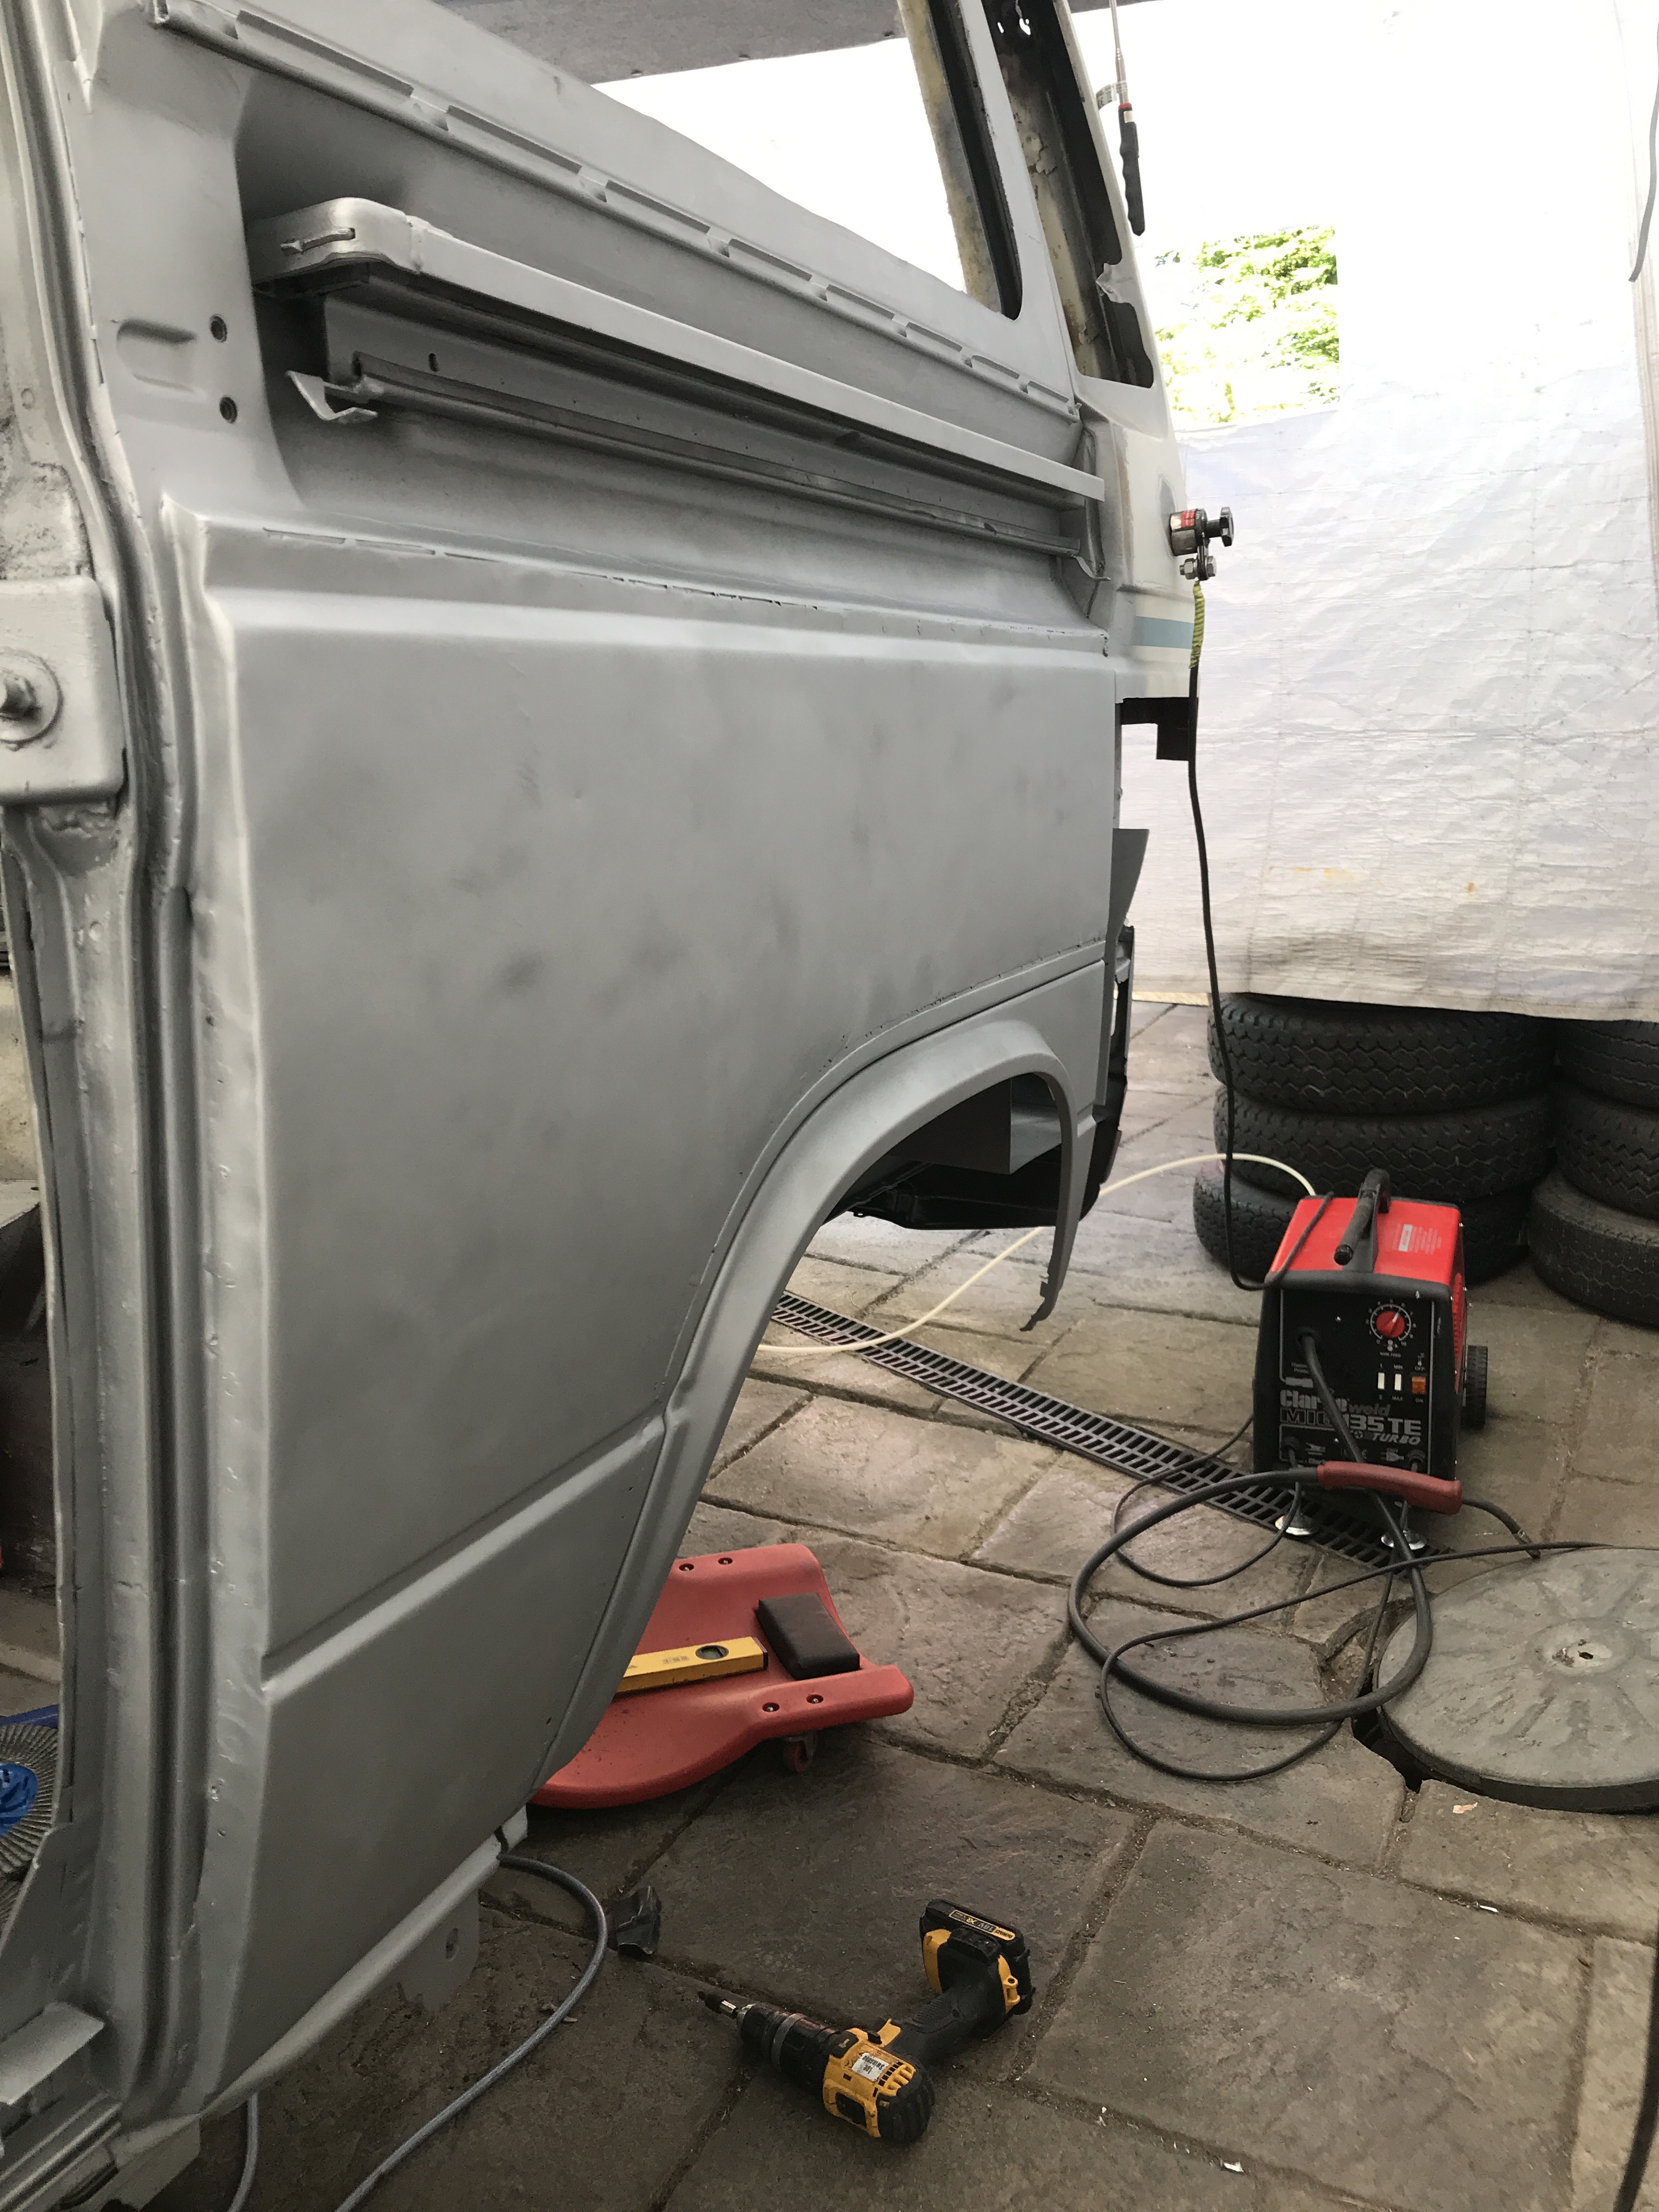
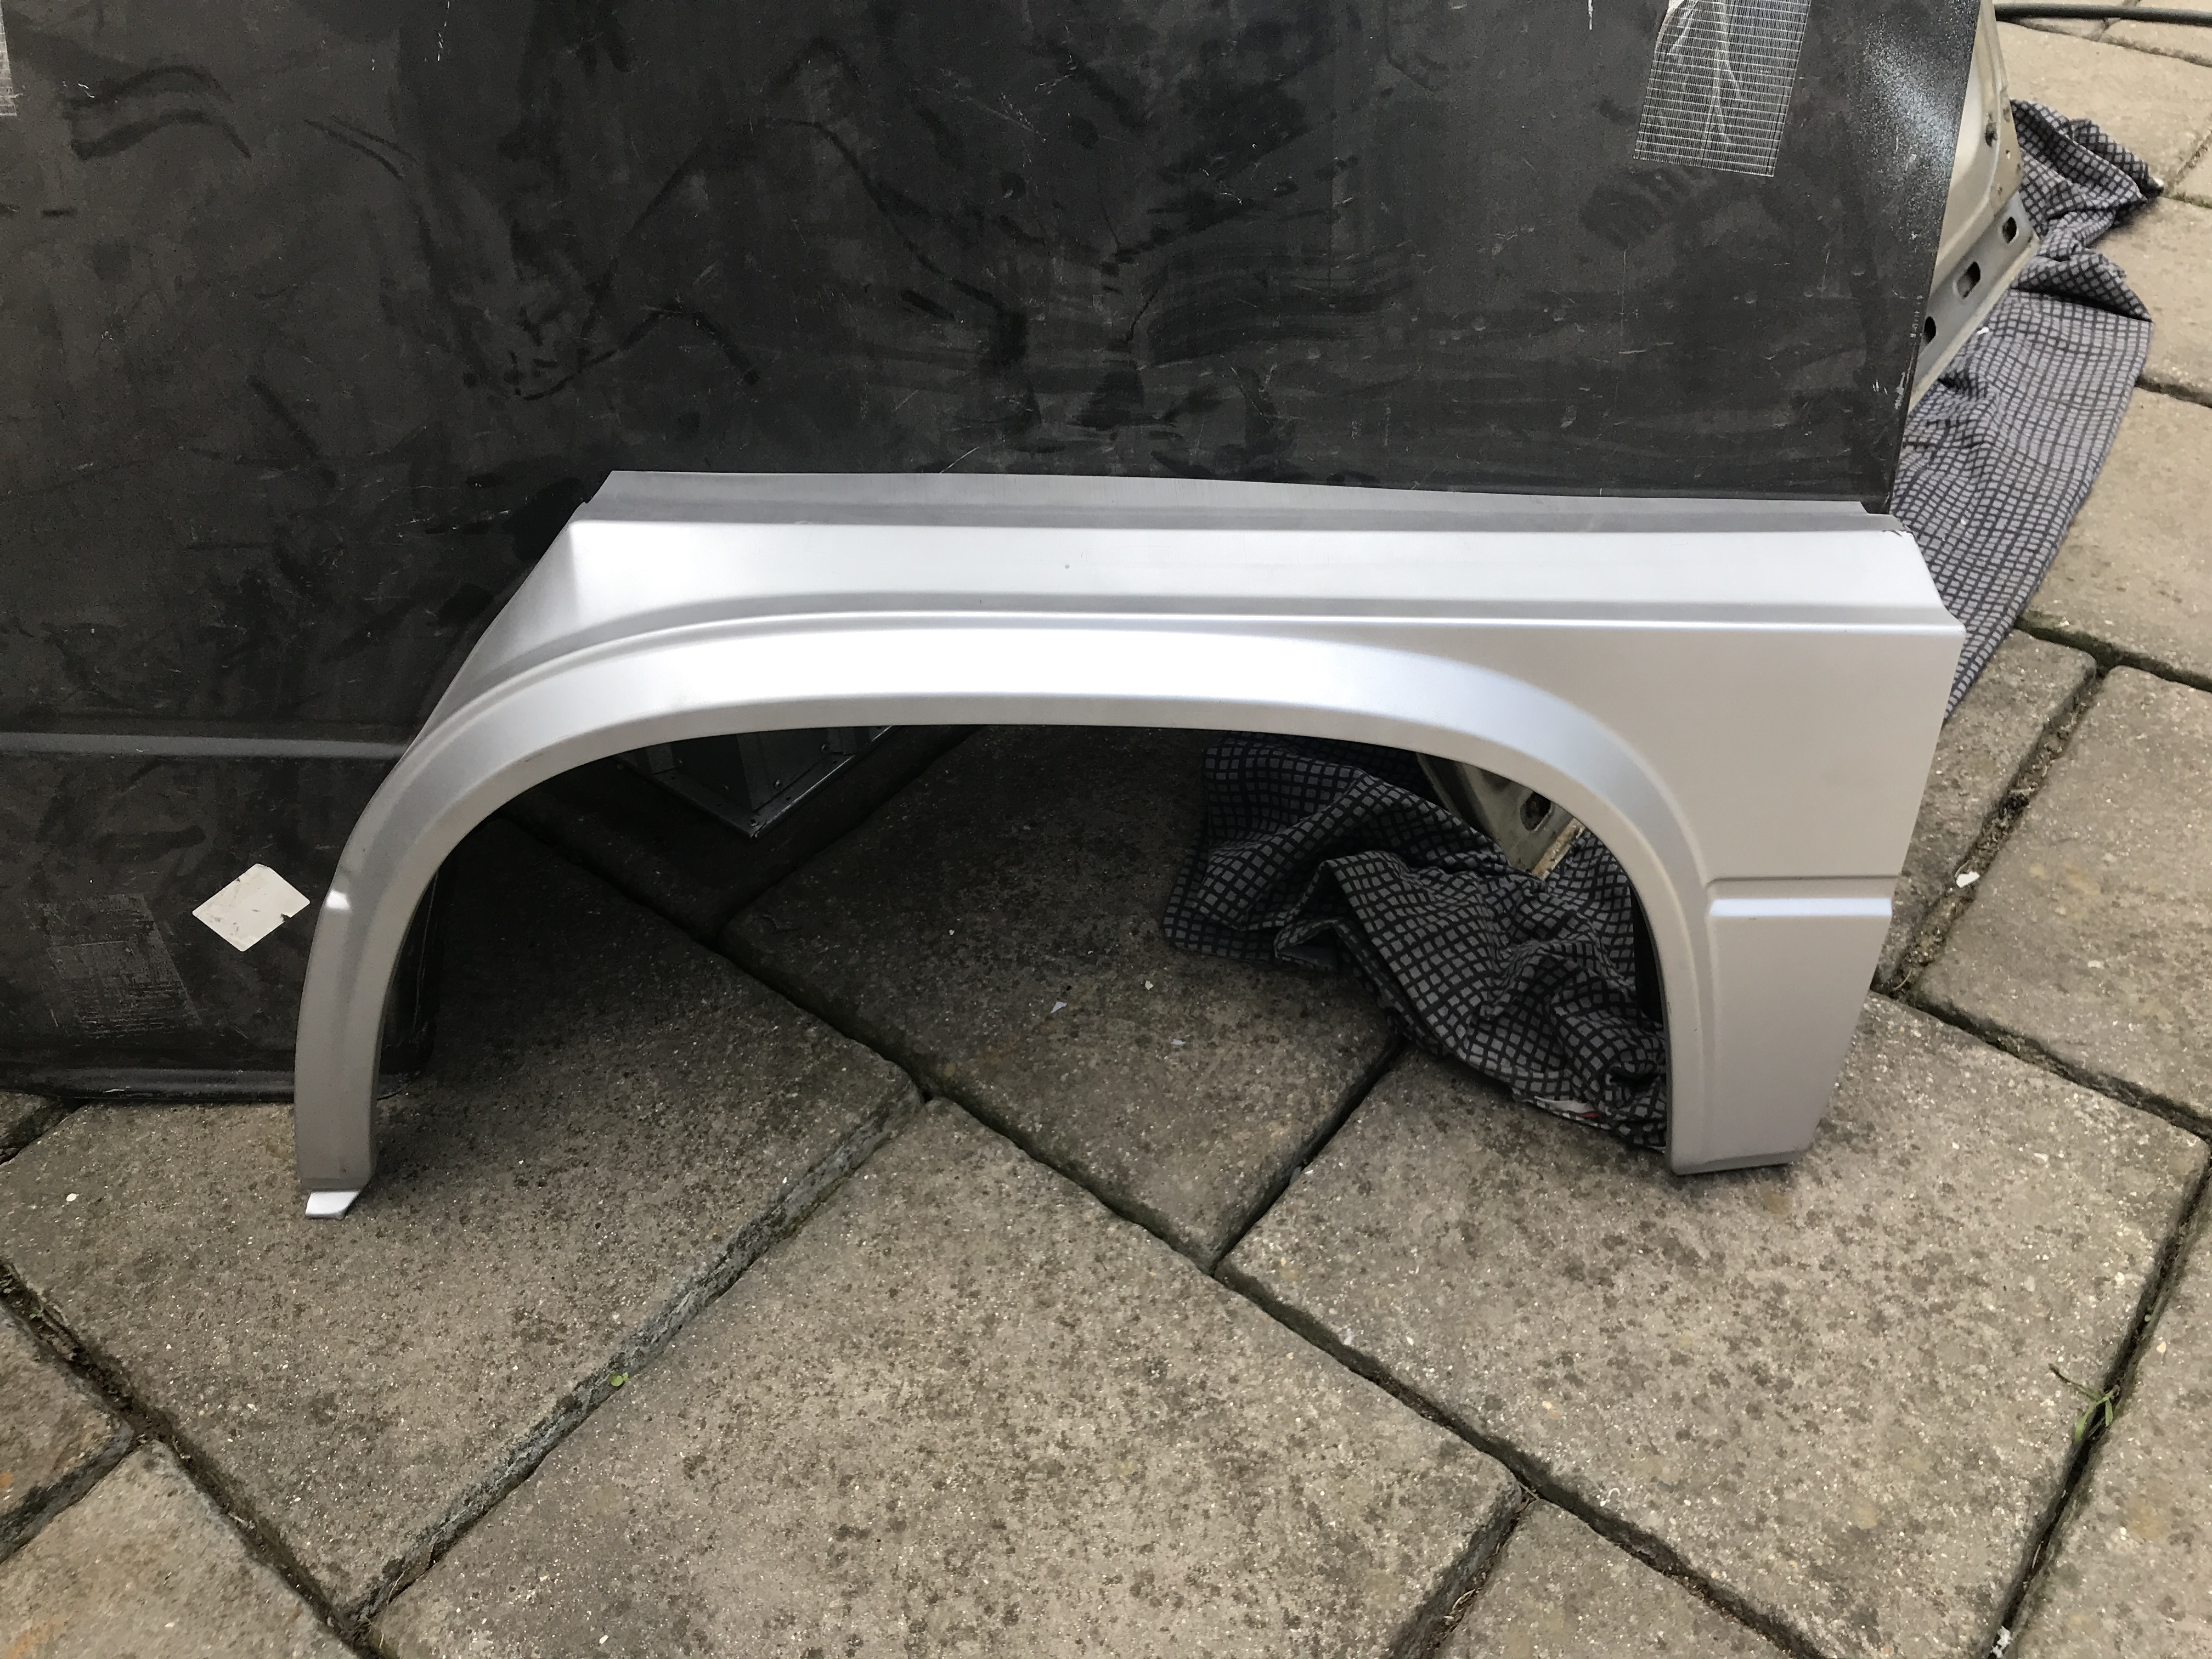
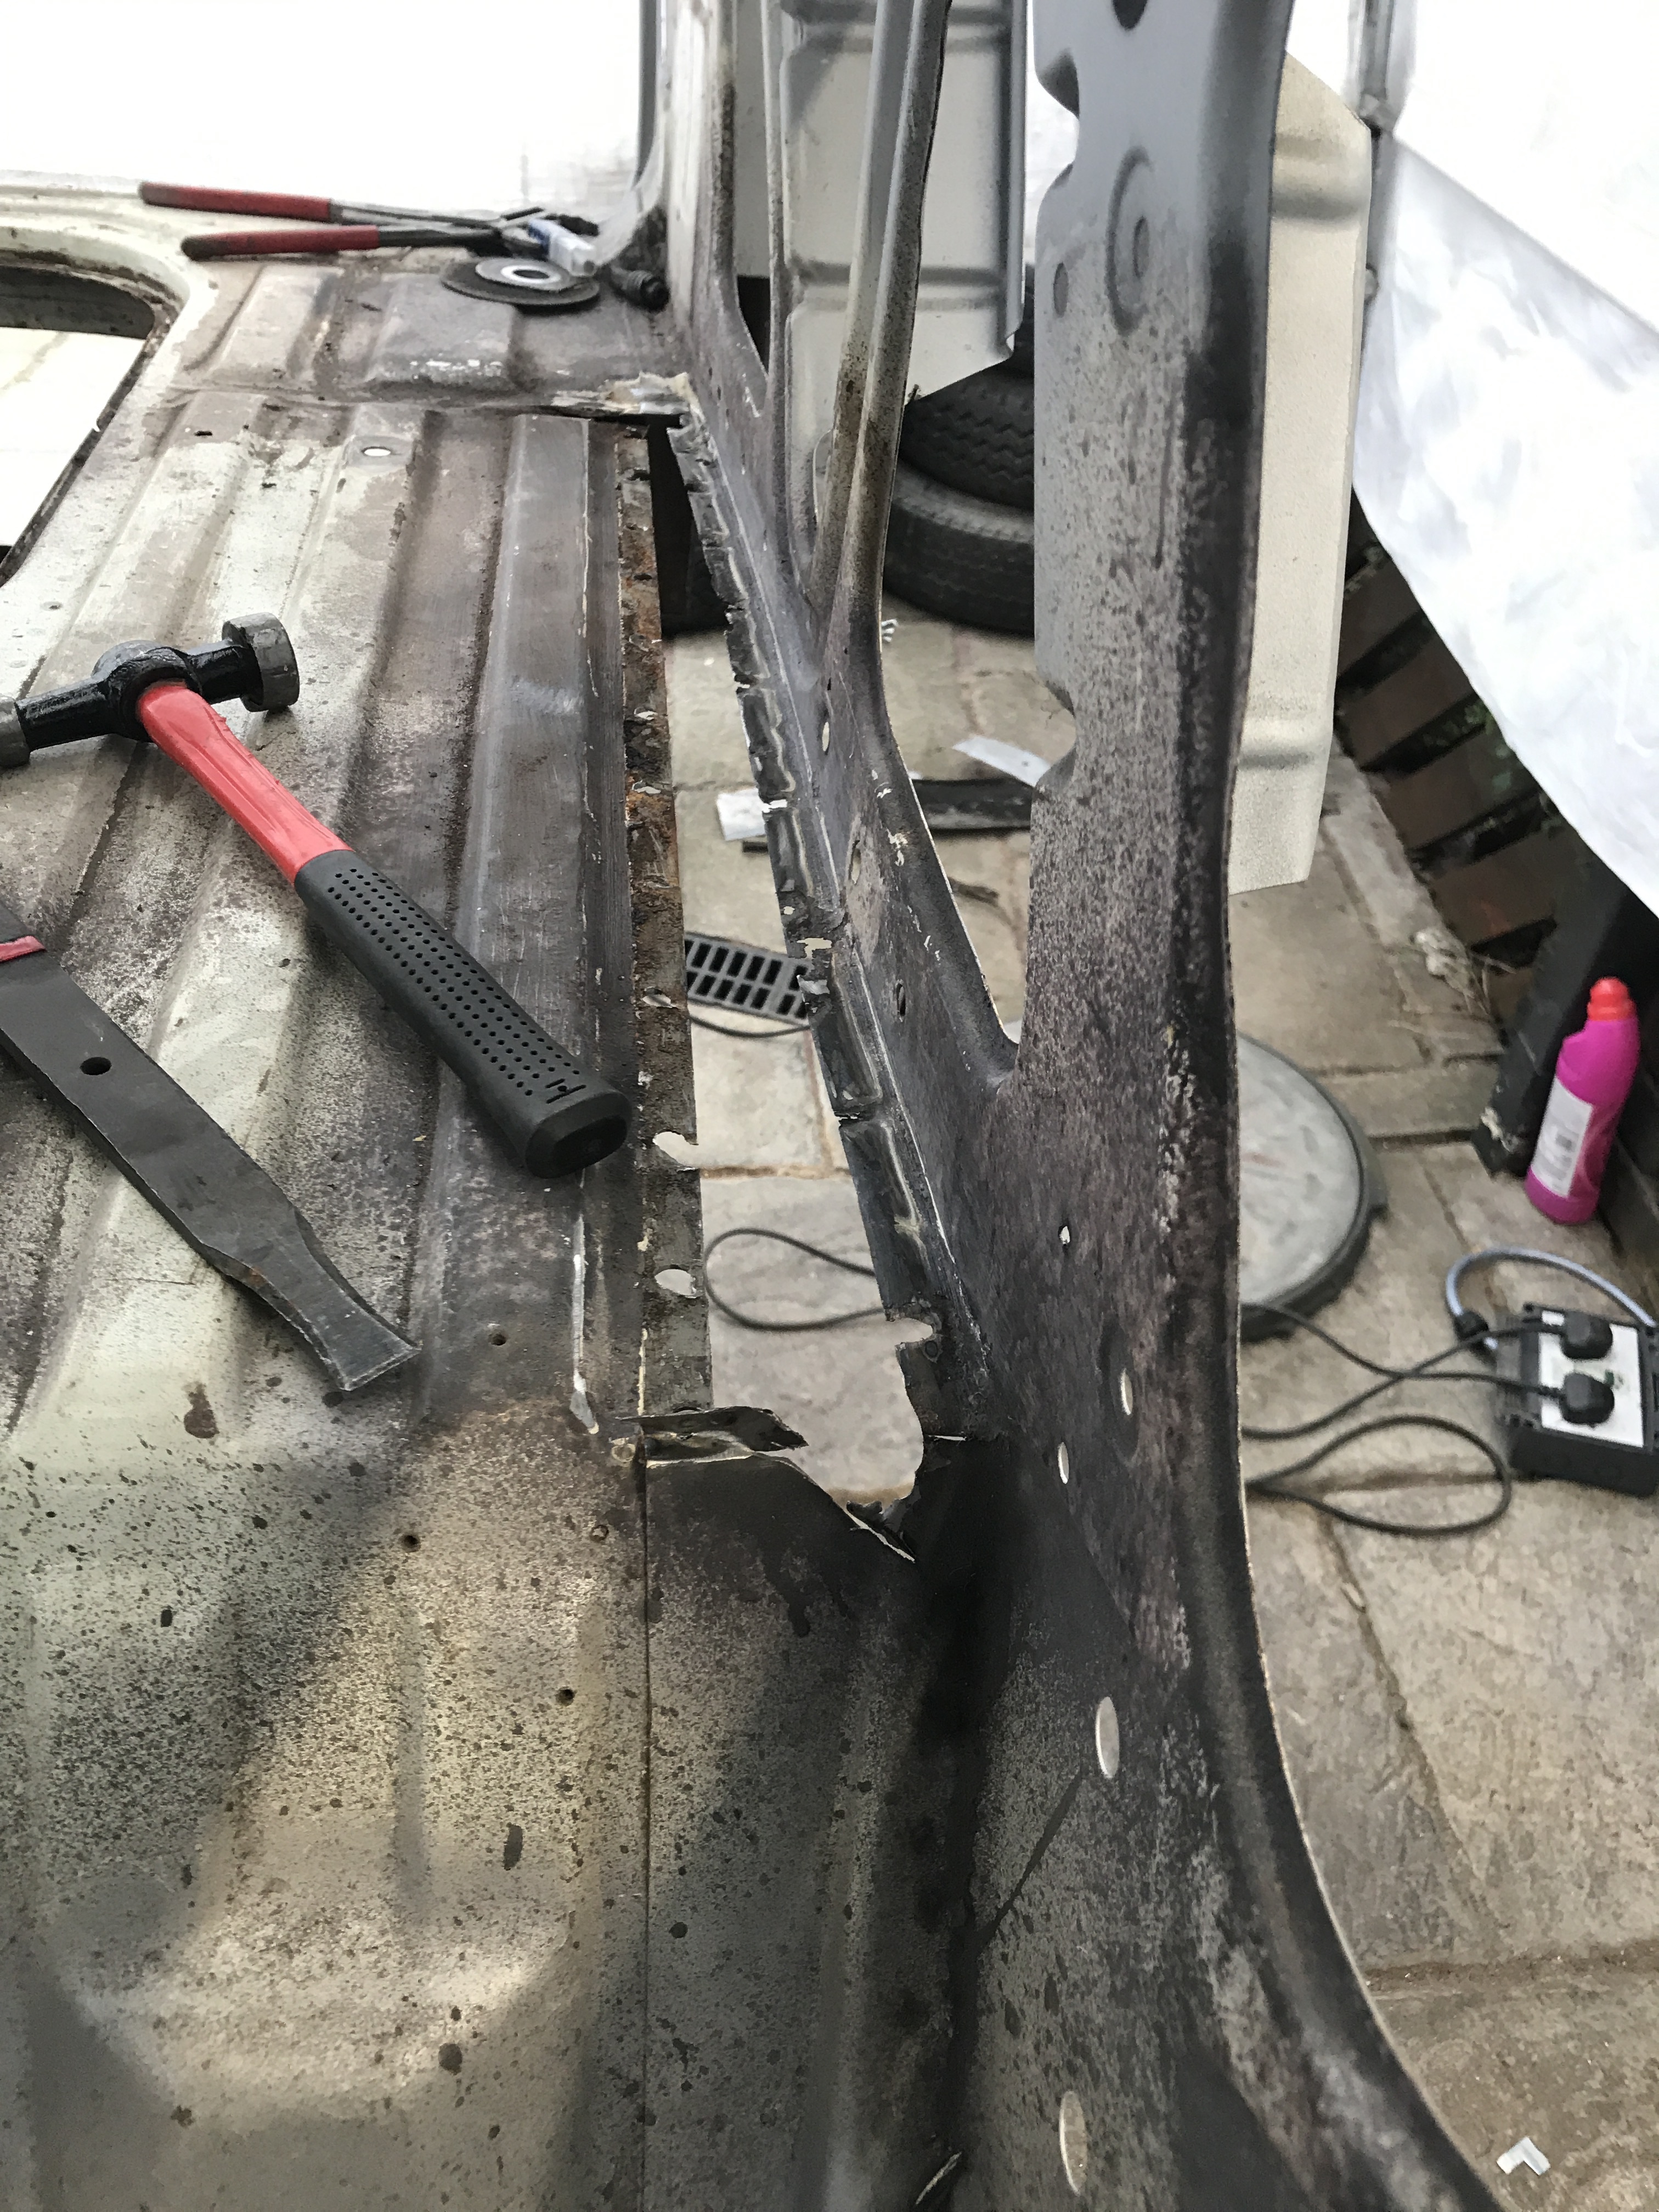
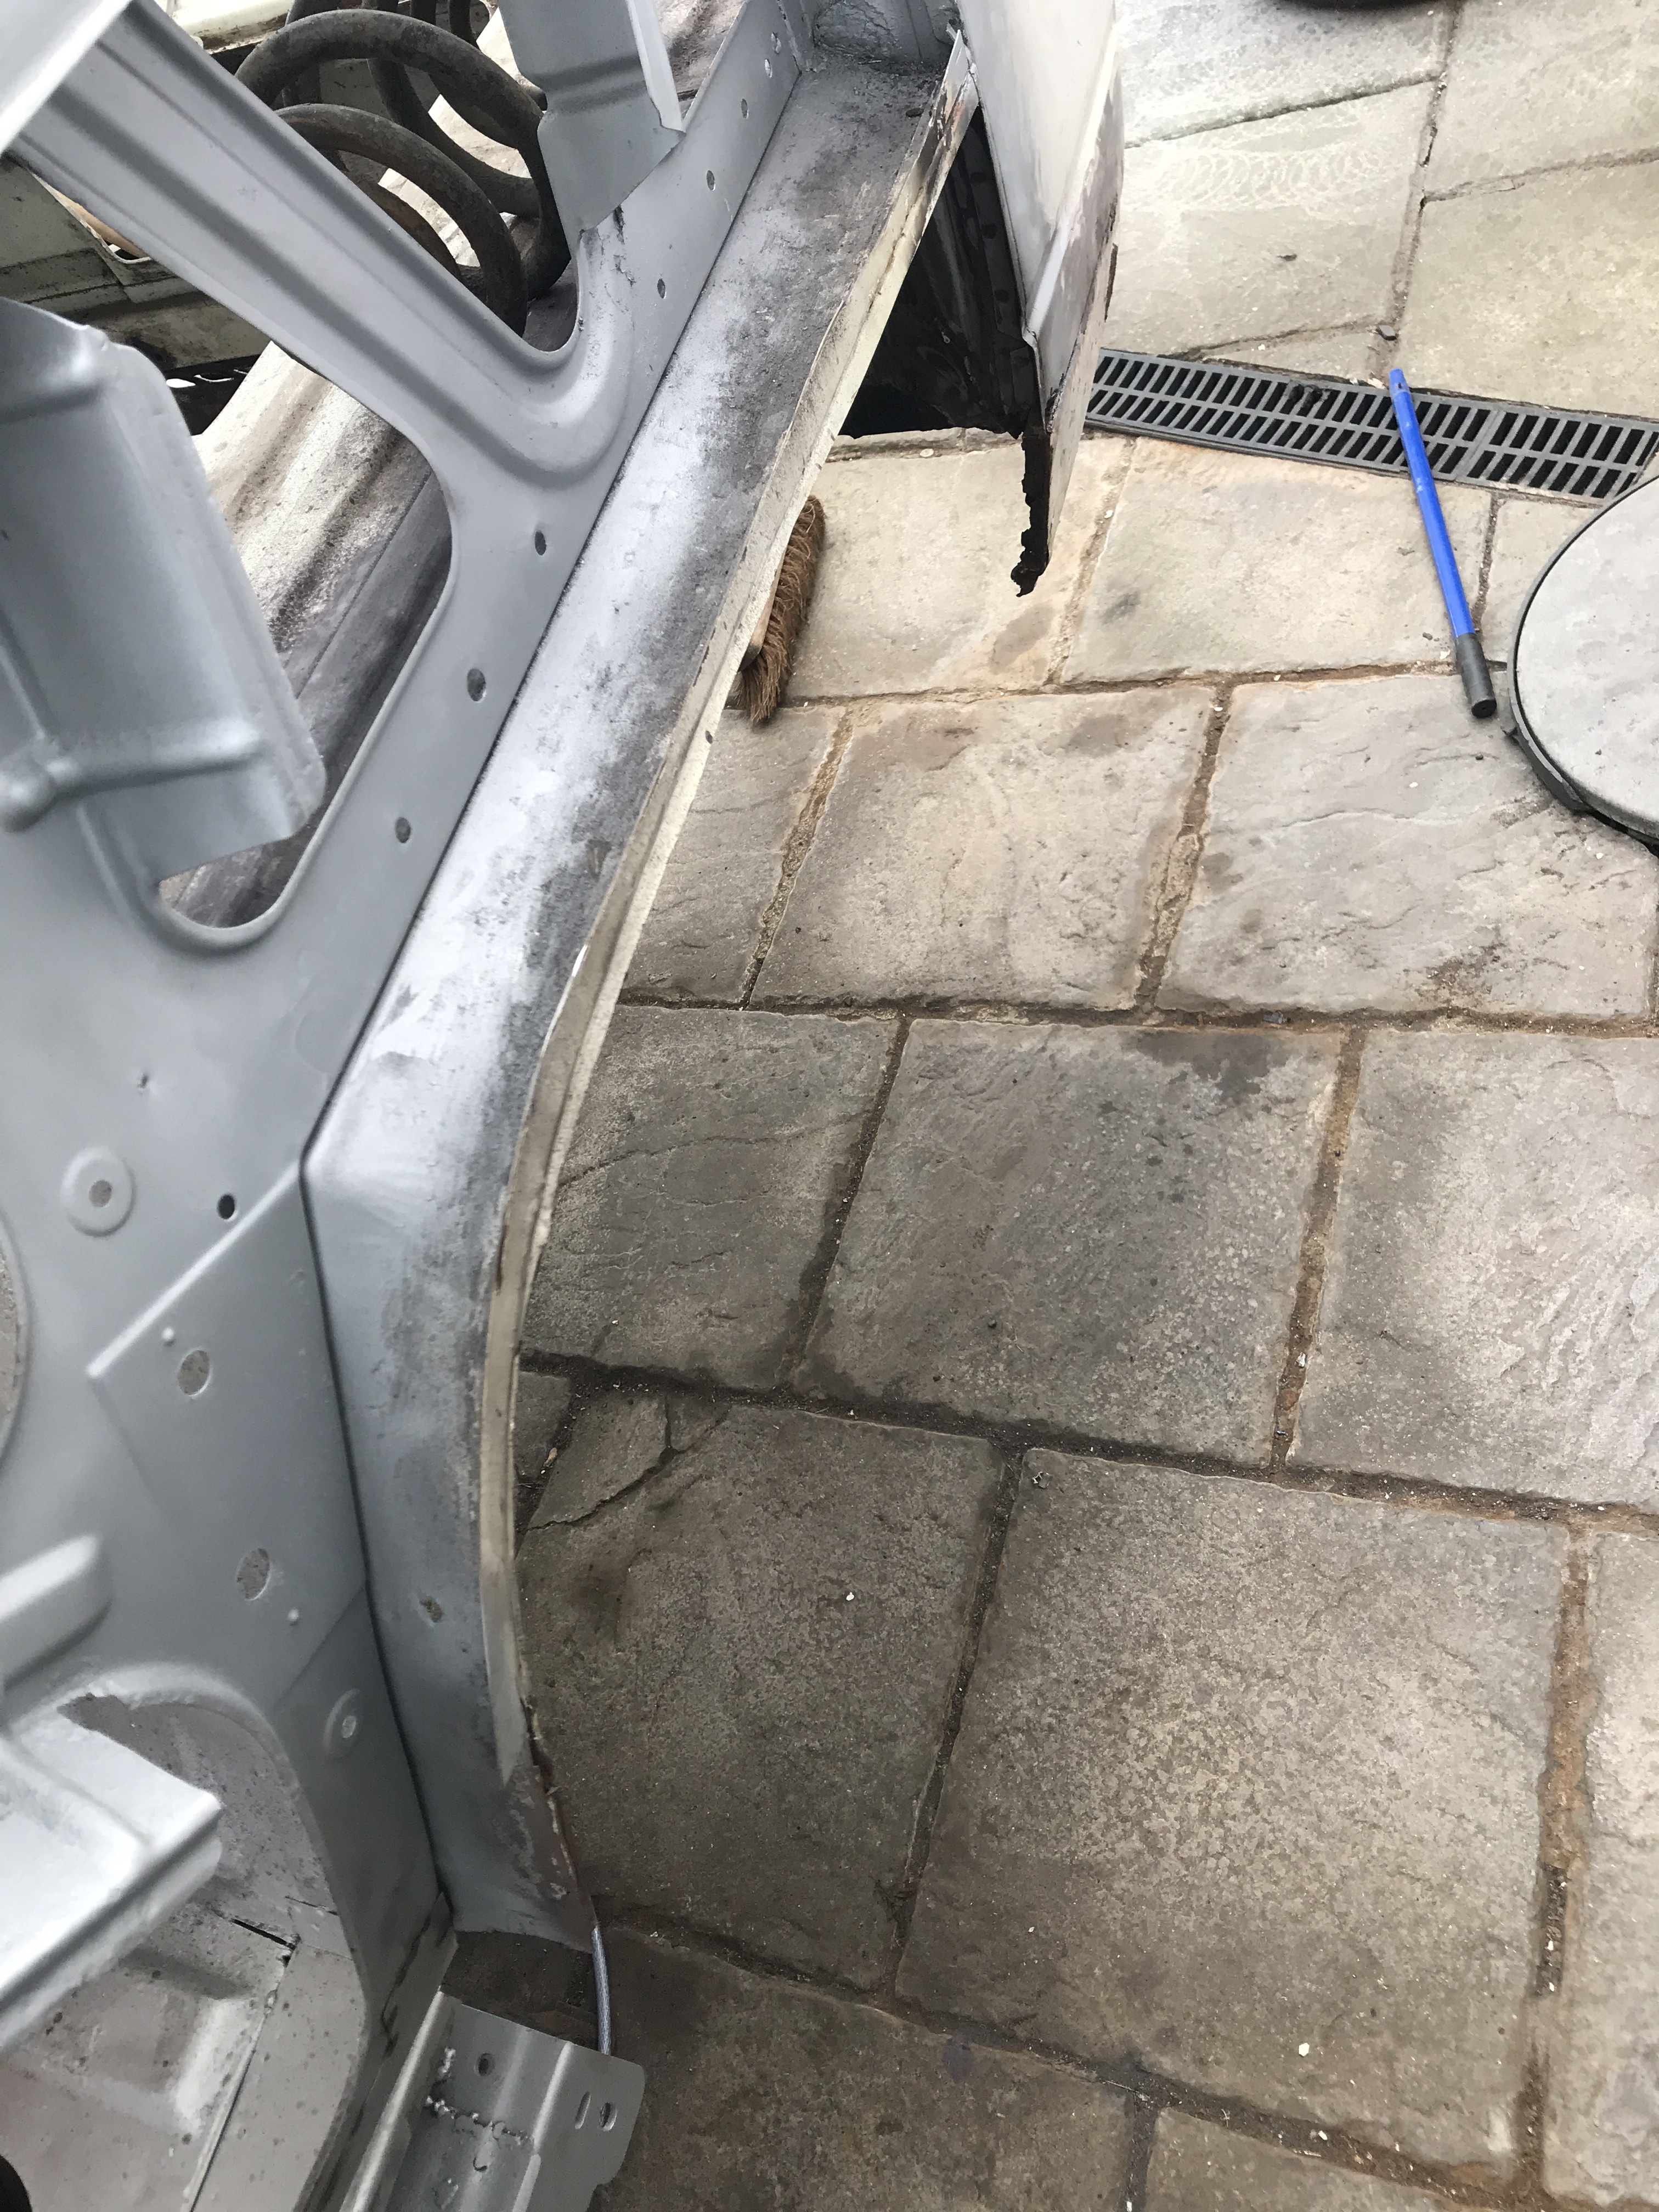
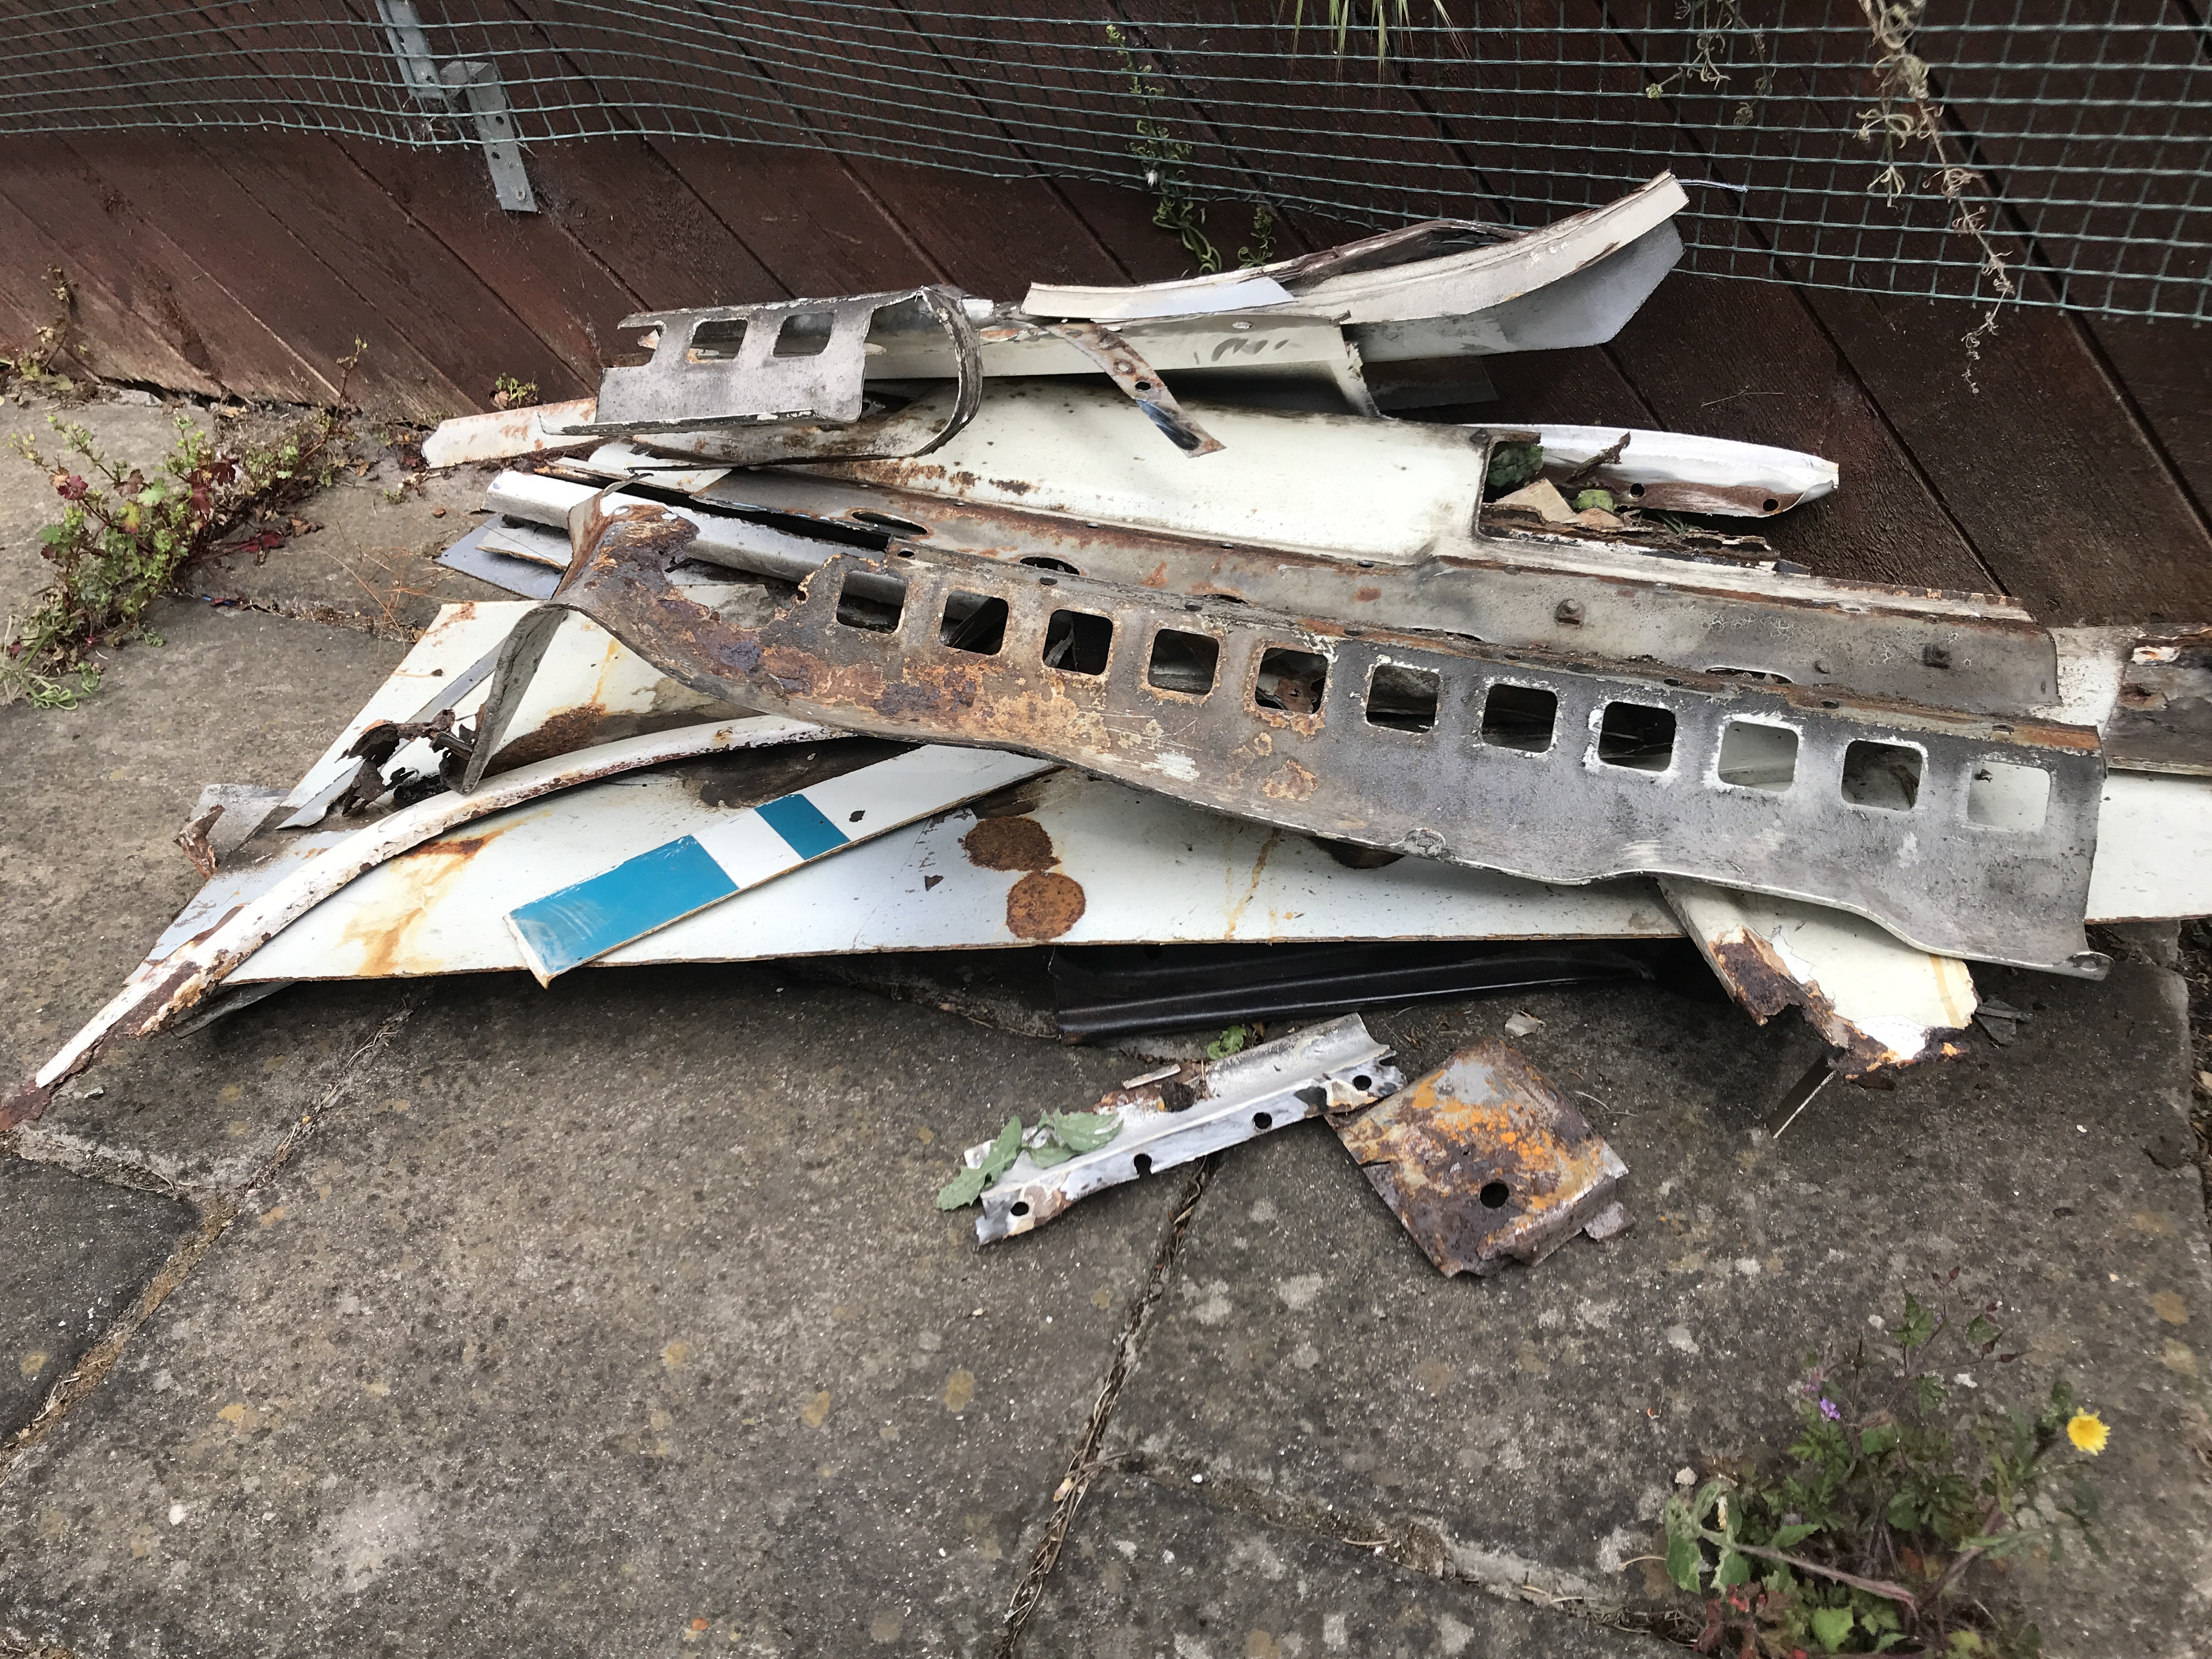
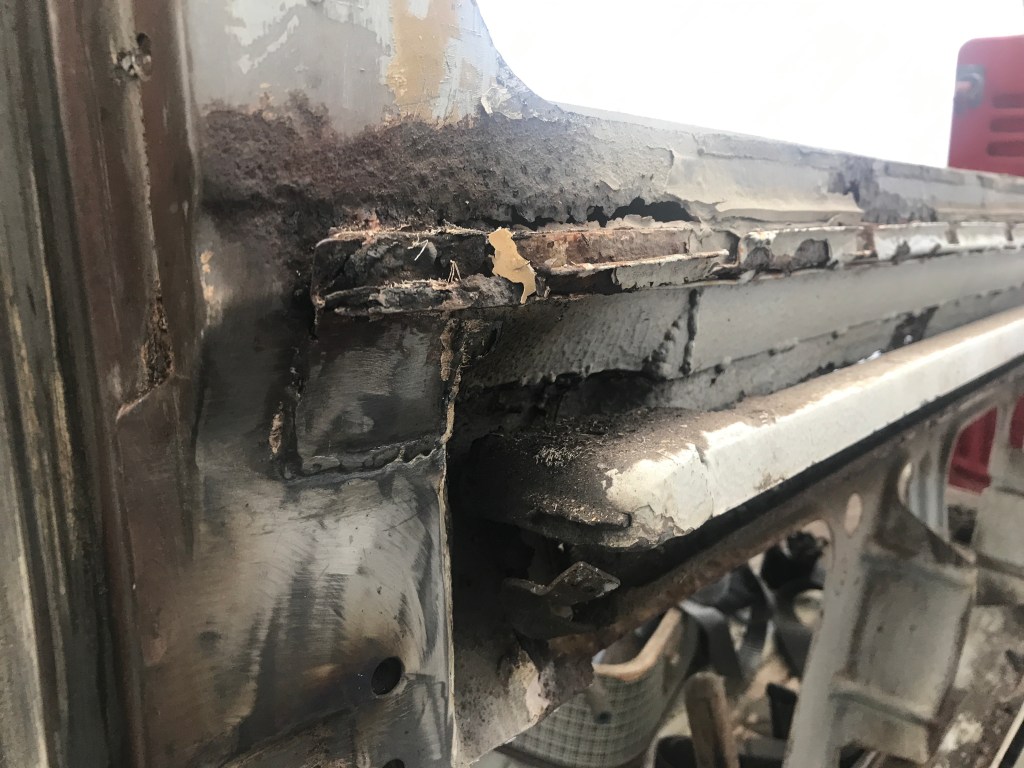
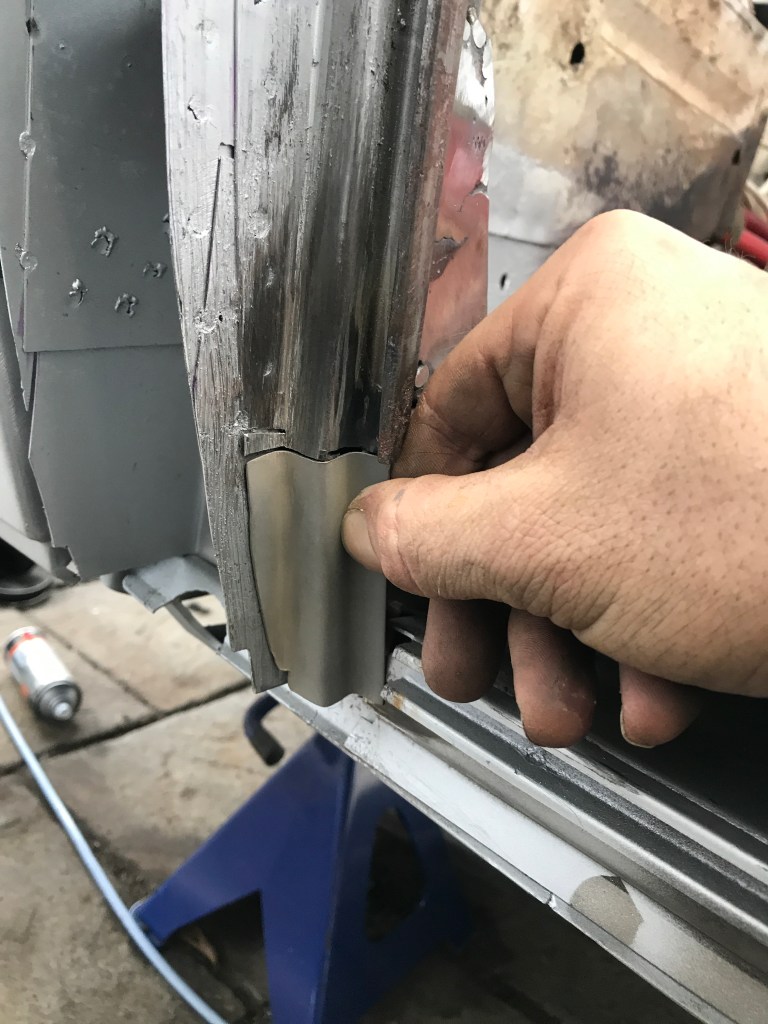
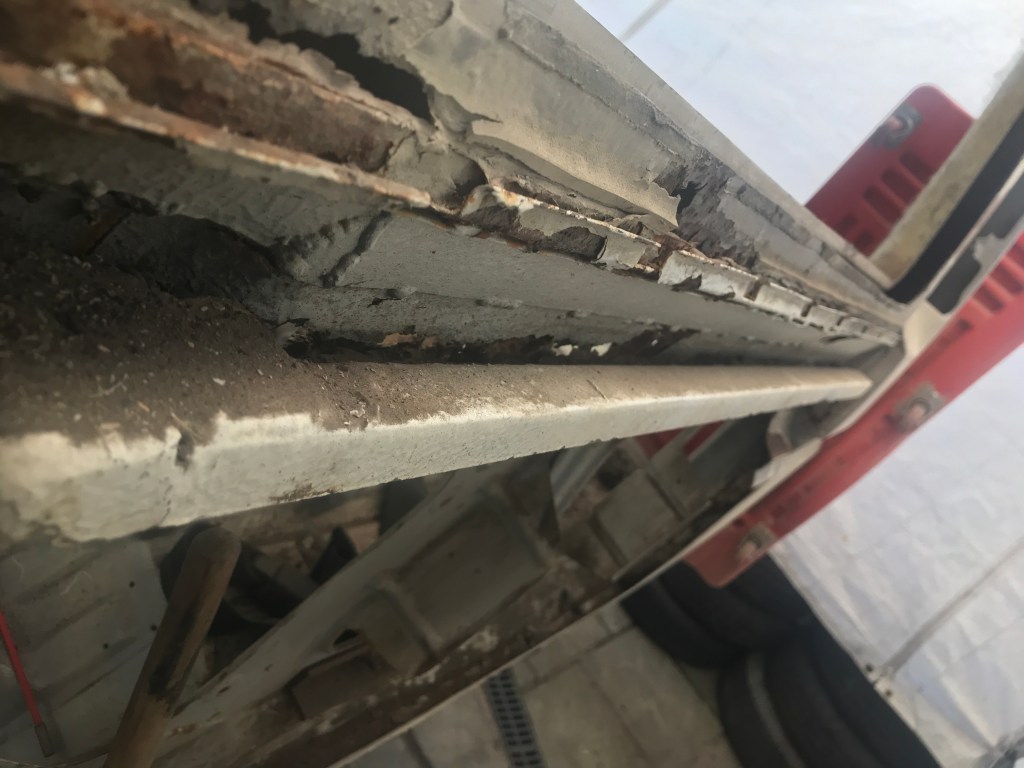
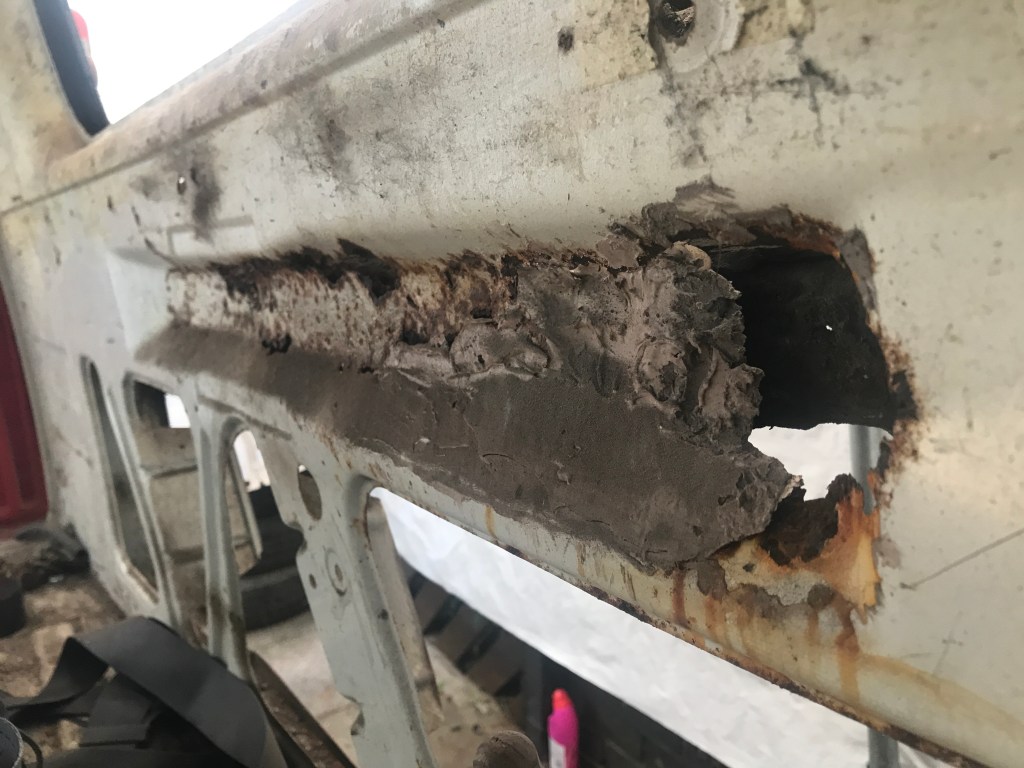
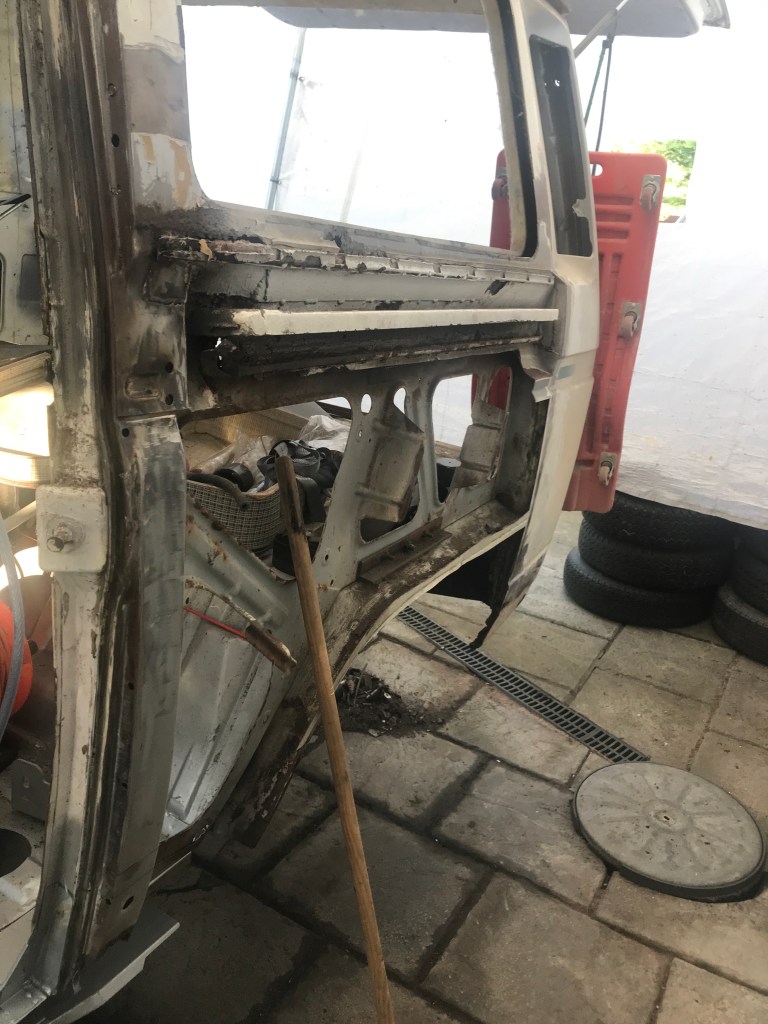
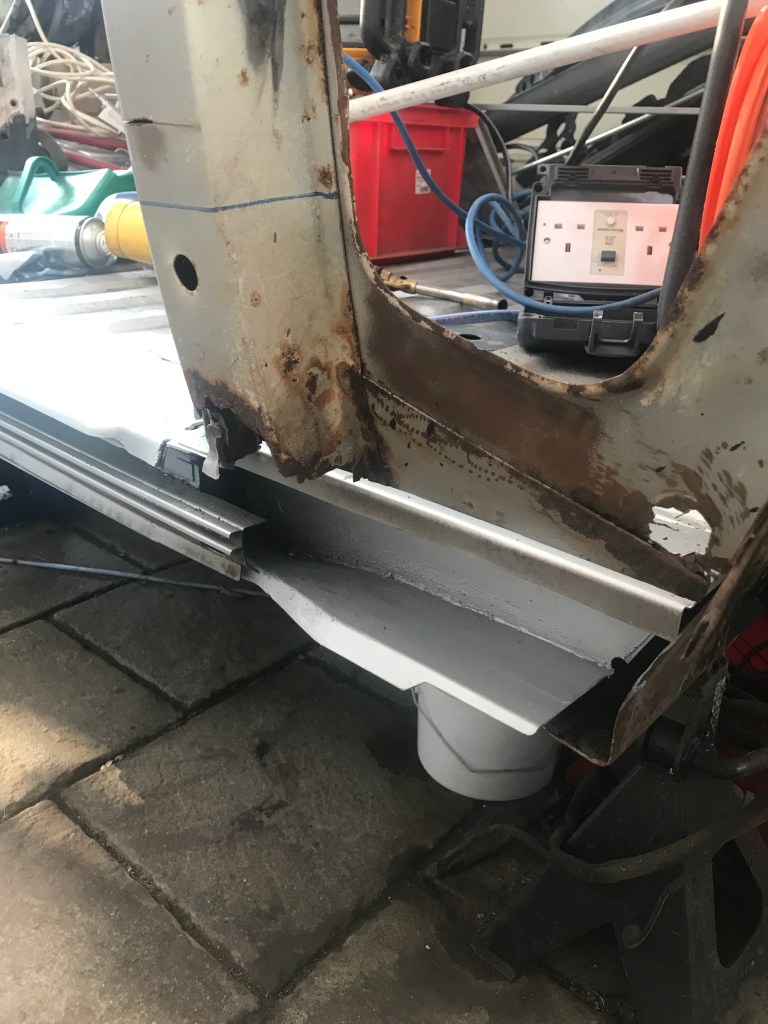
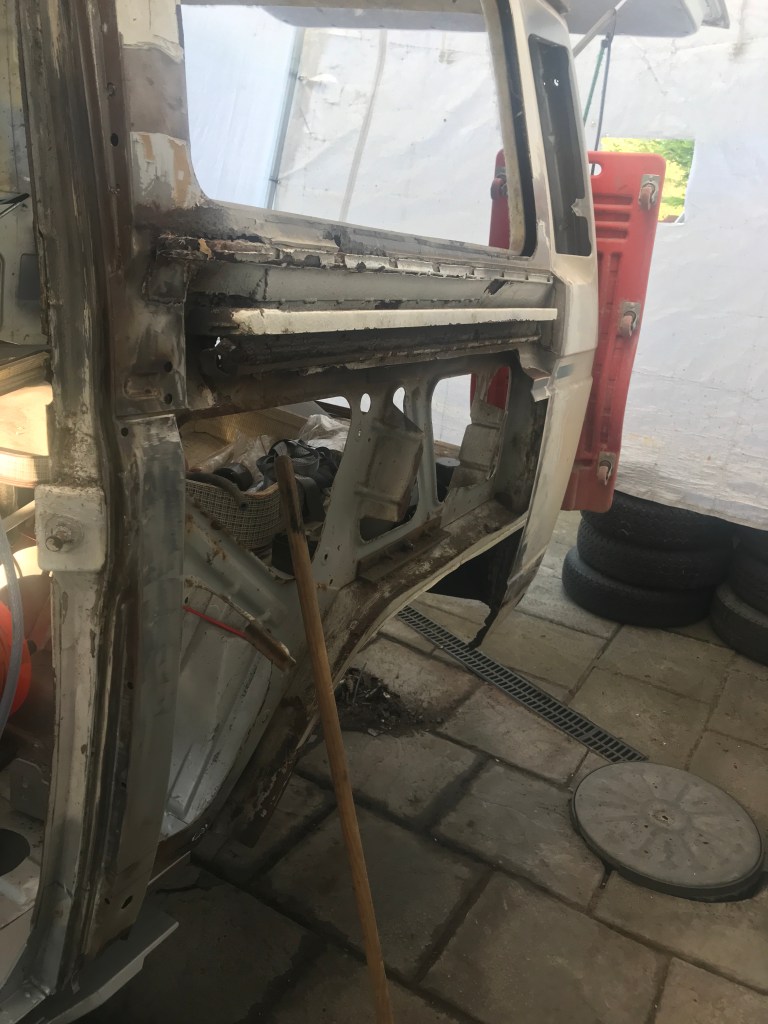
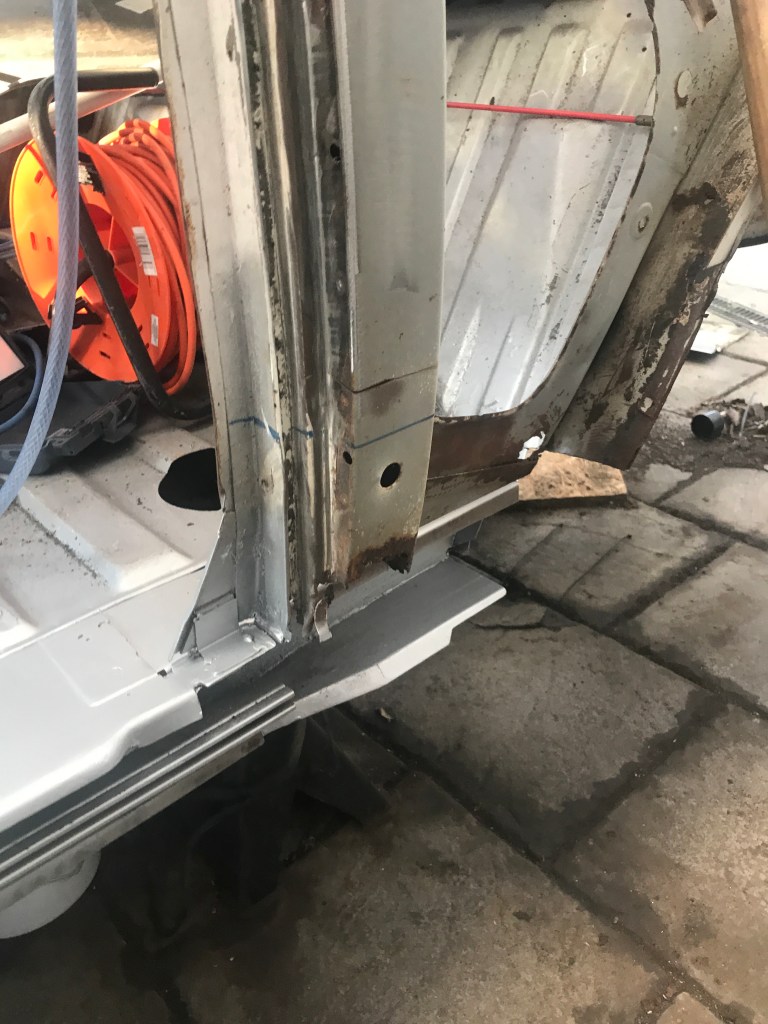
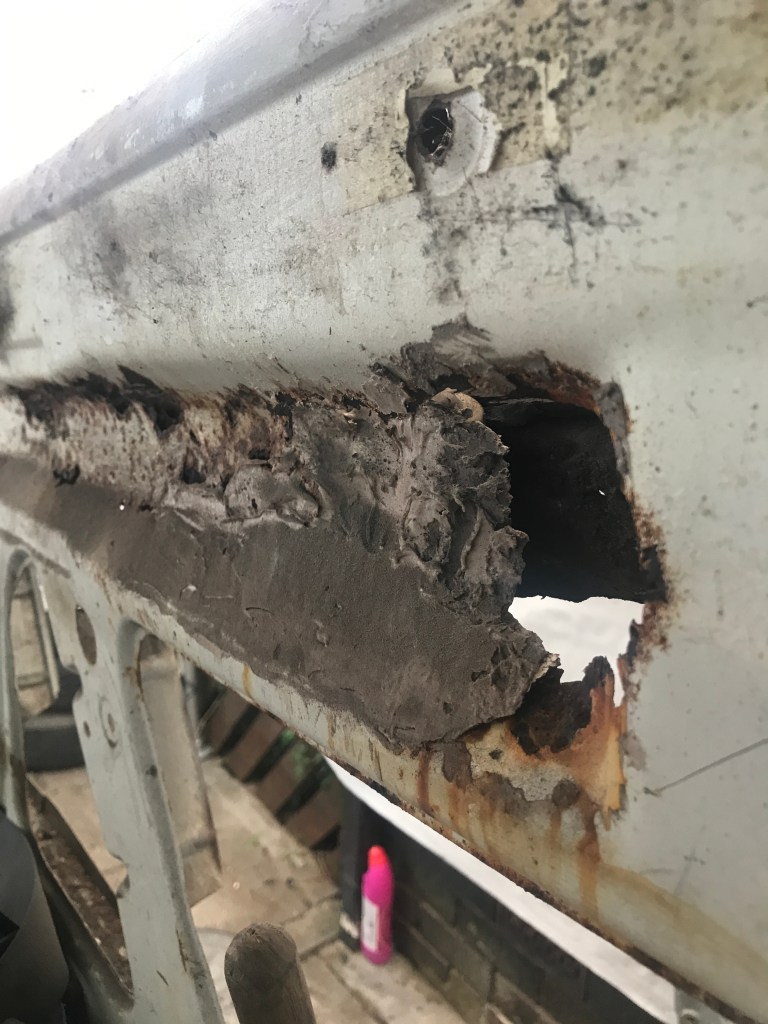
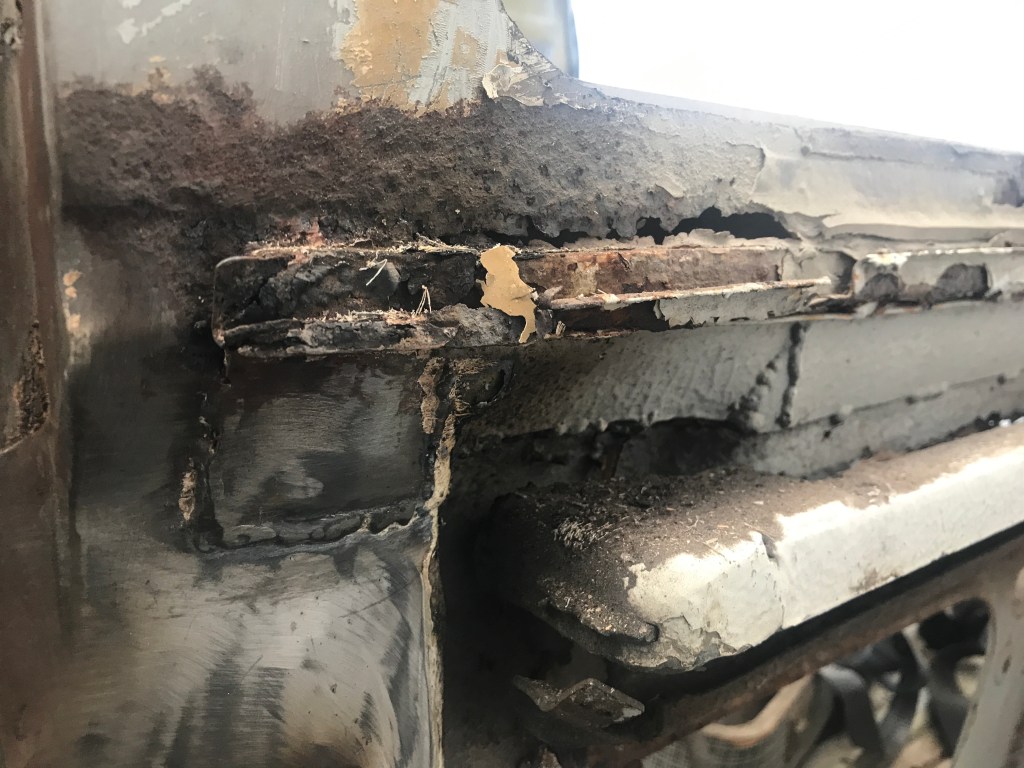
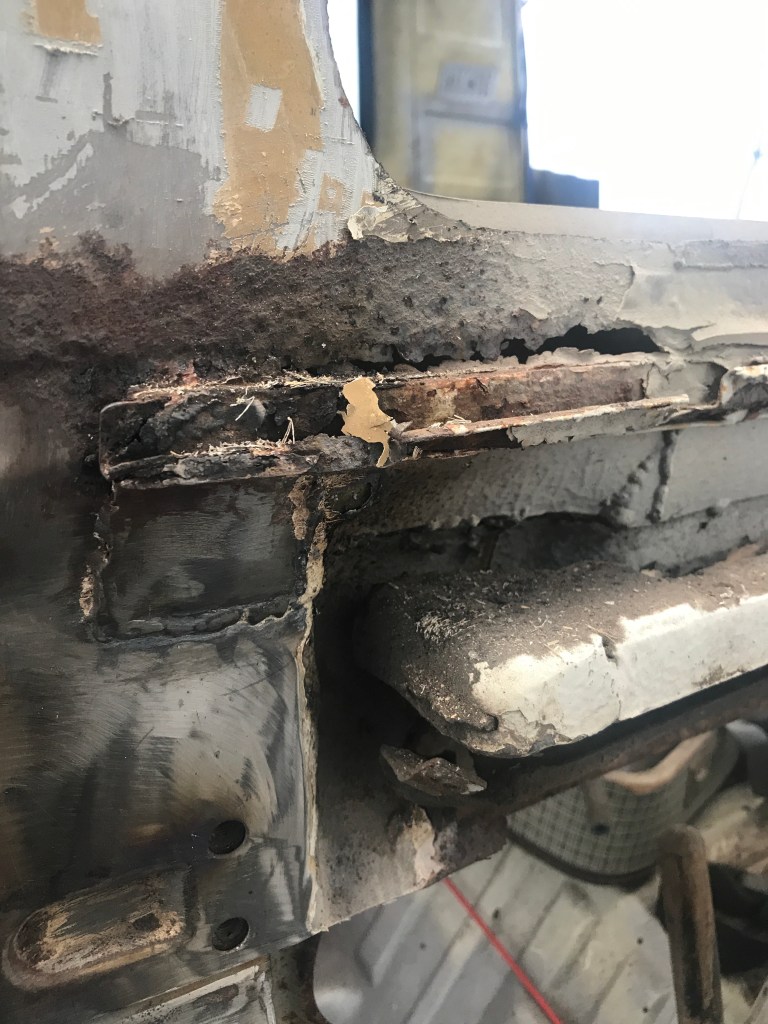
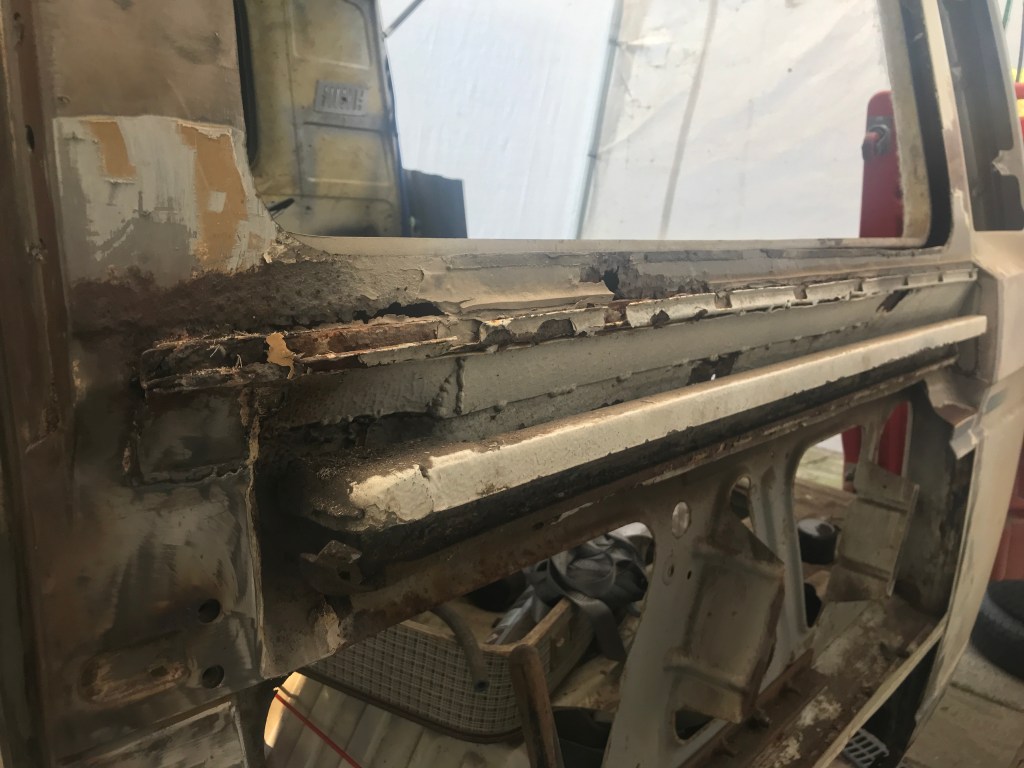
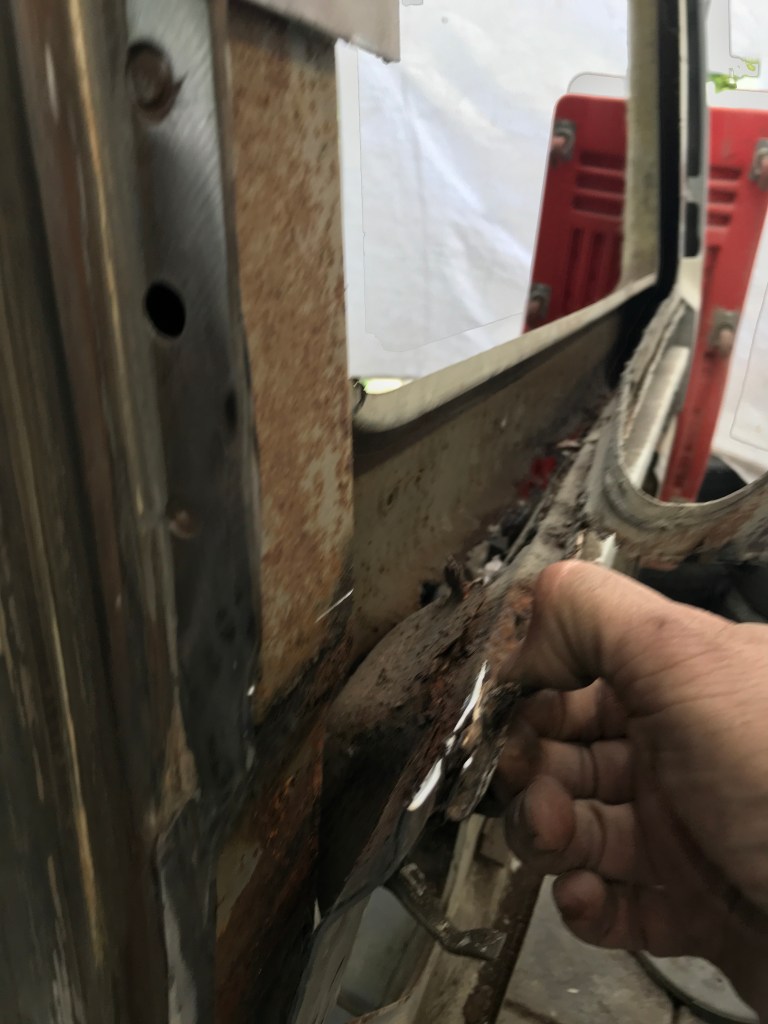
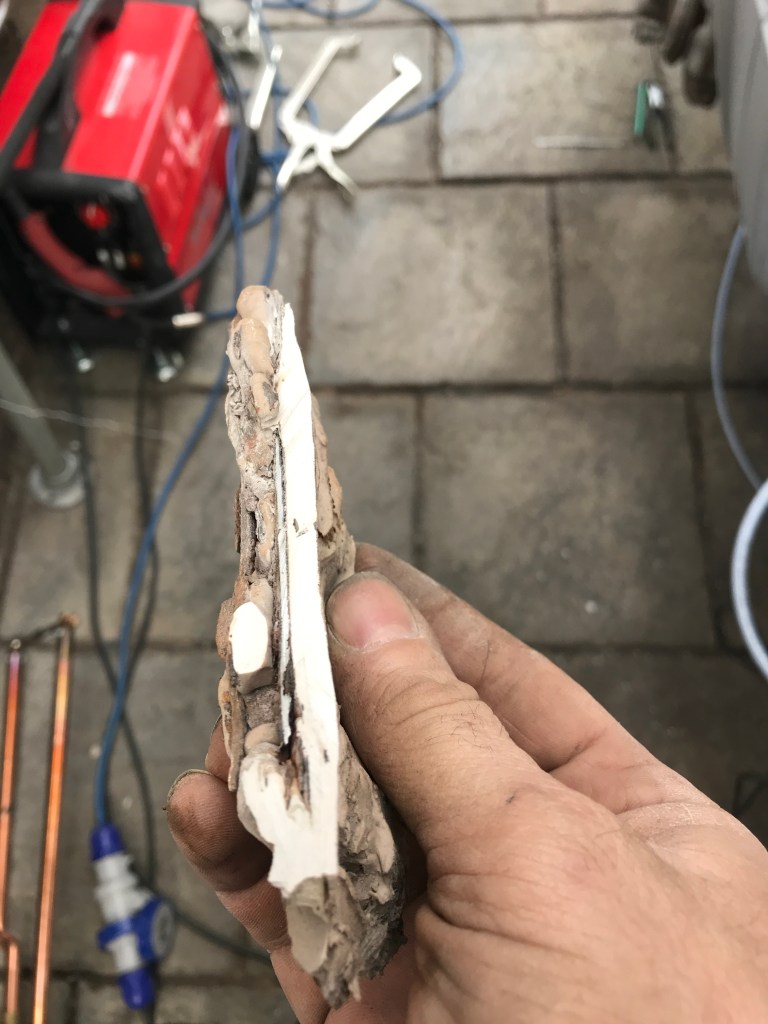
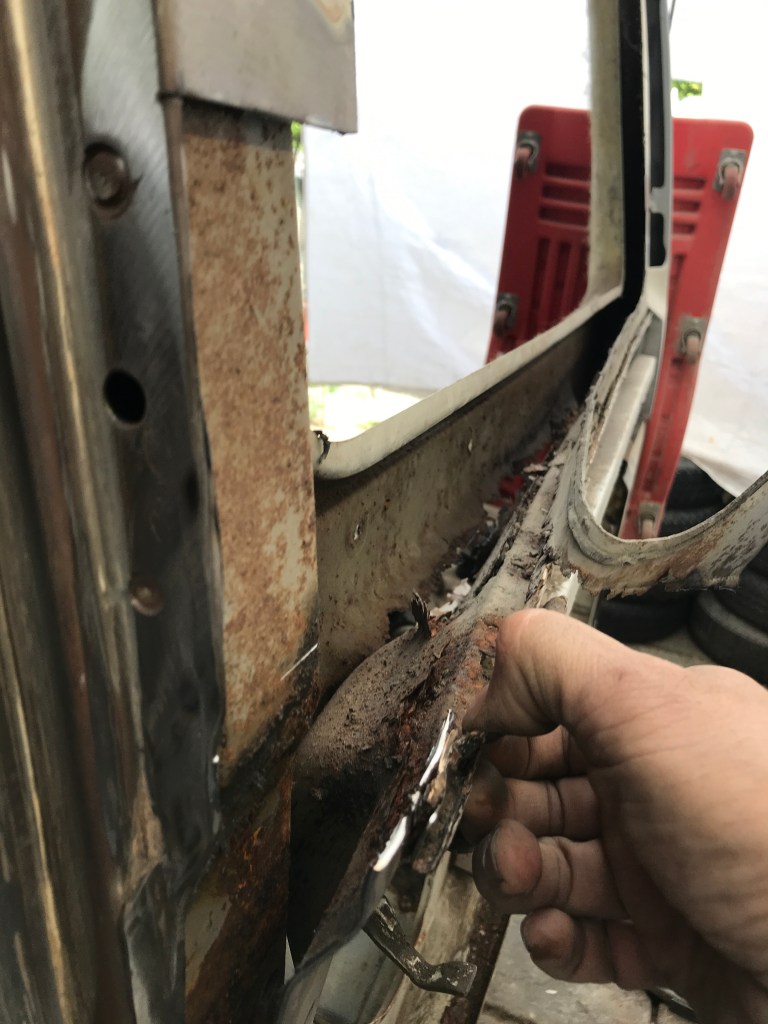
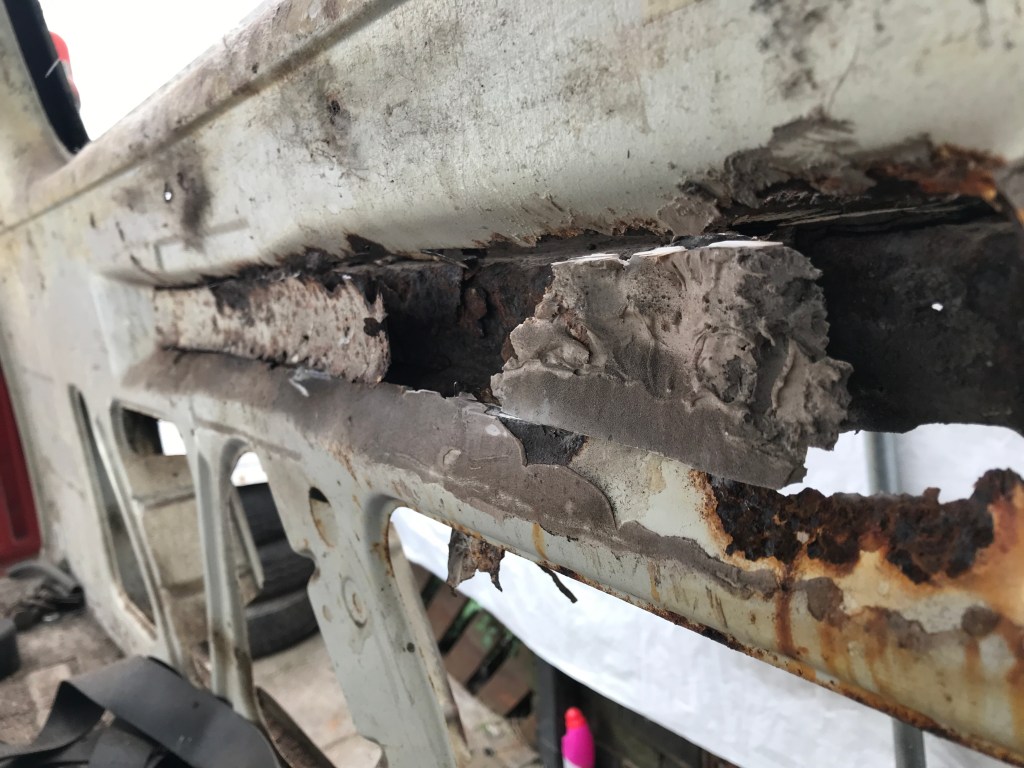
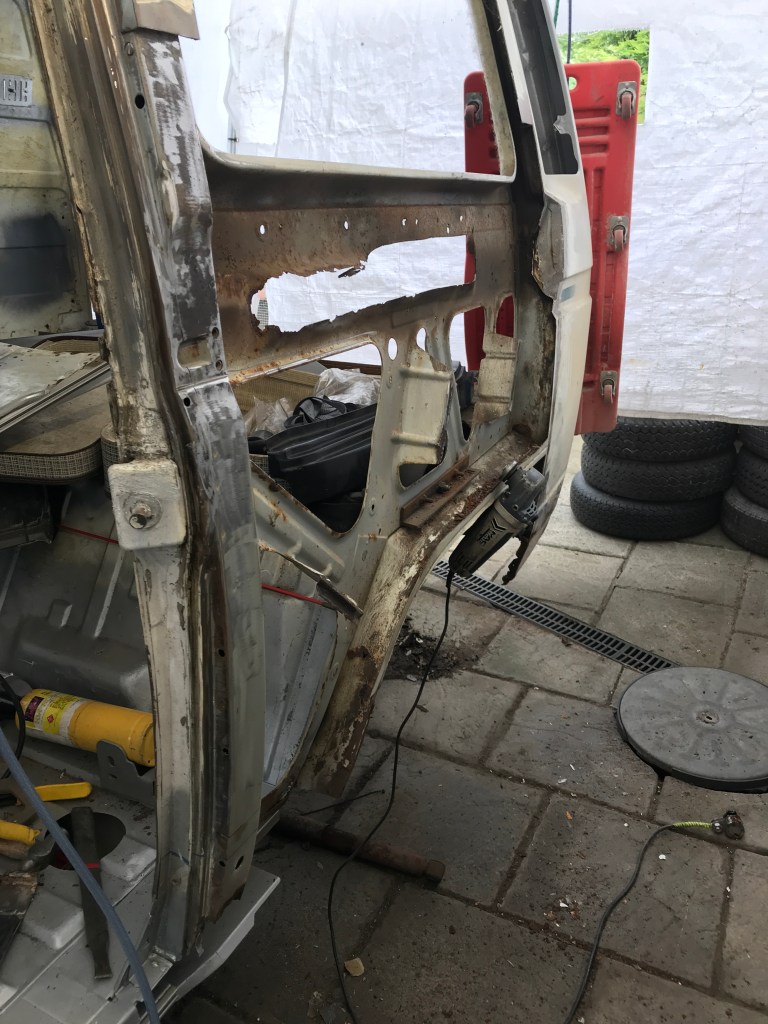
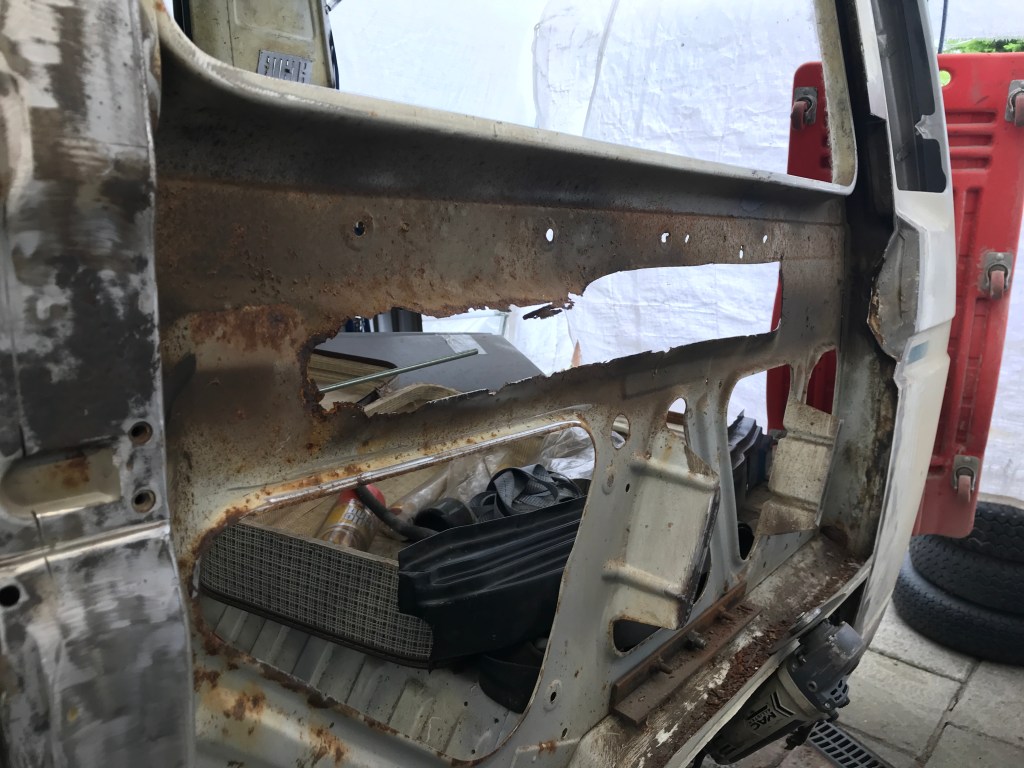
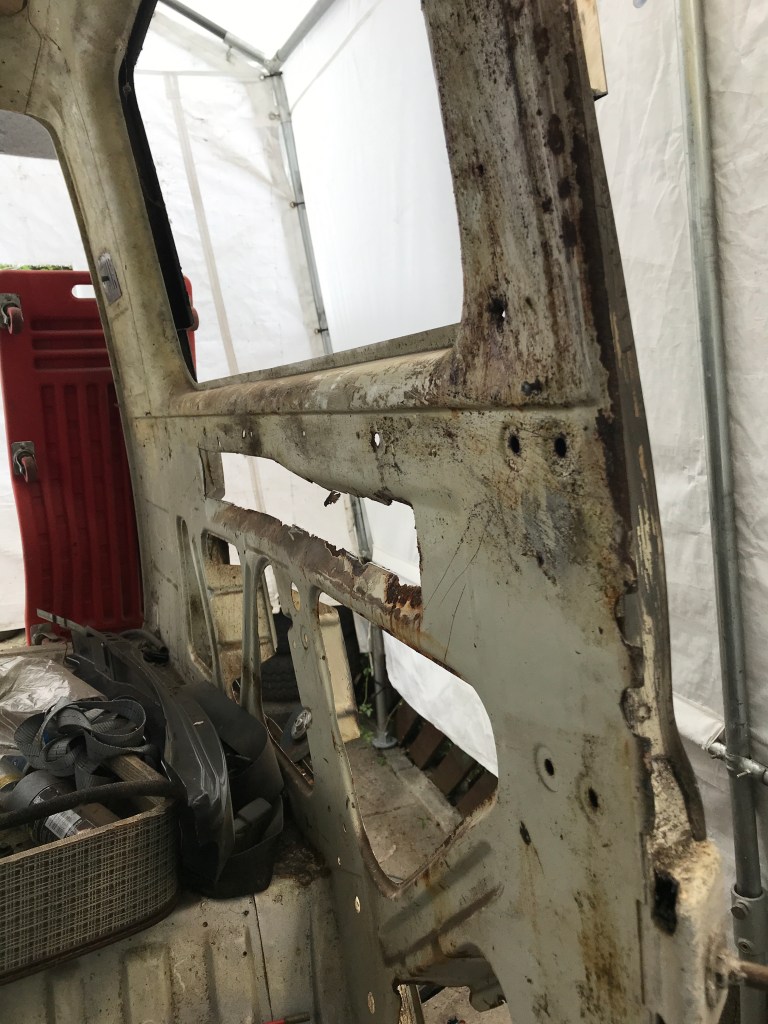
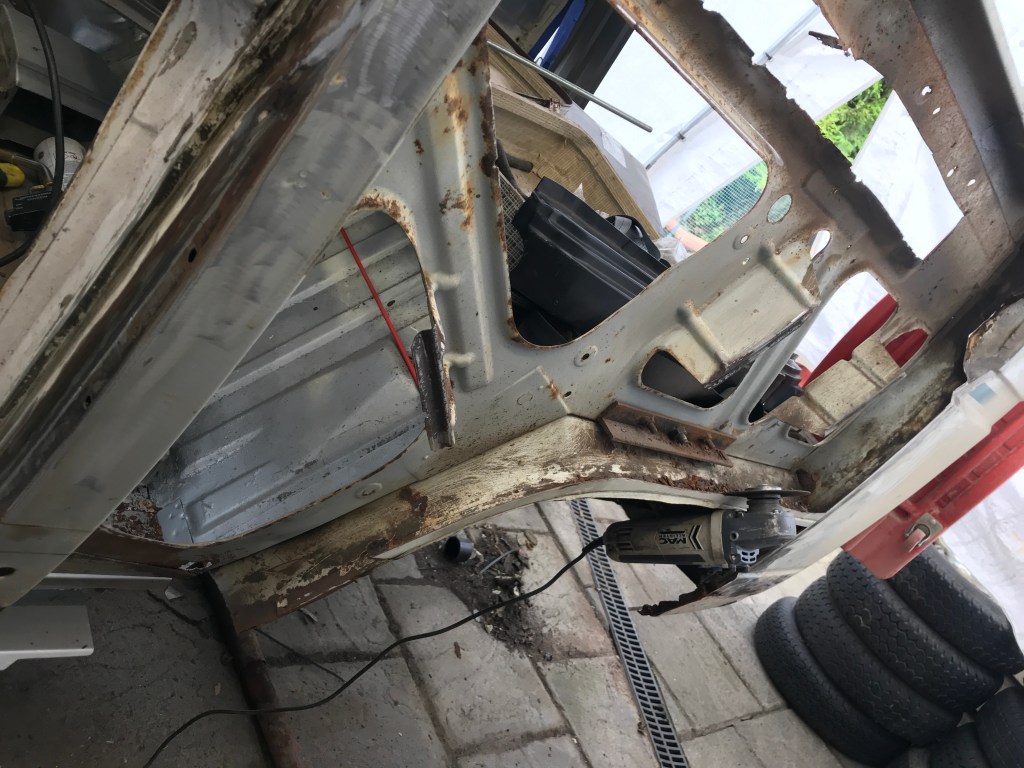
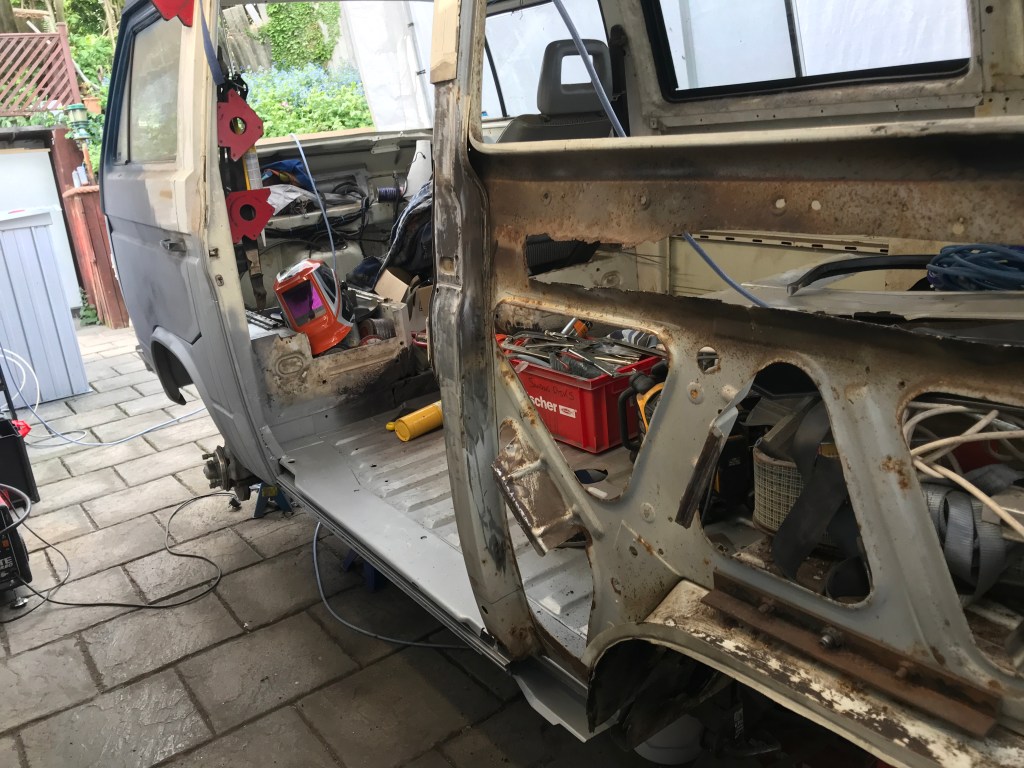
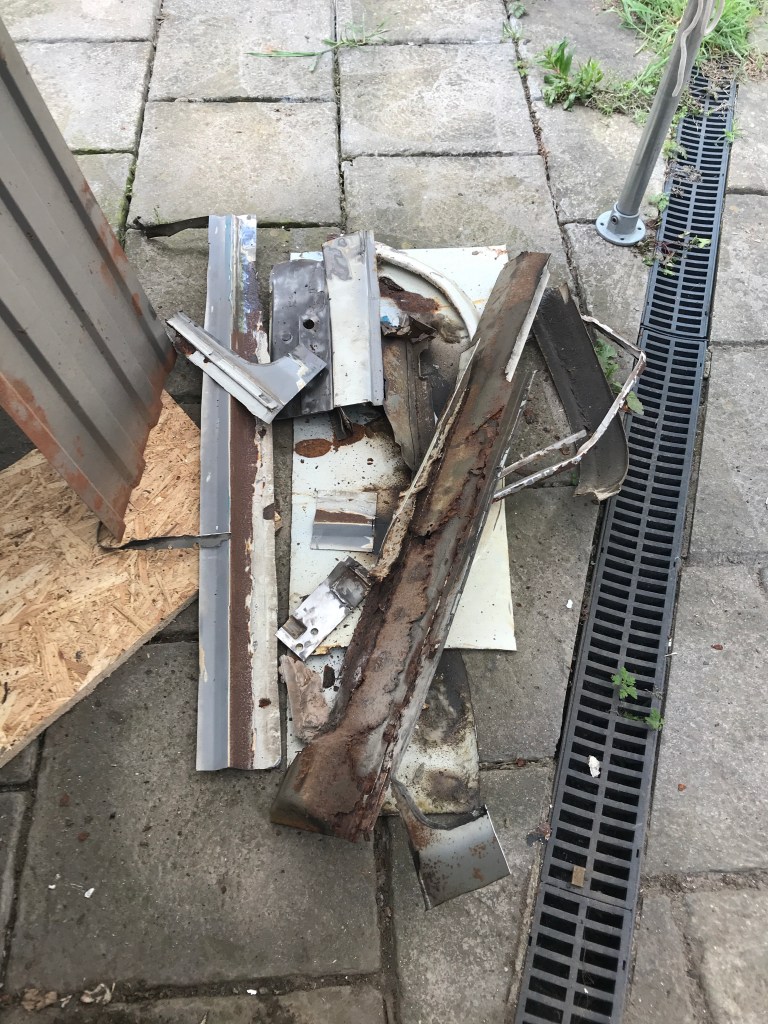
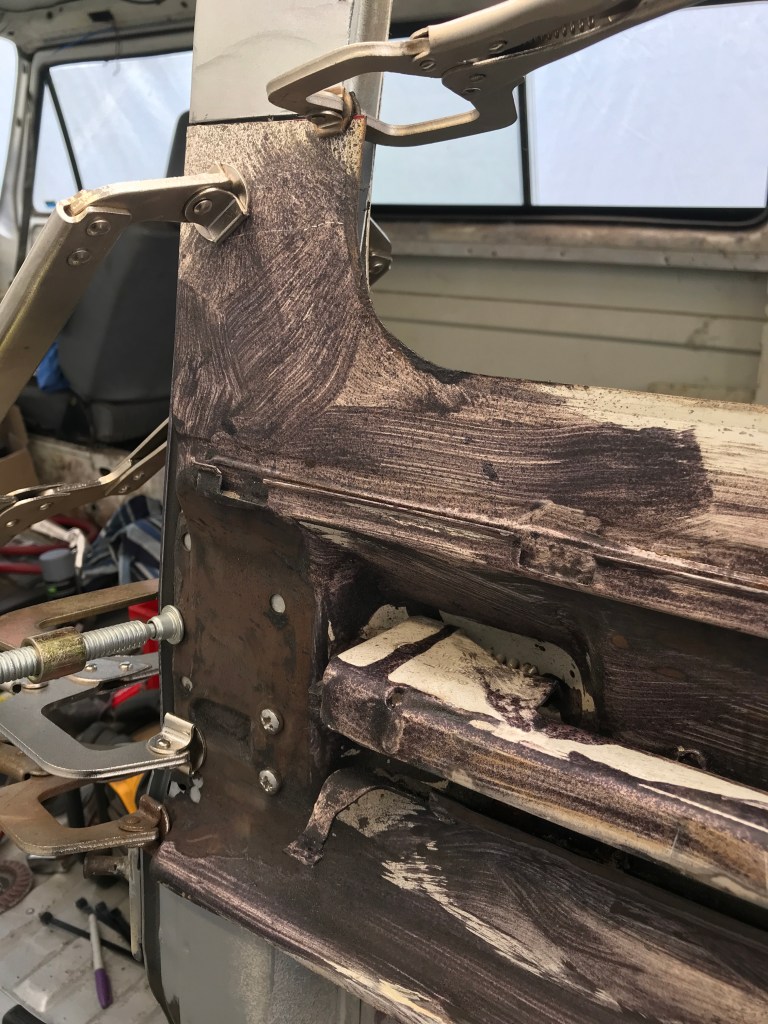
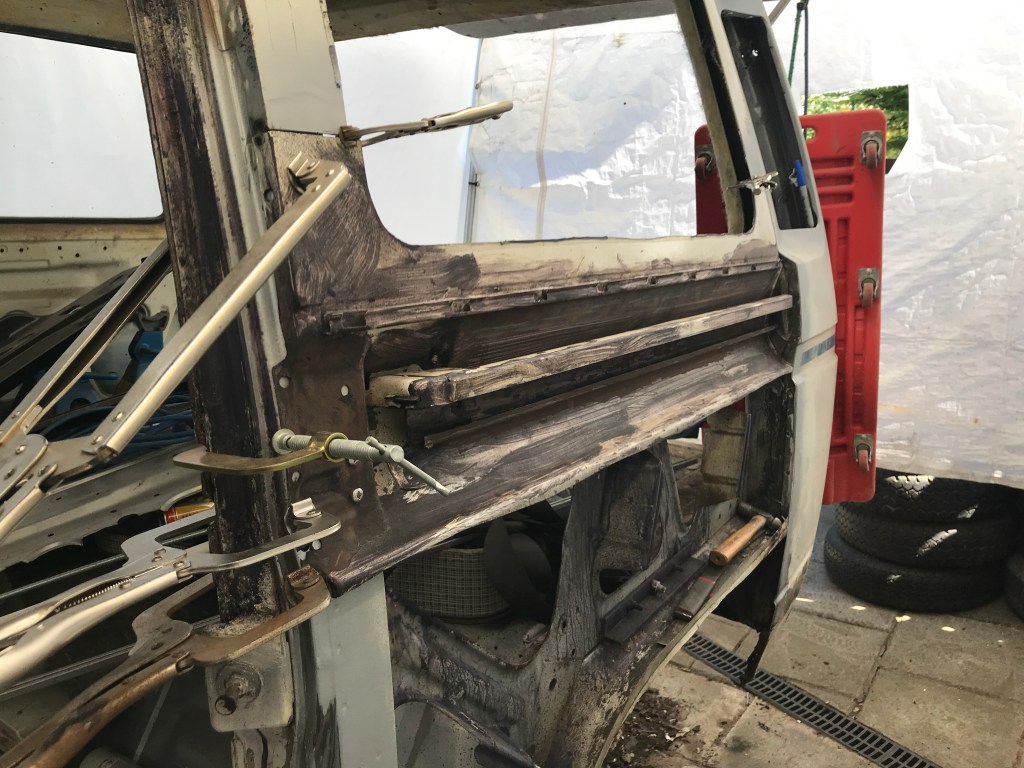
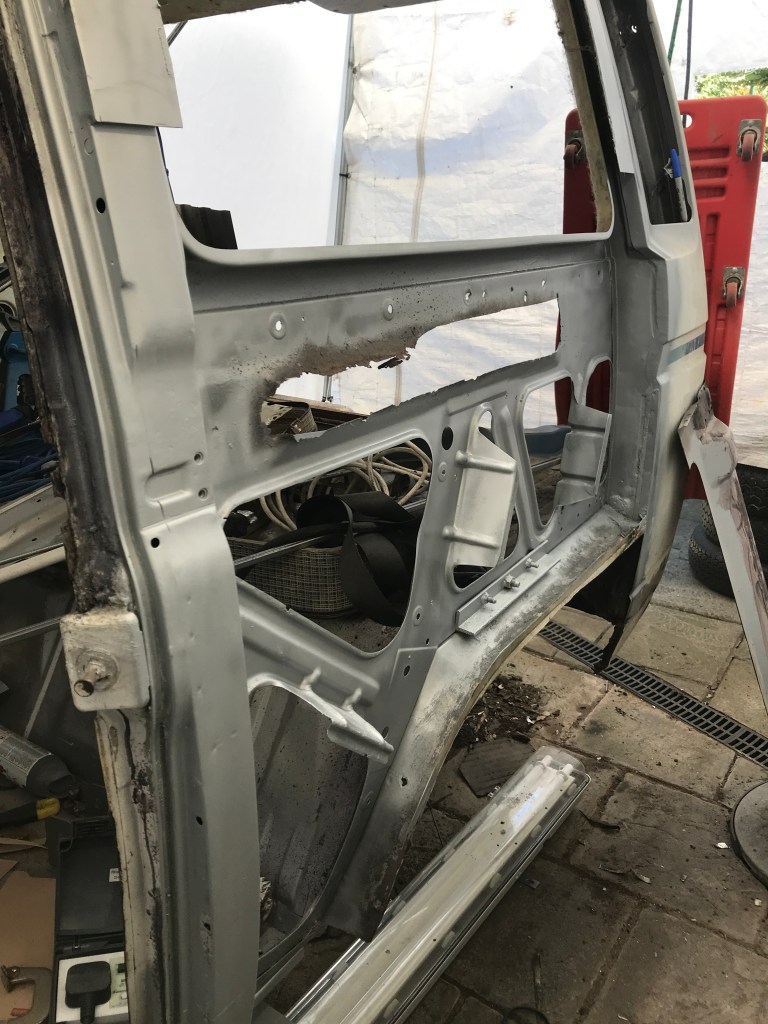
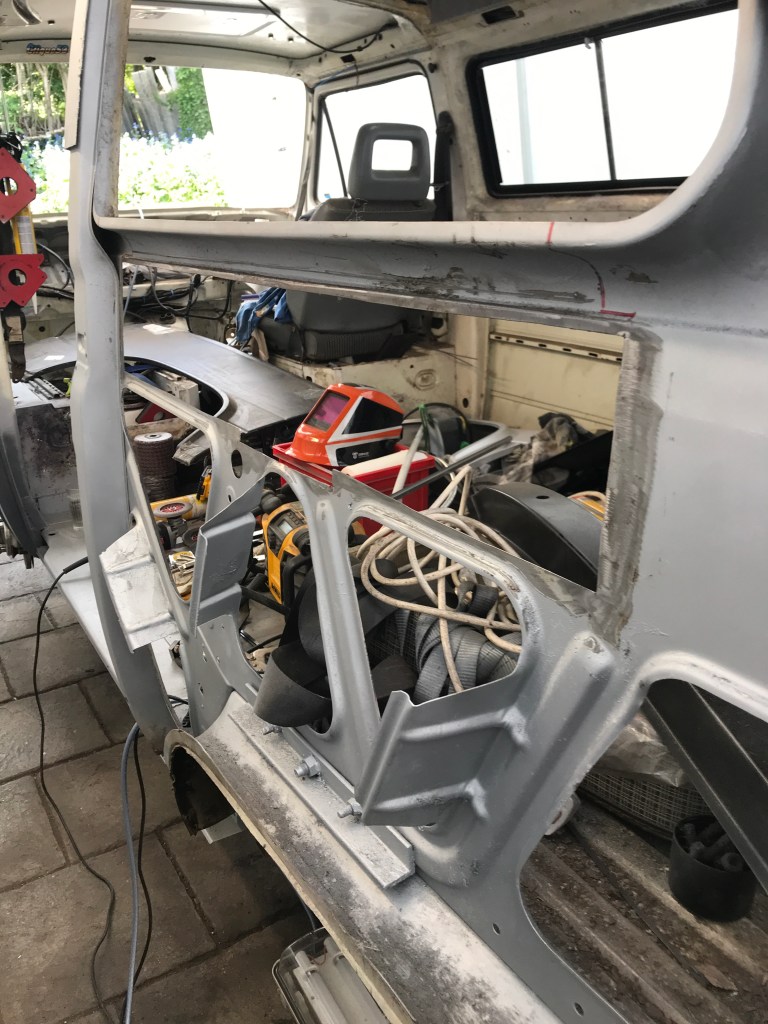
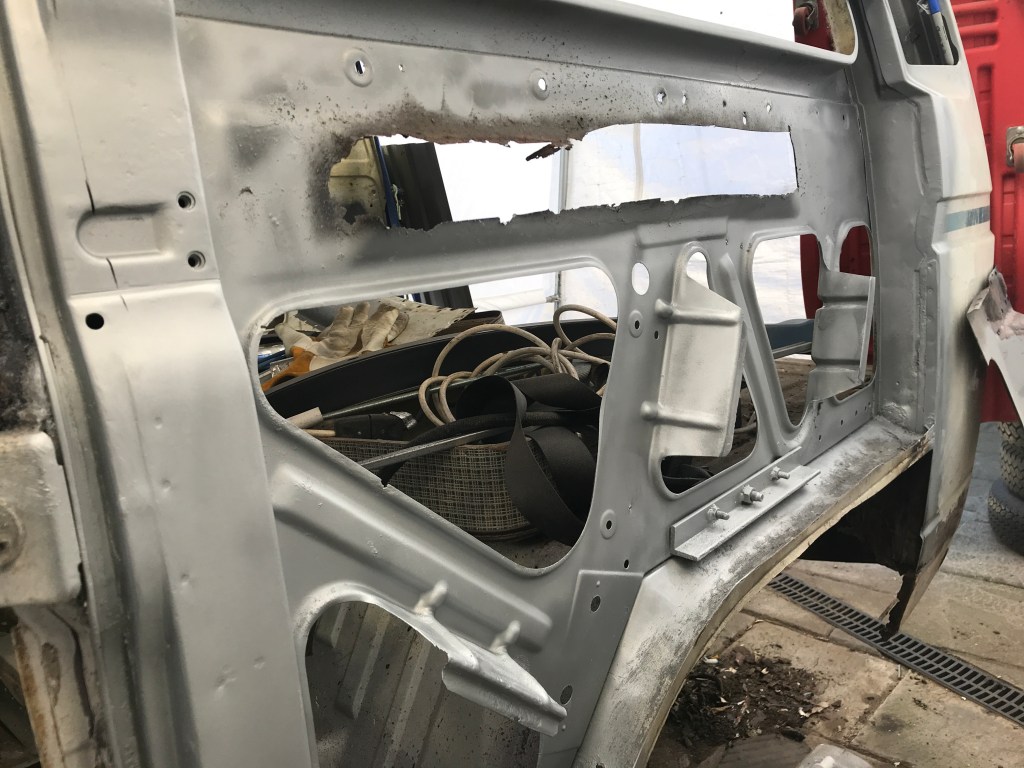
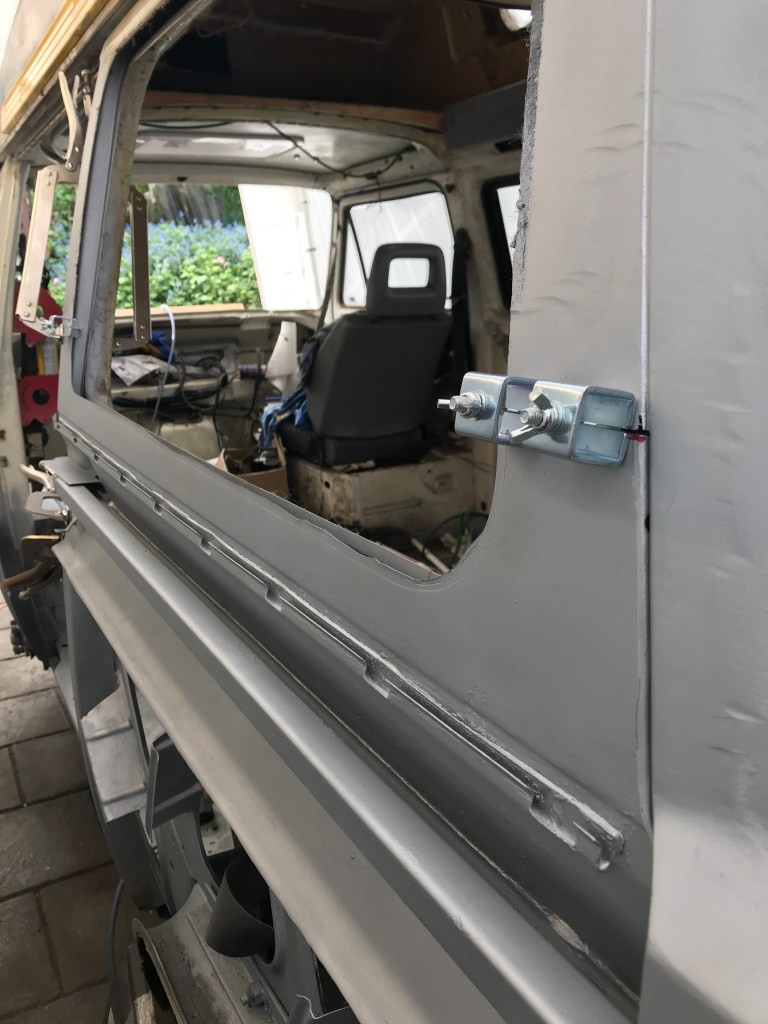
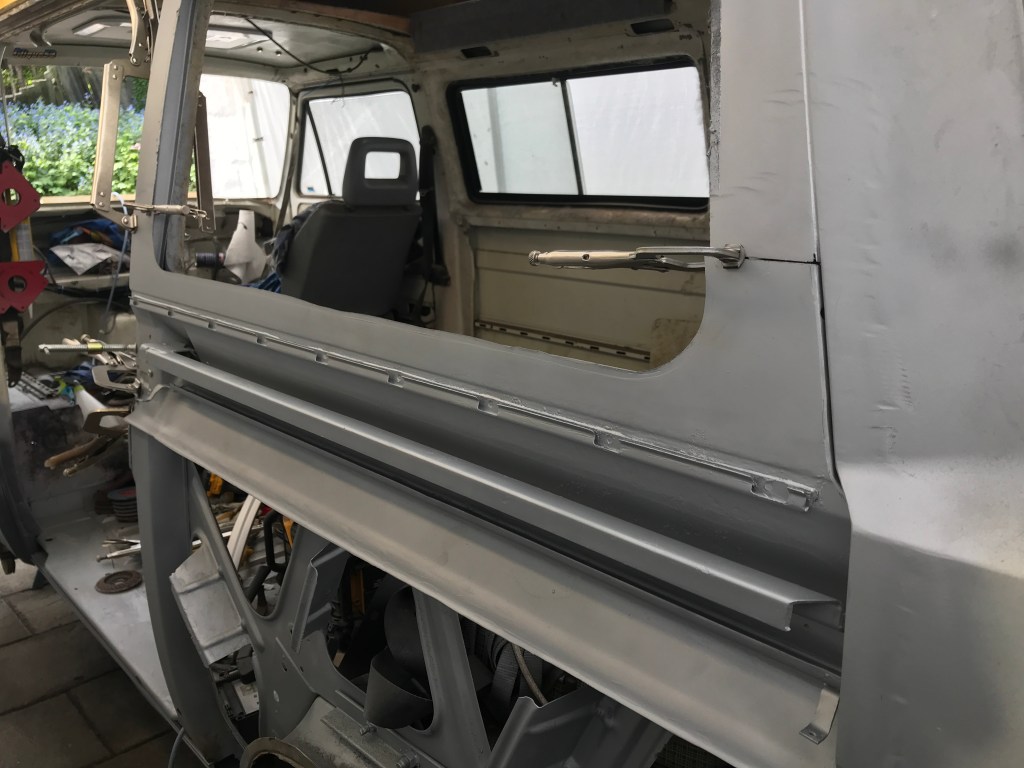
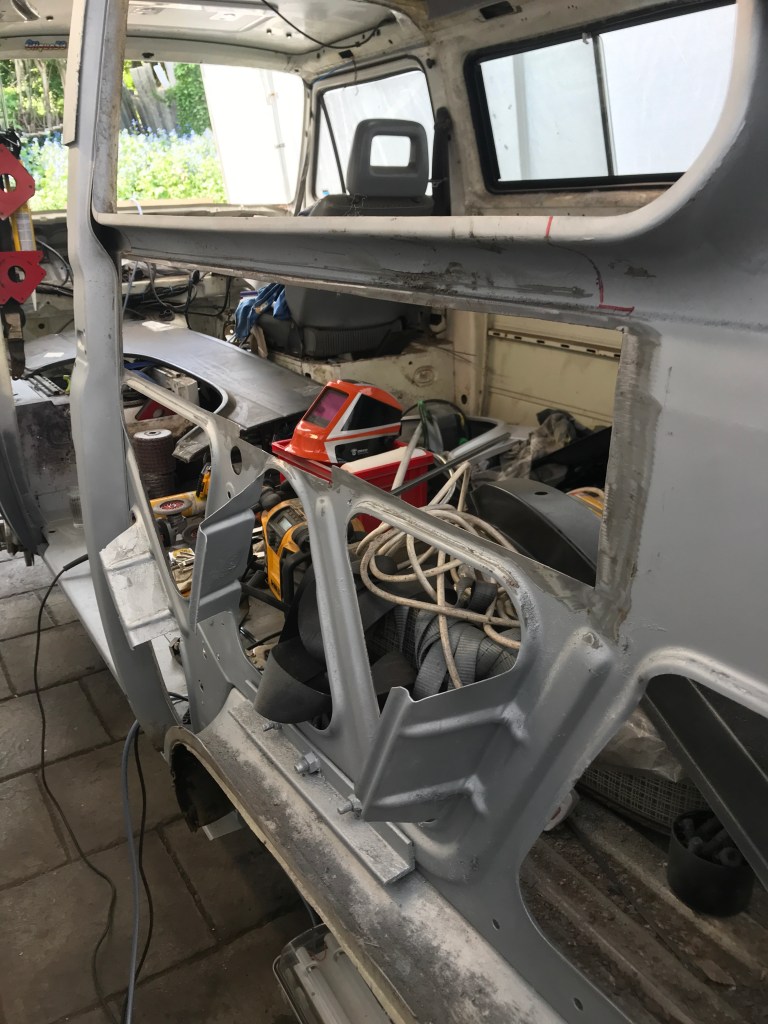
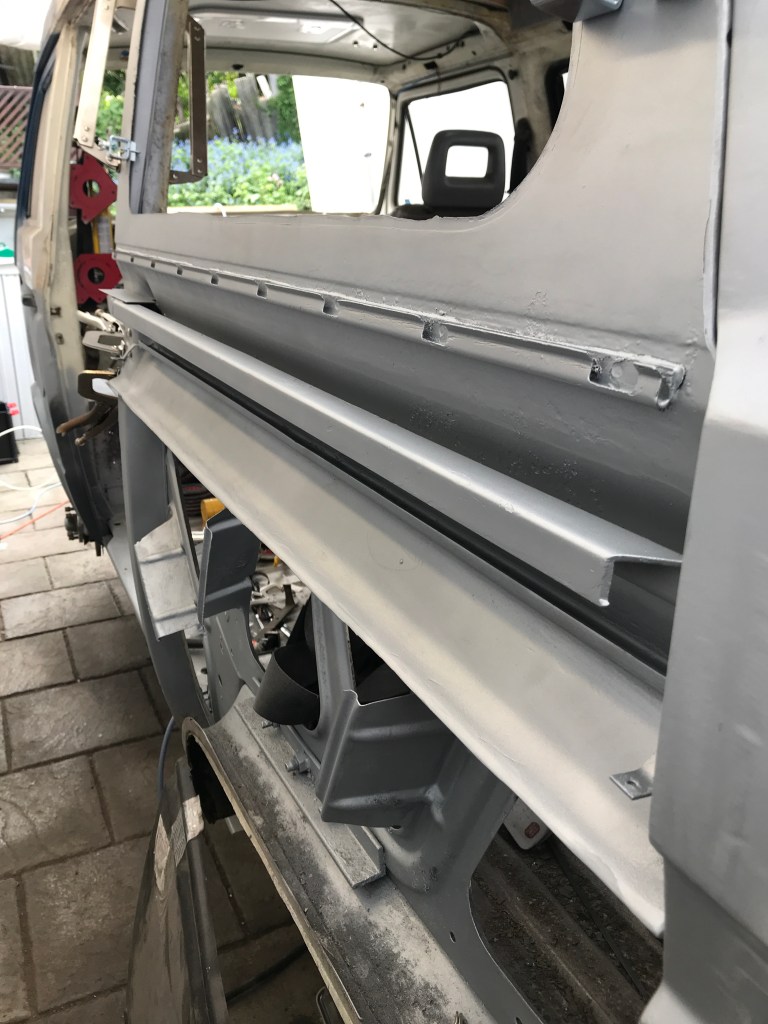
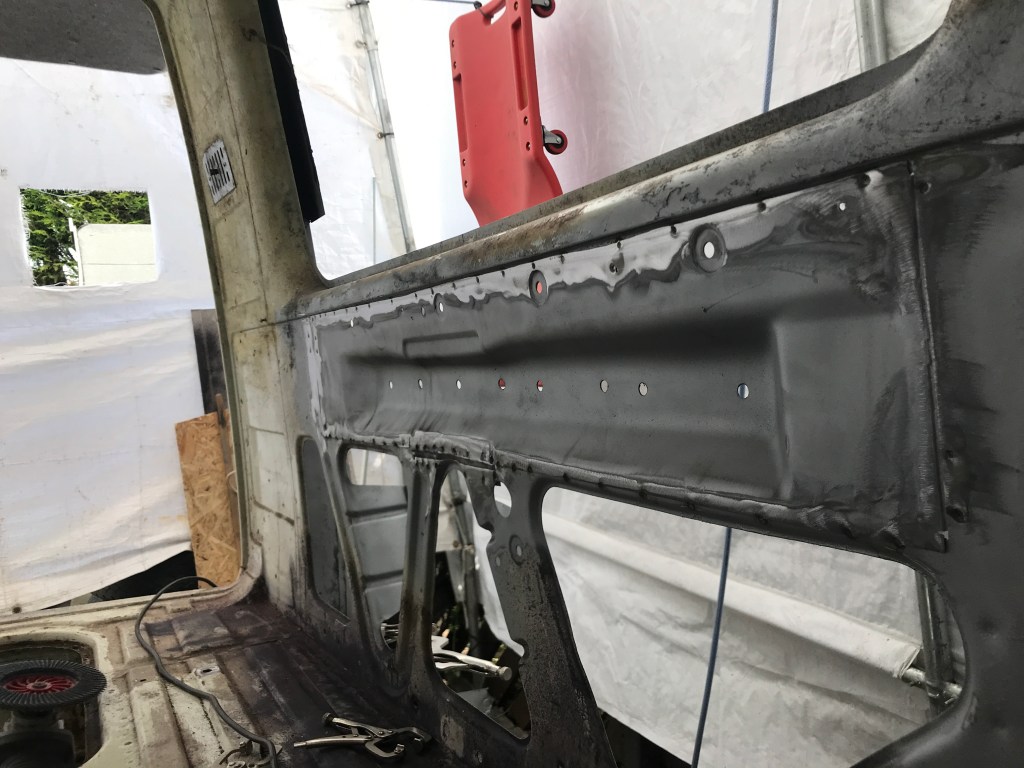
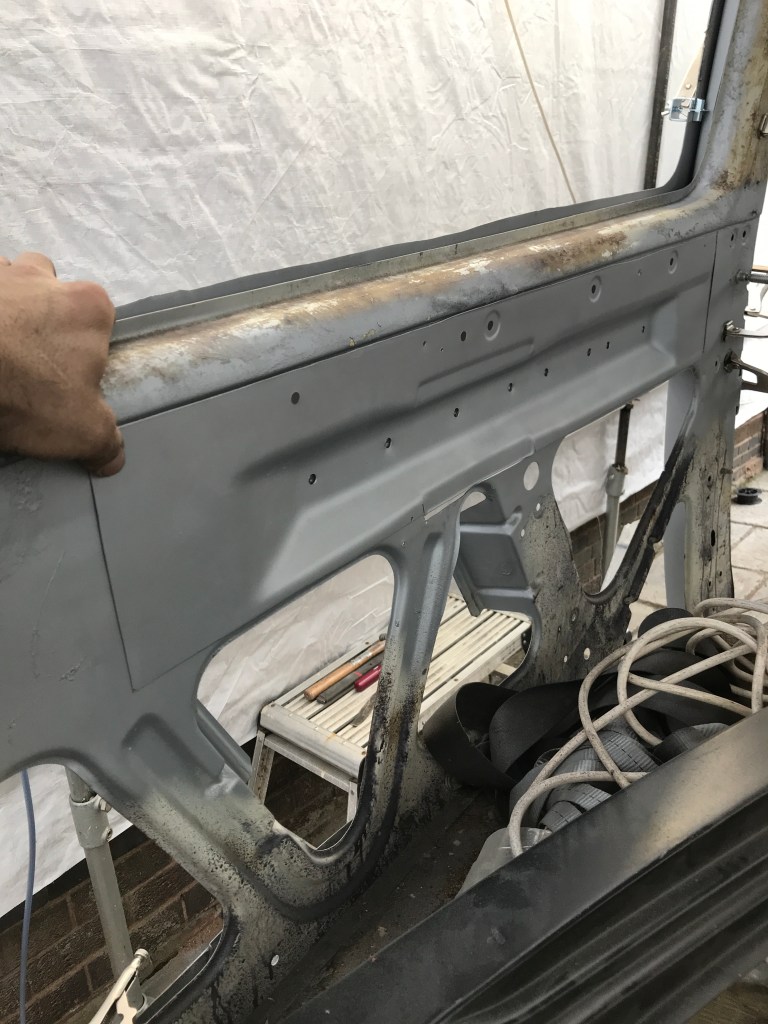
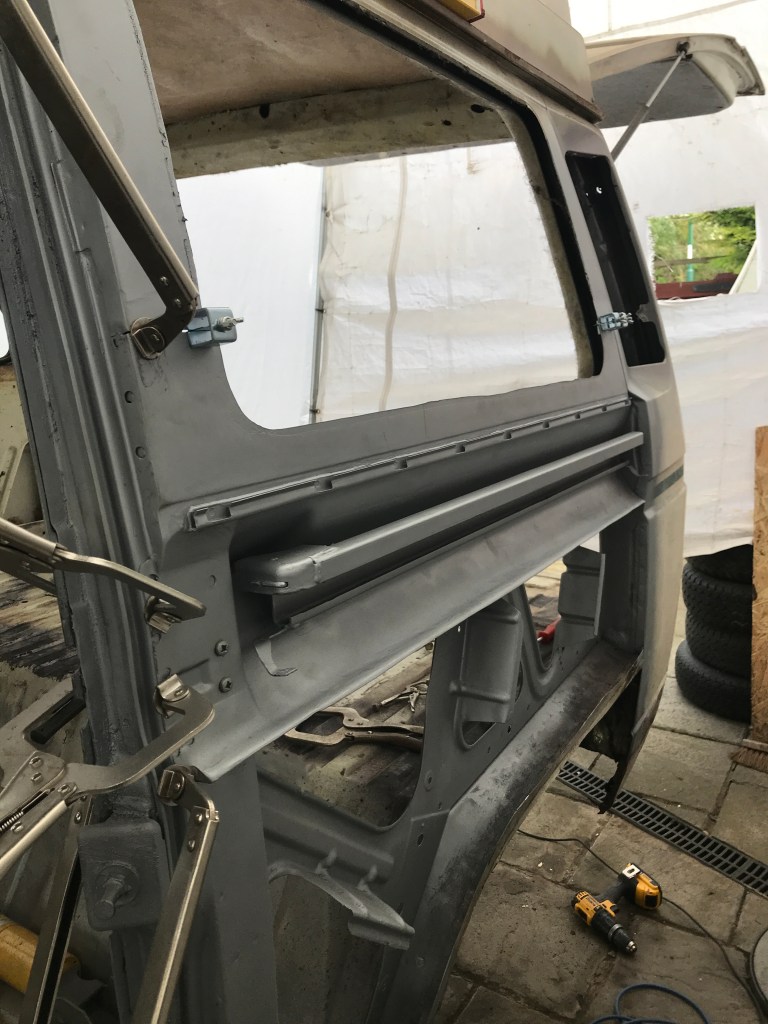
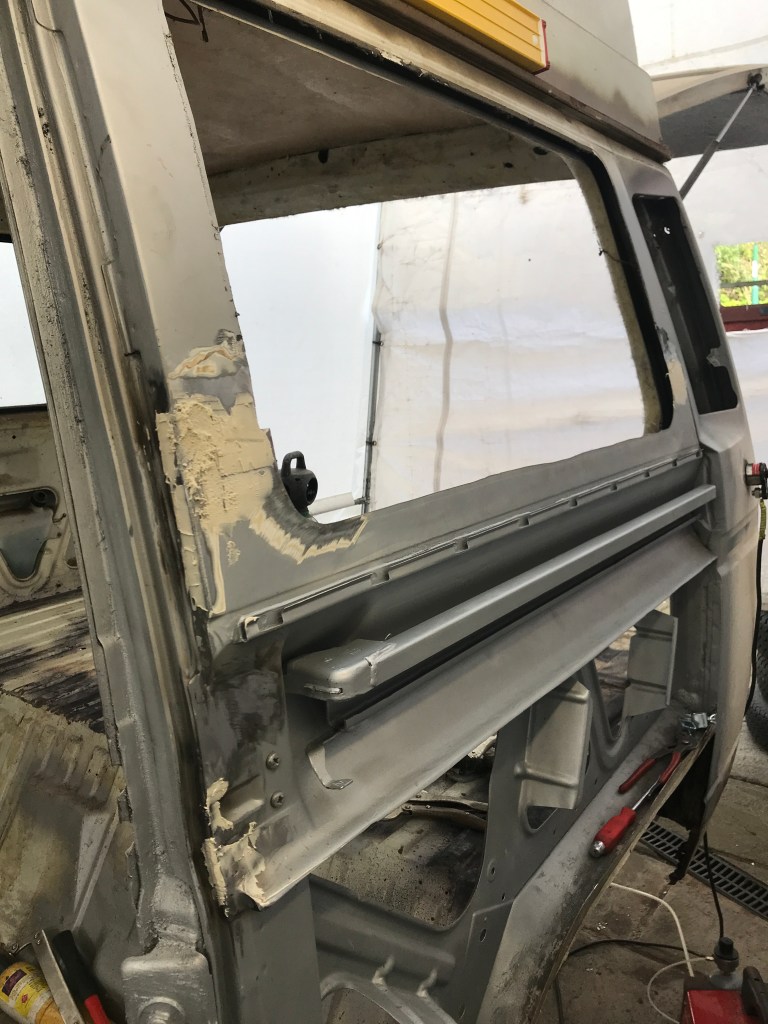
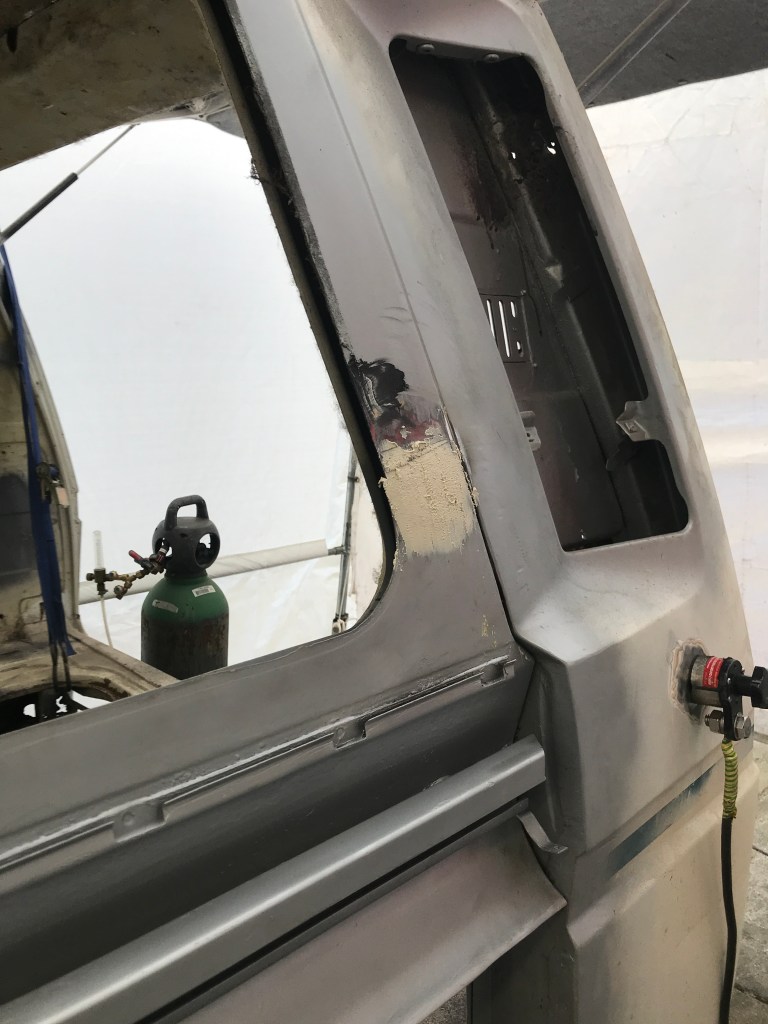
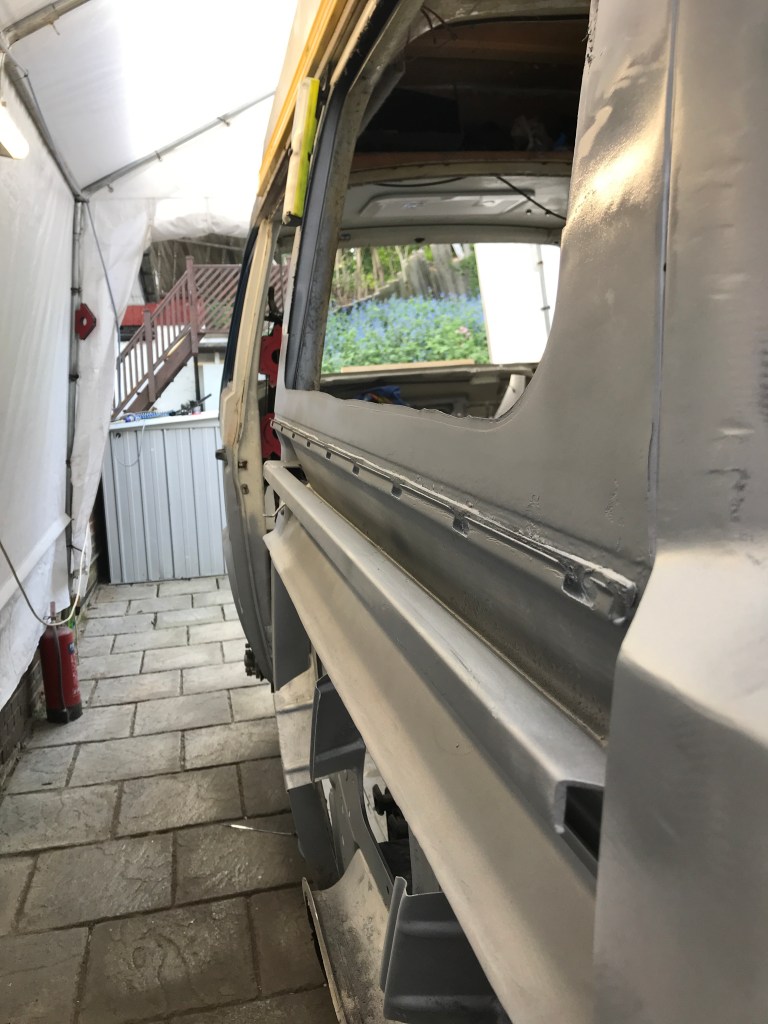
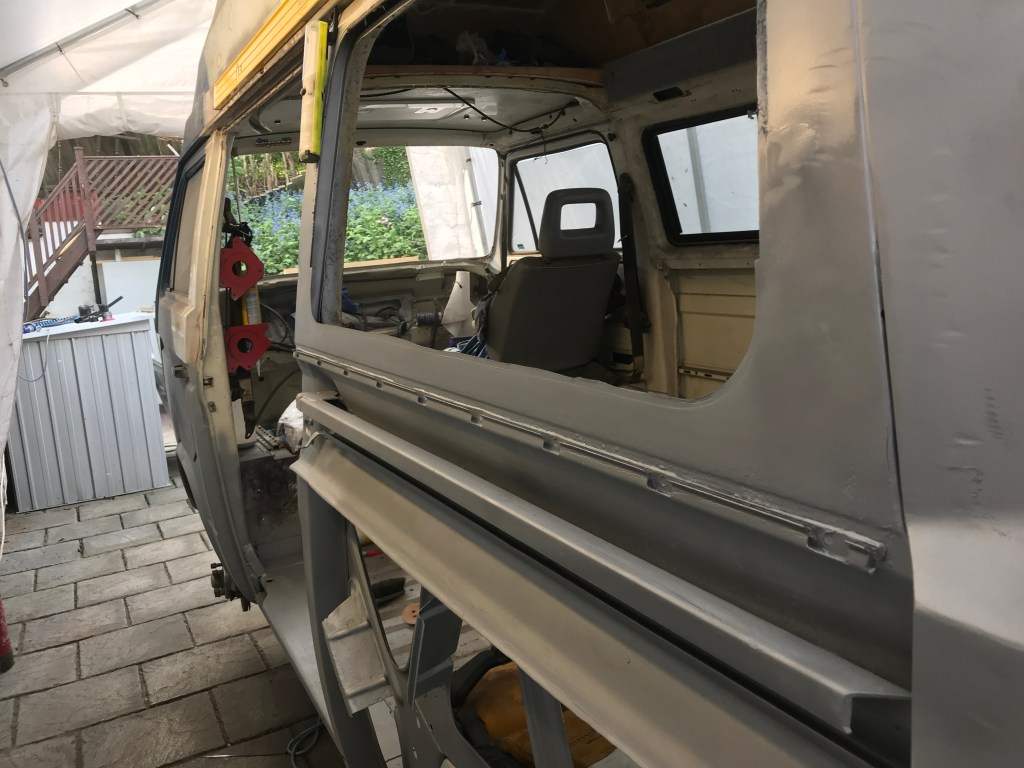
After cutting away the rust and rot it was easier to see what was needed to restore this particular area, lower C pillar was rotted away and although it will never be seen the structure was needed to fit other components to it so it had to be cut out and replaced, new panels were purchased and the job began, few fillet pieces cut and welded in and the structure started to take shape, when the basics were in place the rest kind of just slotted in around it. The arch was a bit more of a mess about, although you can buy a full arch it doesn’t come with the seams in place as per factory well at least not real seams anyway and although that may be a blessing when it comes to rust later down the line as seam rash is a big problem, i decided to try and make mine looking as per it left the factory with the correct seams etc.. that caused a few issues, number one is they don’t make a panel like that so i had to make my own out of a full panel and a rear quarter / arch off of a Doka style van, the end result even if it took ages and was way way more money than just a perfectly fine full arch was good and with a smudge of filler it looked factory correct. Cutting out the first of the rear swing arm mounts was very daunting, if the measurements were off the van could ride like a pig and tyre wear would be a massive issue not to mention it could potentially be drifting out of line a lot when driving, so after speaking to a couple of people and one restorer who actually does this for a living!!! the practiced method of lining them up through existing bolt holes in the inner area and brake line mounting points was used and as i checked the measurements i could get the mount within a tolerance of 1mm which i think will be absolutely fine, potentially if needed the swing arm / position can be adjusted when setting wheel alignment with the oval shaped bolt holes. time will tell on that part i suppose.


Salvage or Replace Part 1

After stripping down the majority of the van i could assess what was good / salvageable / scrap, surprisingly quite a bit of the internal parts were ok to salvage, most external parts were scrap and will get replaced slowly (not cheap items) and others just needed a bit of a clean and a spray of satin black etc..

many many more parts to get through but here are a few i managed to save or replace


May 2020 – Sliding Door Rail

After what seems like an age and totally losing my drive to carry on the break seems to have made the world of difference and i feel really up for the challenge, i made a couple of models one of the van as i want it finished and all of a sudden it was like a kick up the ass that it won’t build its self……so with that in mind it was time to crack on, obviously better weather helped with the long long hours i was now putting in to get on with it, the time had come after finishing the absolute pain in the arse sills to do the one part i was actually dreading from the start…..dont know why because it was all horrible to do up to this point with little to no experience but this one was giving me sleepless nights, i think because the absolute state the area was in i was expecting the worst, as it turns out when you cut away the rot (this i have found with every area) underneath wasn’t so bad and i was starting to treat it like a big jigsaw puzzle, taking off the rotten parts and replacing with new shiny parts, i made the mistake most people do by the looks of it that if you buy cheap then you buy twice, after learning that and wasting a bit of money i have now found that if you buy good quality they pretty much fit with very little interference, on this occasion i could not locate a new sliding door rail (dont think they exist) but i was lucky enough to find a rot and rust free body cut and fettled that to fit (getting the hang of this metal work stuff……slowly) and finally after many measurements and tacking in parts then fully welding i could for the first time in my ownership get the sliding door on the rail and supporting its own weight, probably for the first time in a long time, the first swish bang of this door made my absolute year and i could not stop smiling and it only lined up bloody perfectly!!!!!…..this was a massive milestone for me and the build, didn’t matter what else came up eventually this van was getting finished and getting finished 100% all over, new everything!!! there won’t be a panel i don’t touch from here on out and i even decided to visit the front end again when i had made it all round the van to make sure it got the proper attention it needed and not by some first time novice welder…..the last few weeks were dare i say it enjoyable!!!!

Lower C Pillar and Rear arch next…….